¶ Stages
Stages signify different milestones that leads go through along the sales journey. Stages are groups of states that leads traverse through, upon successful completion of tasks corresponding to the specific states.
For example there are 2 roles, one is for calling and other for field visits then the states for calling and field visits can have 2 different stages.
¶ Creating Stages
To utilise the Stages feature of Chakra Sales, you must first identify and group your states. Once the groupings are identified, follow the below steps to create stages:
- Go to Admin --> Procedures or click Procedures
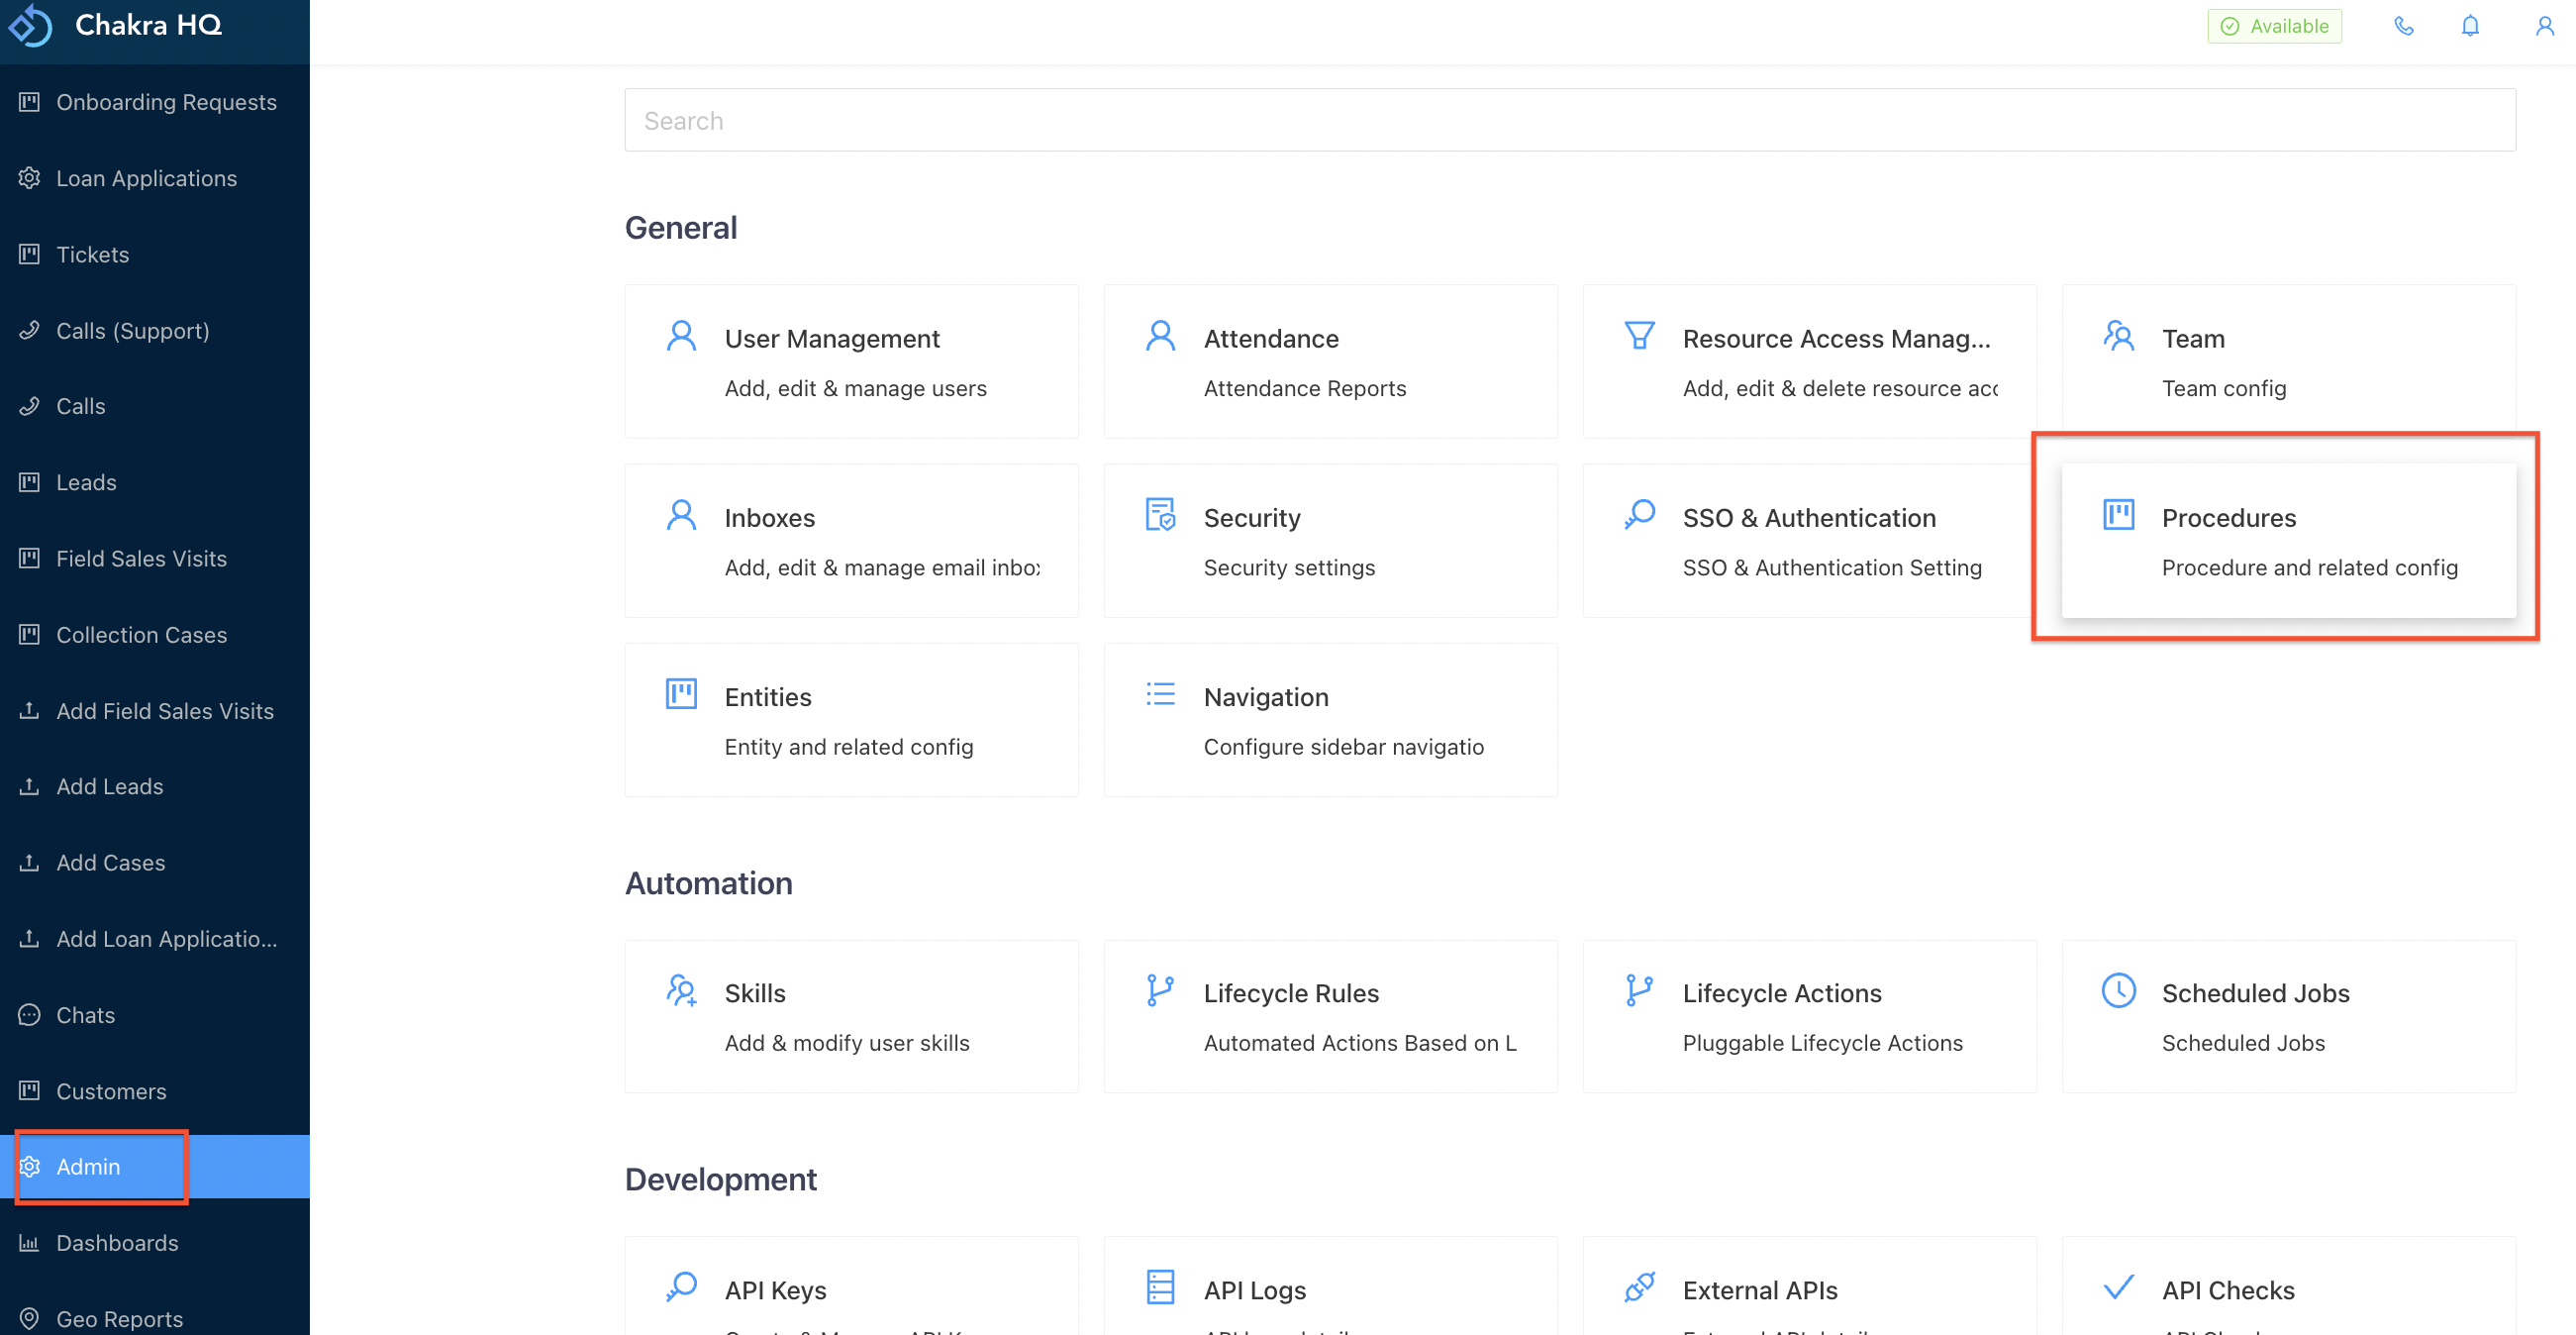
- Select the procedure for which you want to create the stage mapping

- Go to Stages section from the left side nav
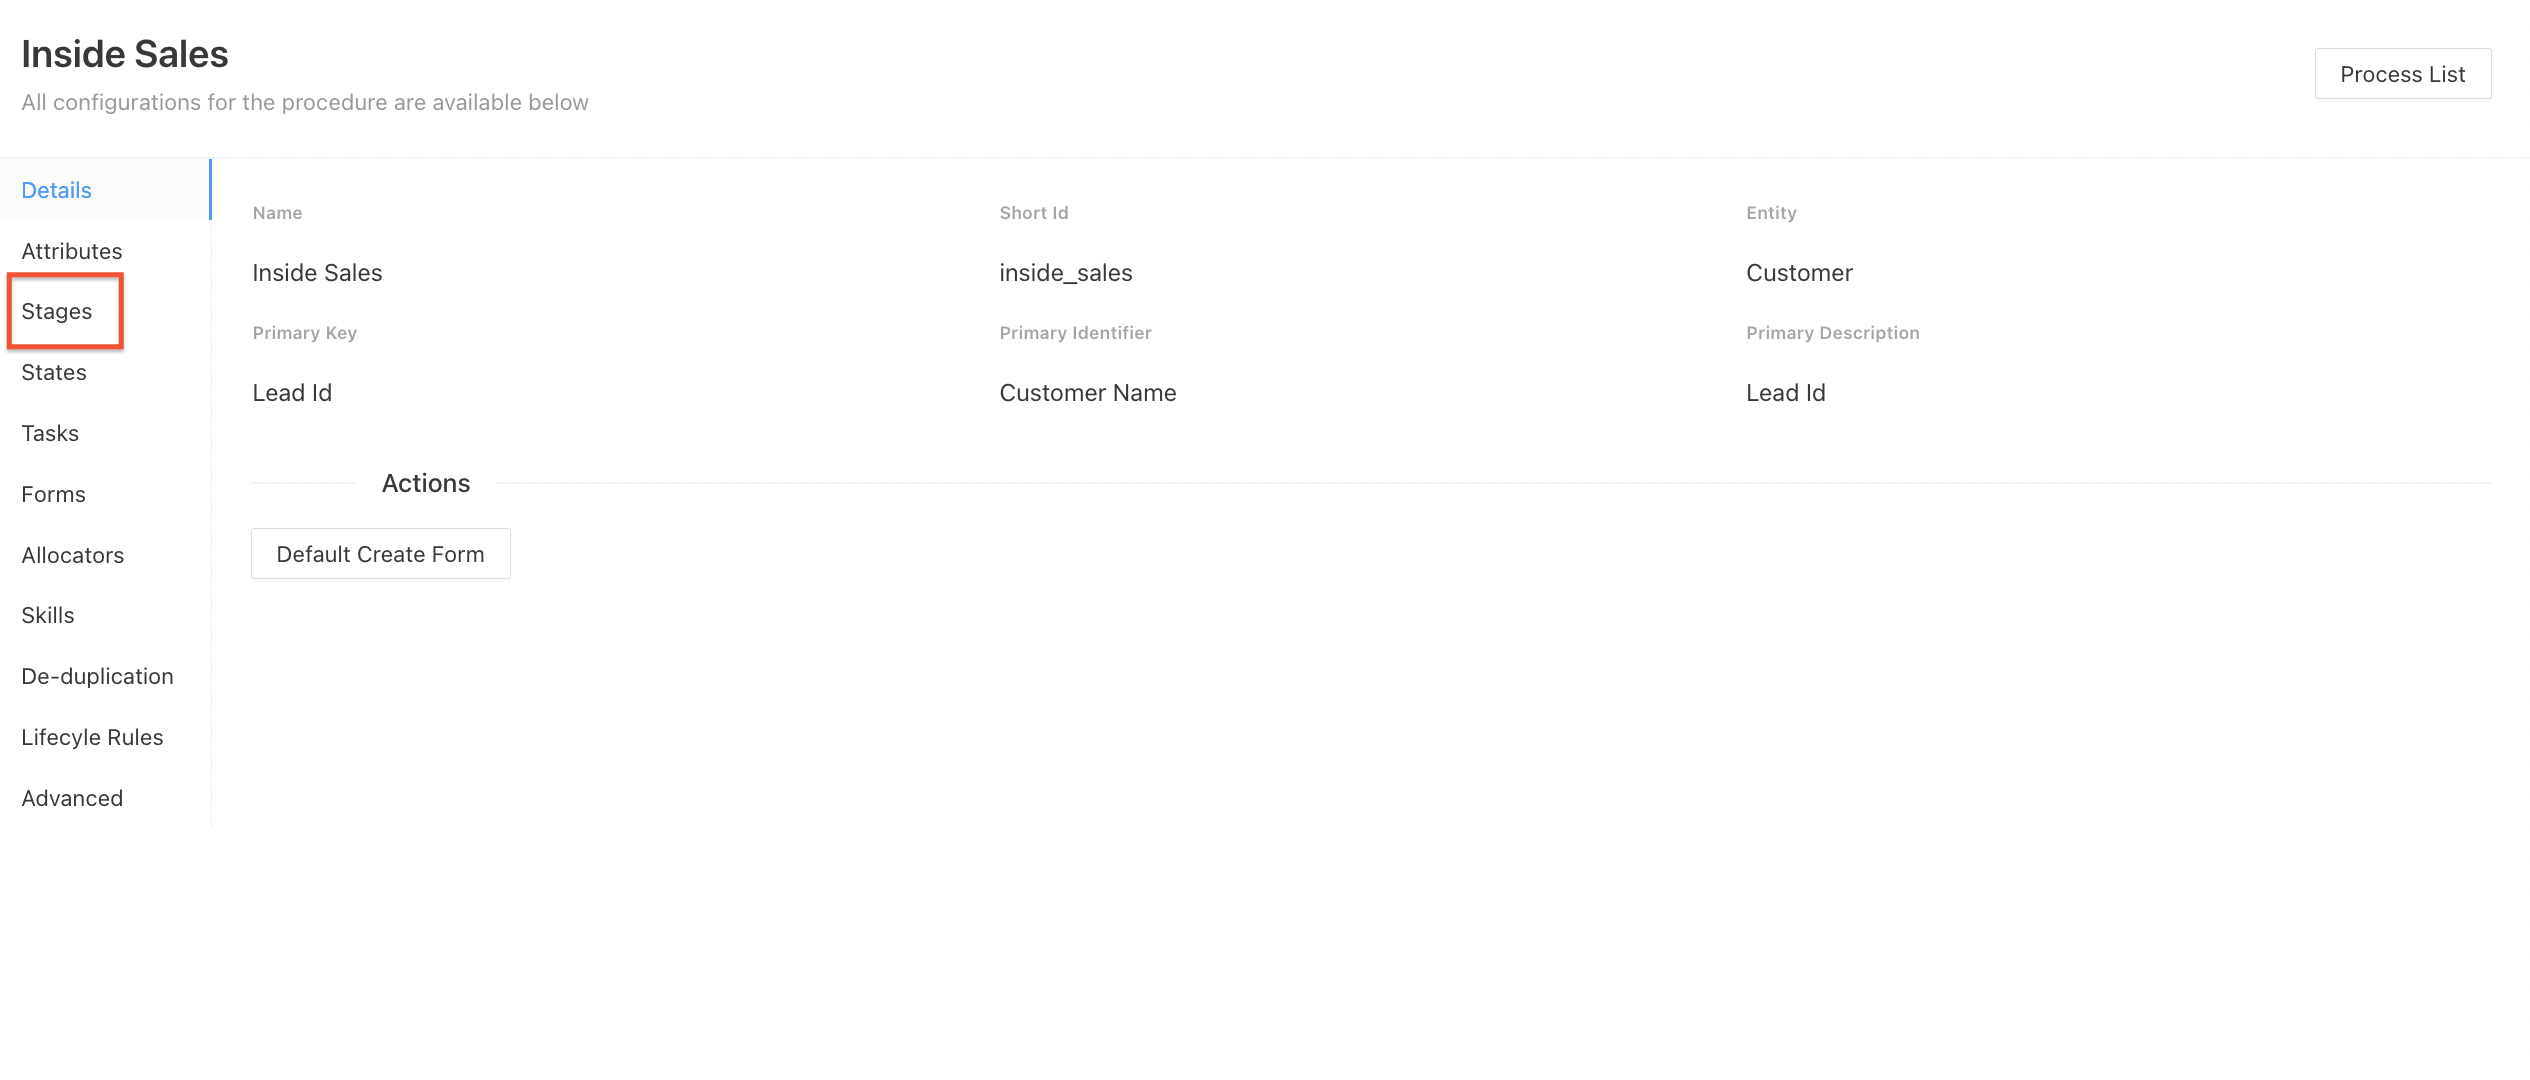
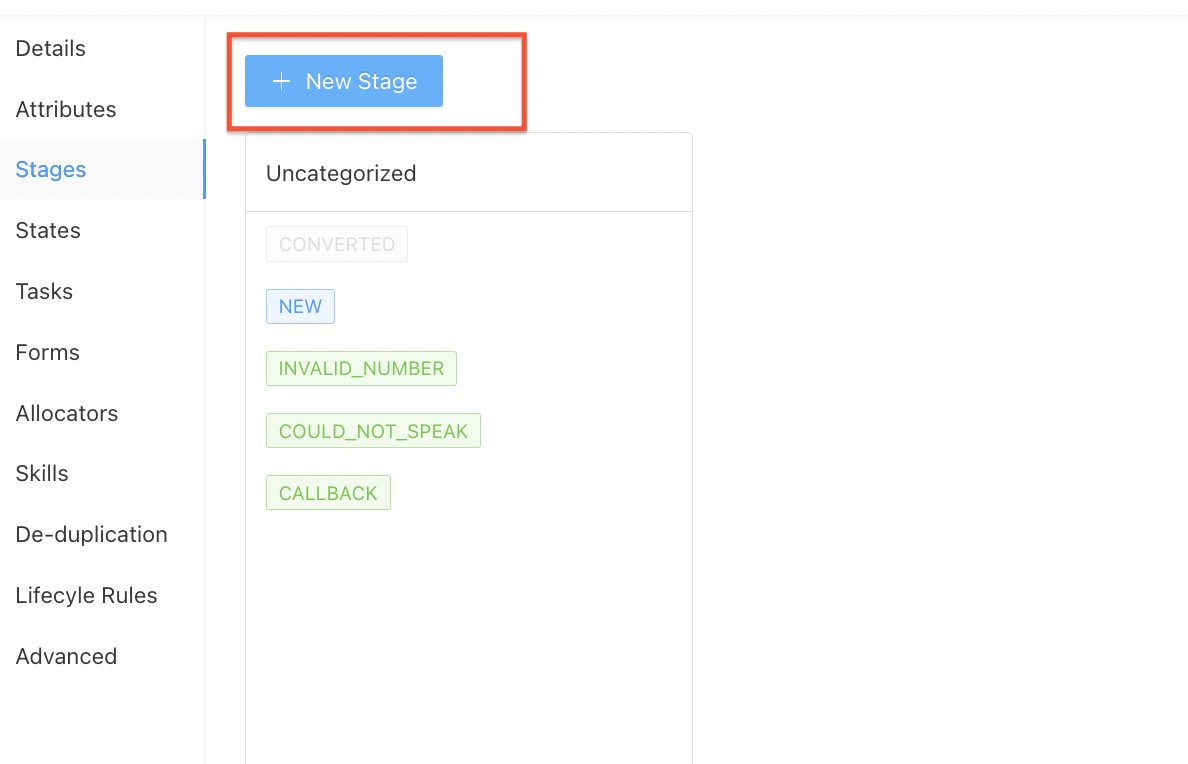
- Click on 'New Stage' to create a stage
- Add the Name of the Stage, shortId and description(optional)

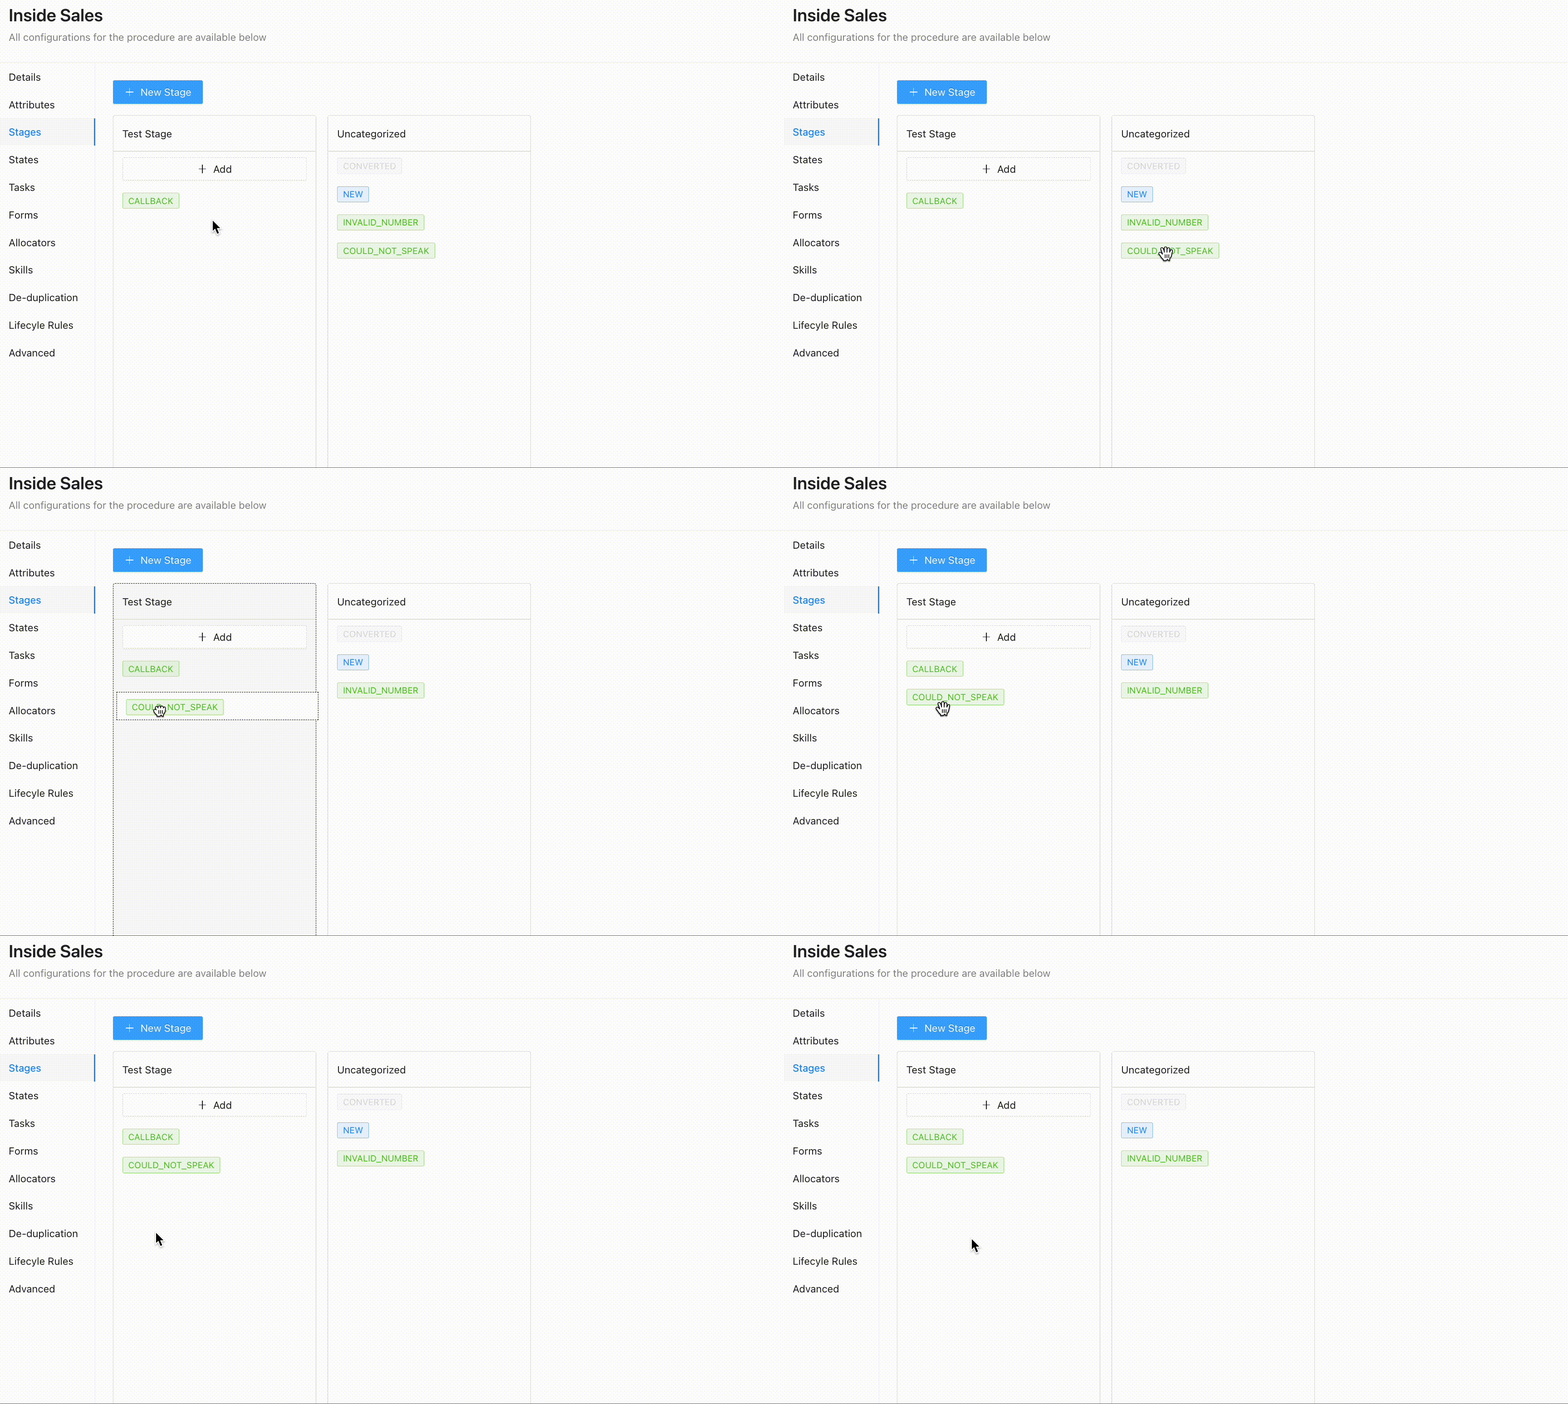
- Map the states you want in the new created stage by:
Dragging the States from 'Uncategorized' section to the new create stage
OR
By clicking on the Add option in the stage and then adding the state
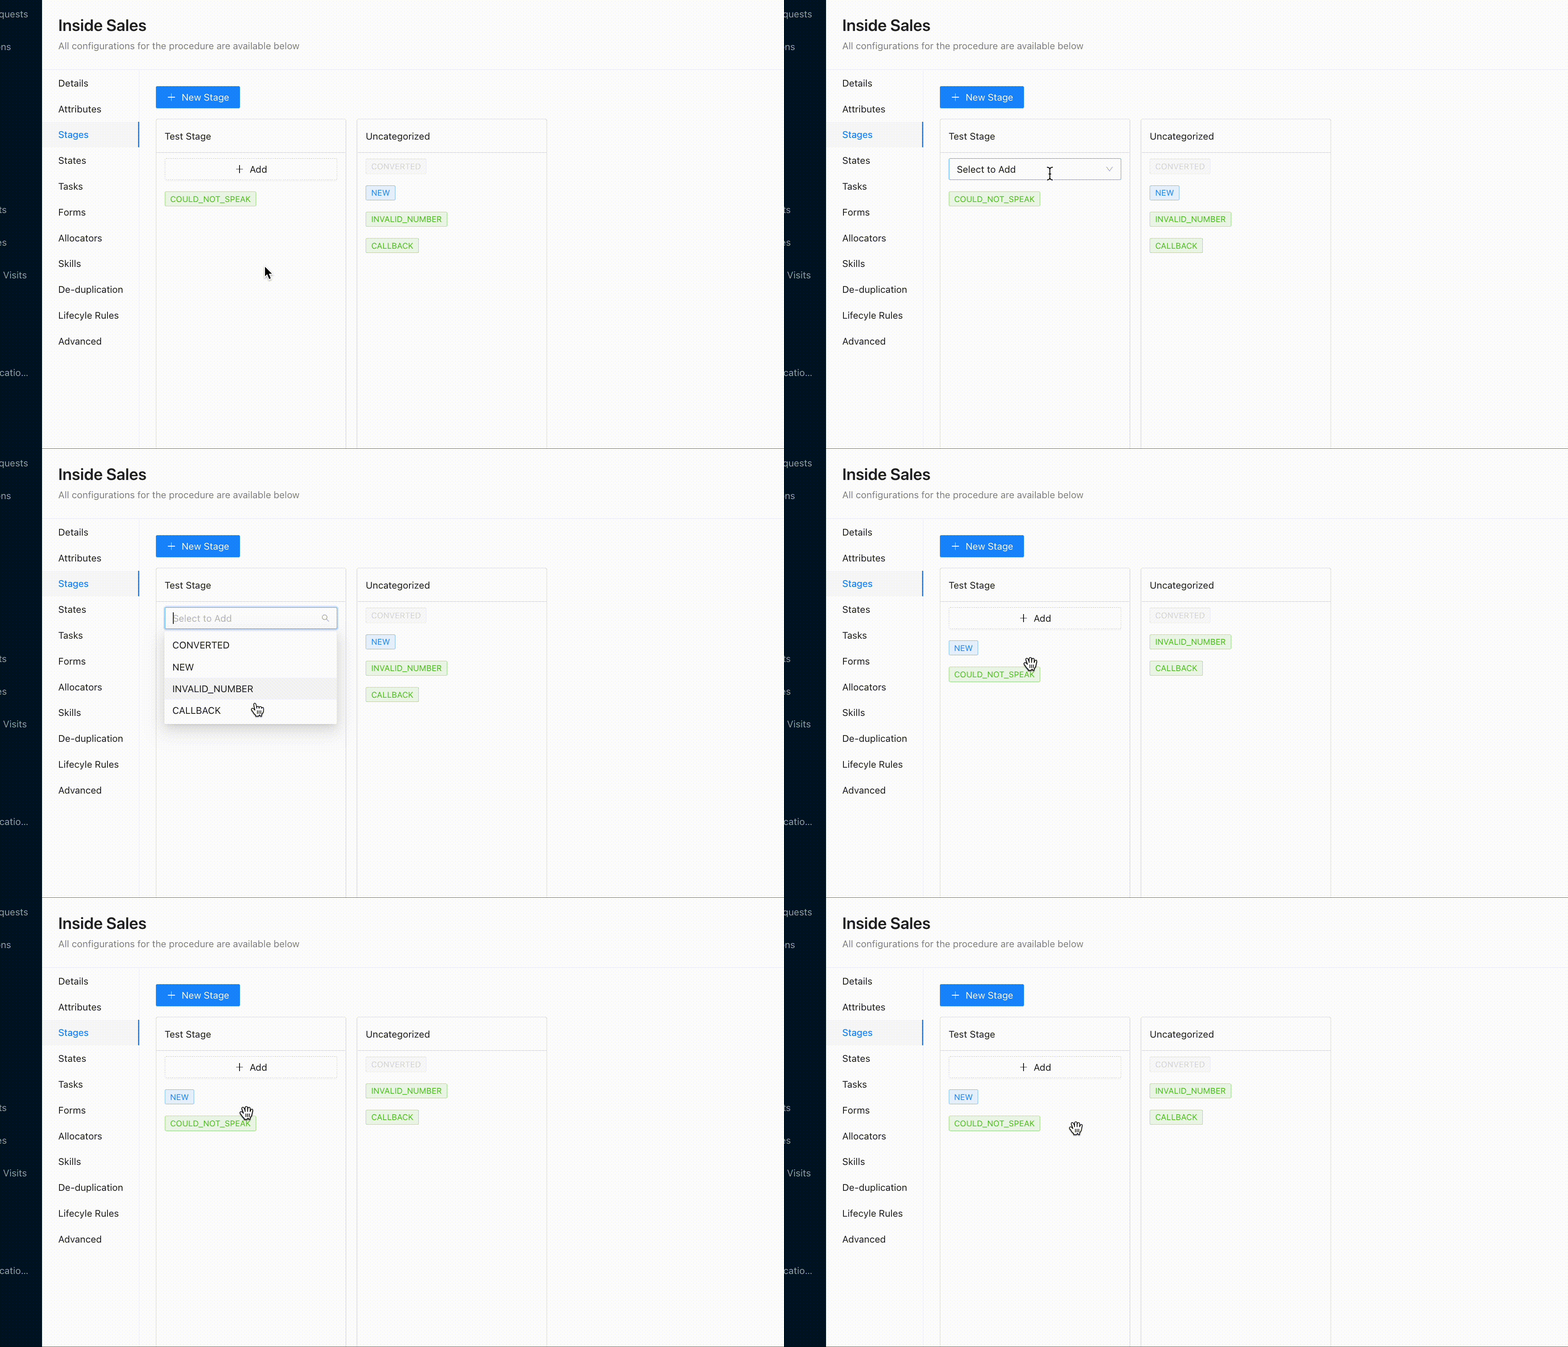
The stages for the states have been created
¶ Filter Leads by Stage
You can filter your leads based on the stage mapping added.
- Go to lead/process list

- Select the filter as stage == [the required stage name which you created] and then click enter


¶ Stages and Spaces
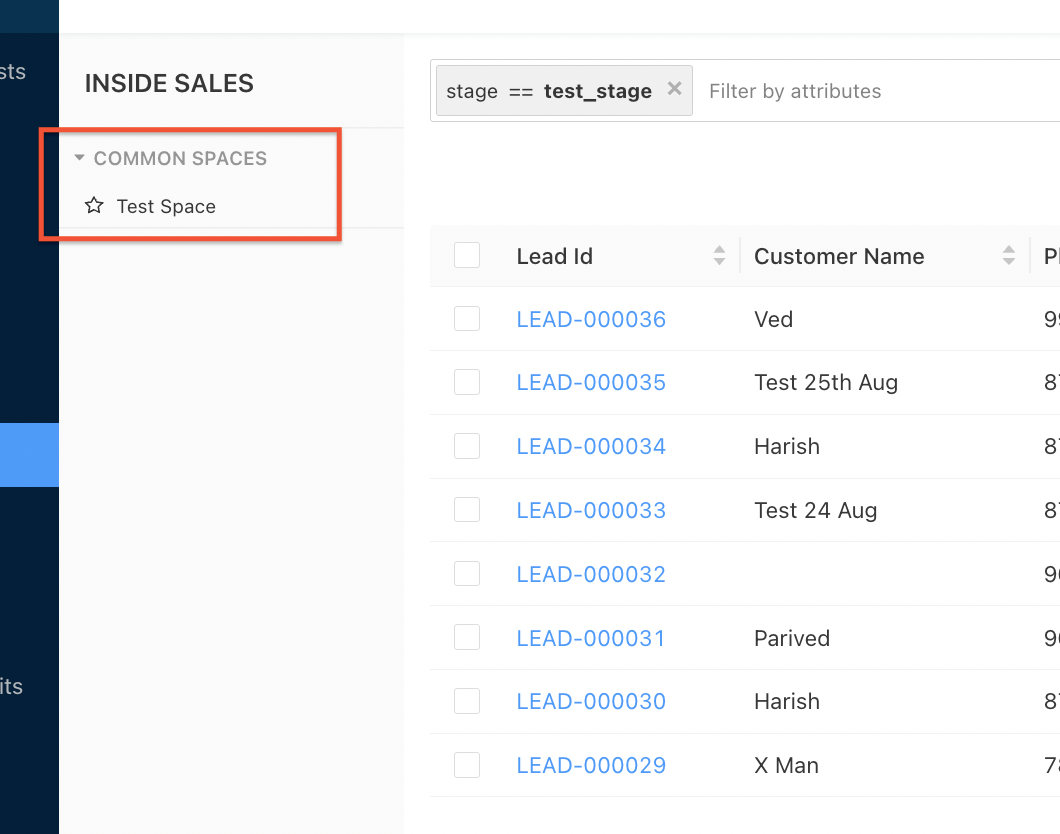
Spaces on ChakraHQ Sales are a powerful feature using which, you can create filtered views of your lead list for yourself, a particular role, or your team. You can create spaces based on stages too. Here's how:
- Go to lead/process list

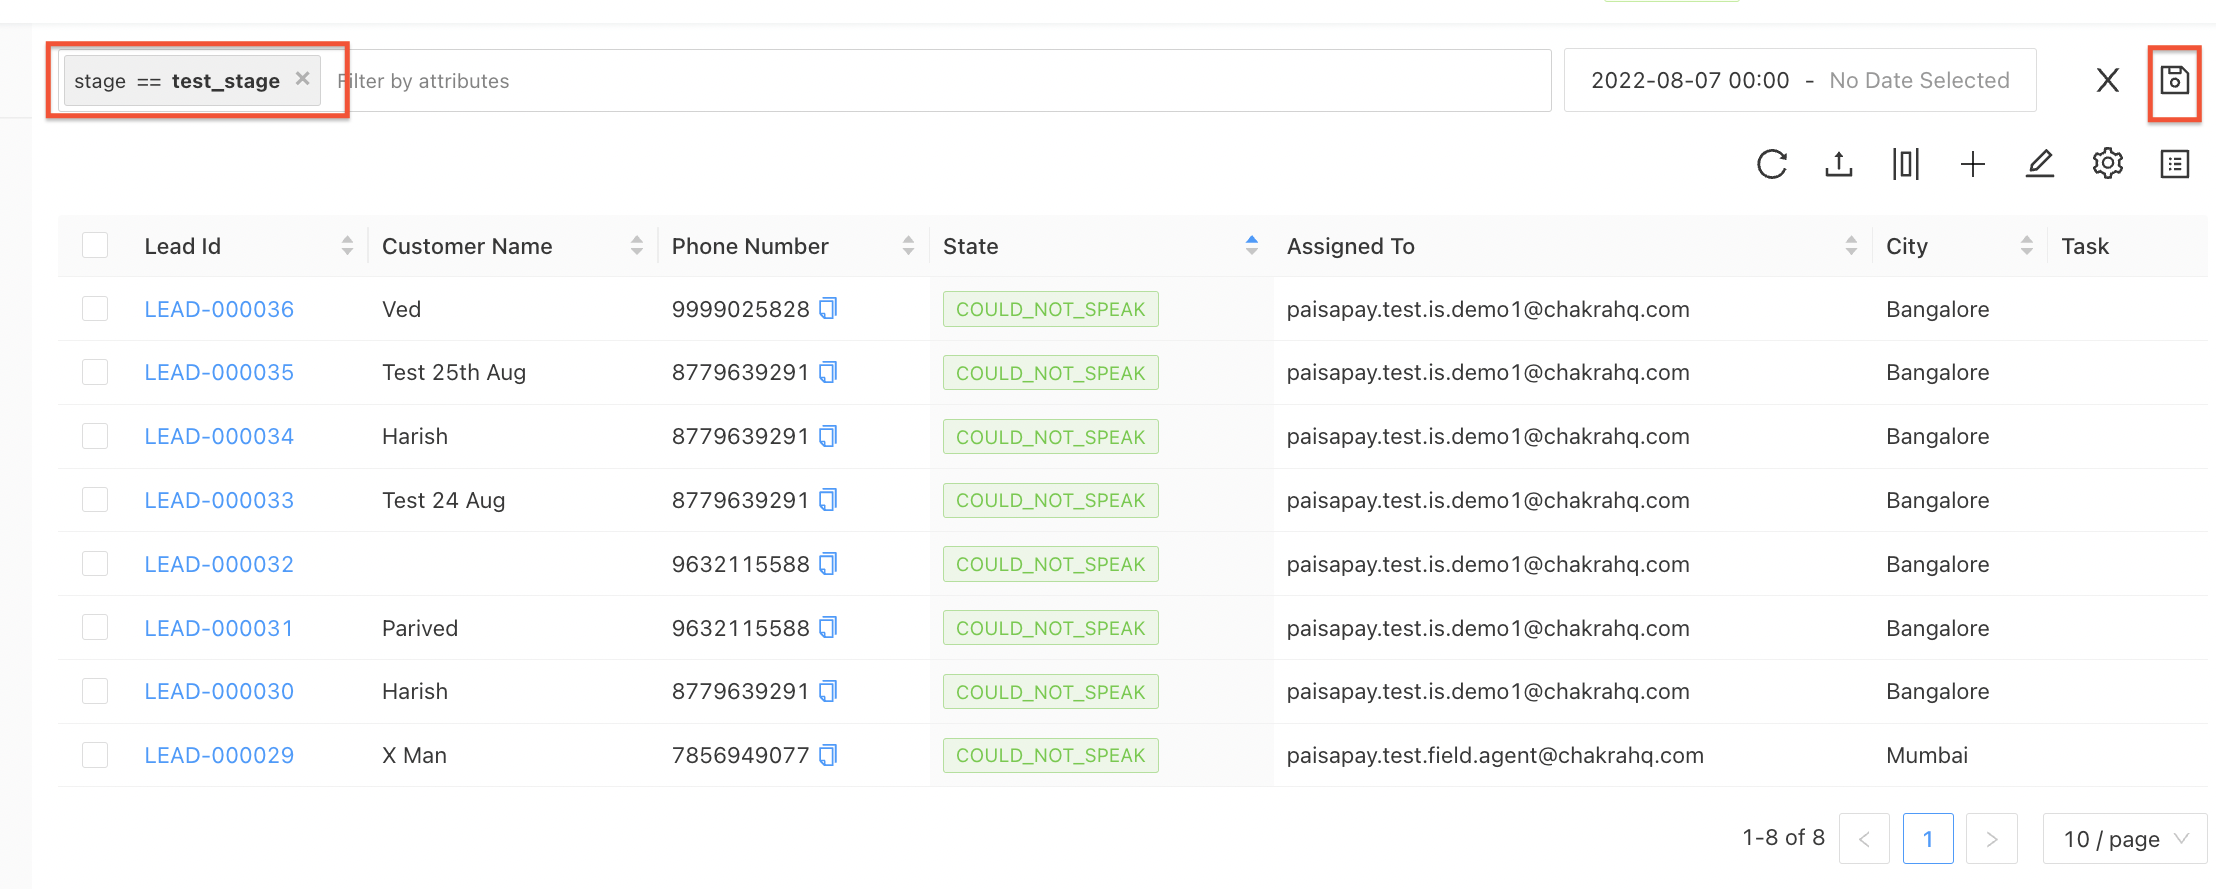
- Select the filter as stage == [the required stage name] and then click enter
- Click on the 'Save Space' icon on the right side of filter bar

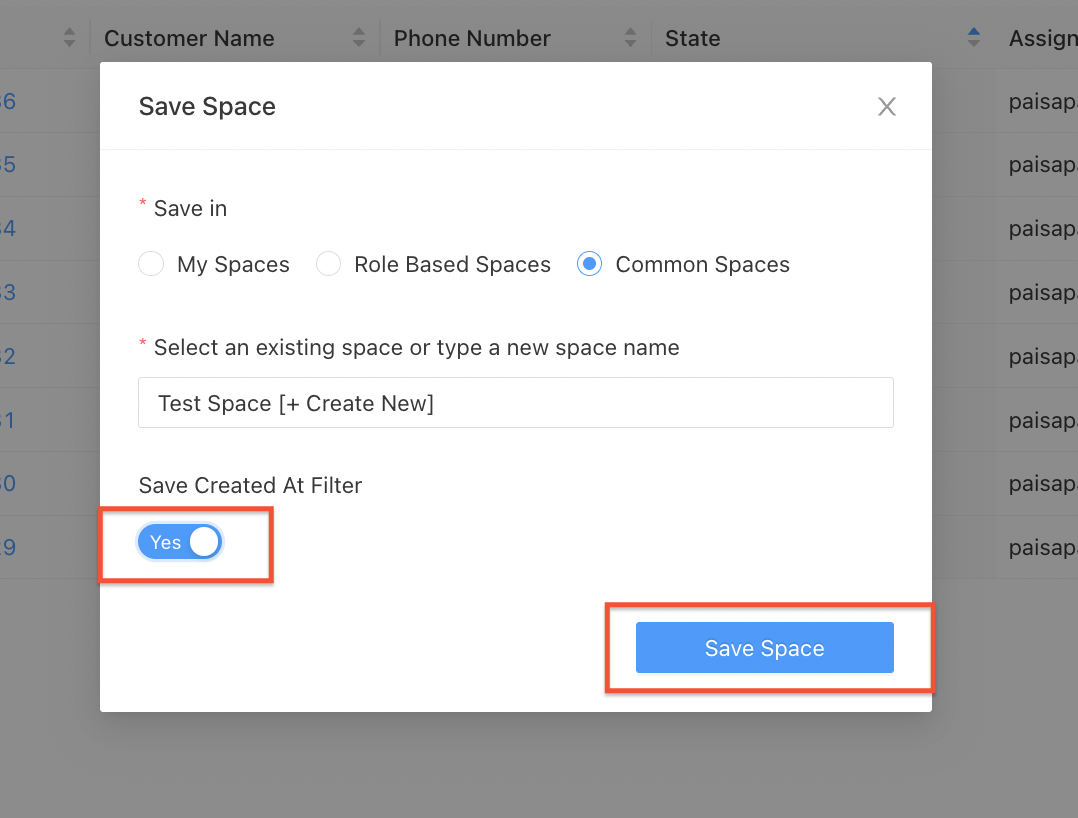
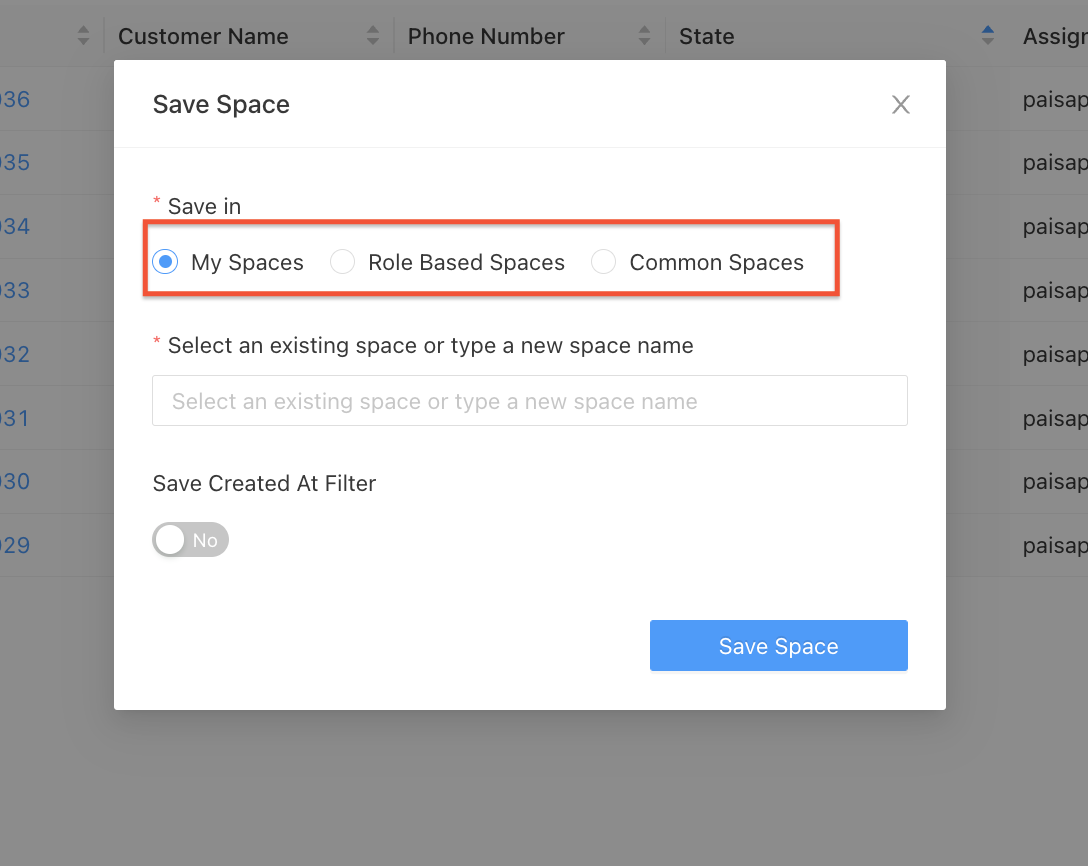
- Select the 'Save In' location space :
- My Space: This will save the space to your space which will not be visible to anyone except you
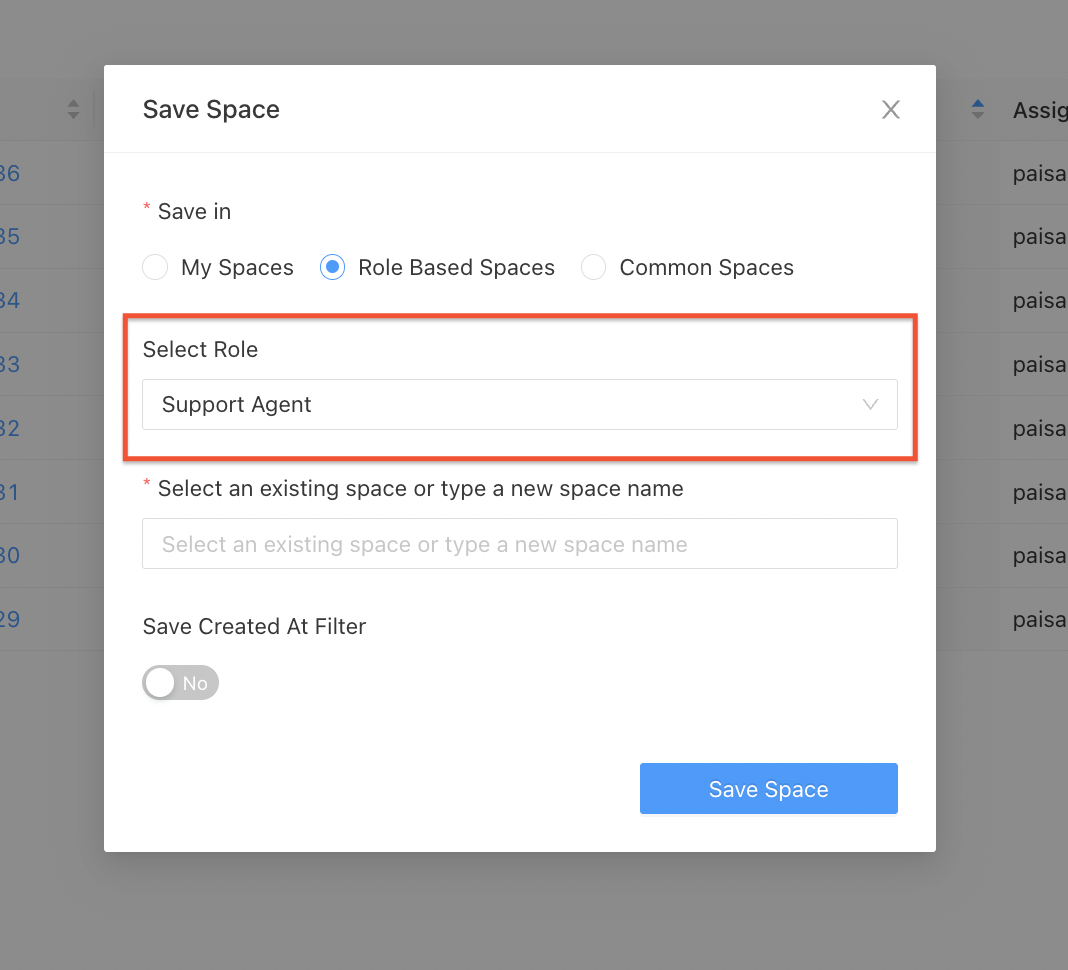
- Role Based Space: This will save the space as per the role you select. All the users of that role will have visibiltiy to that space
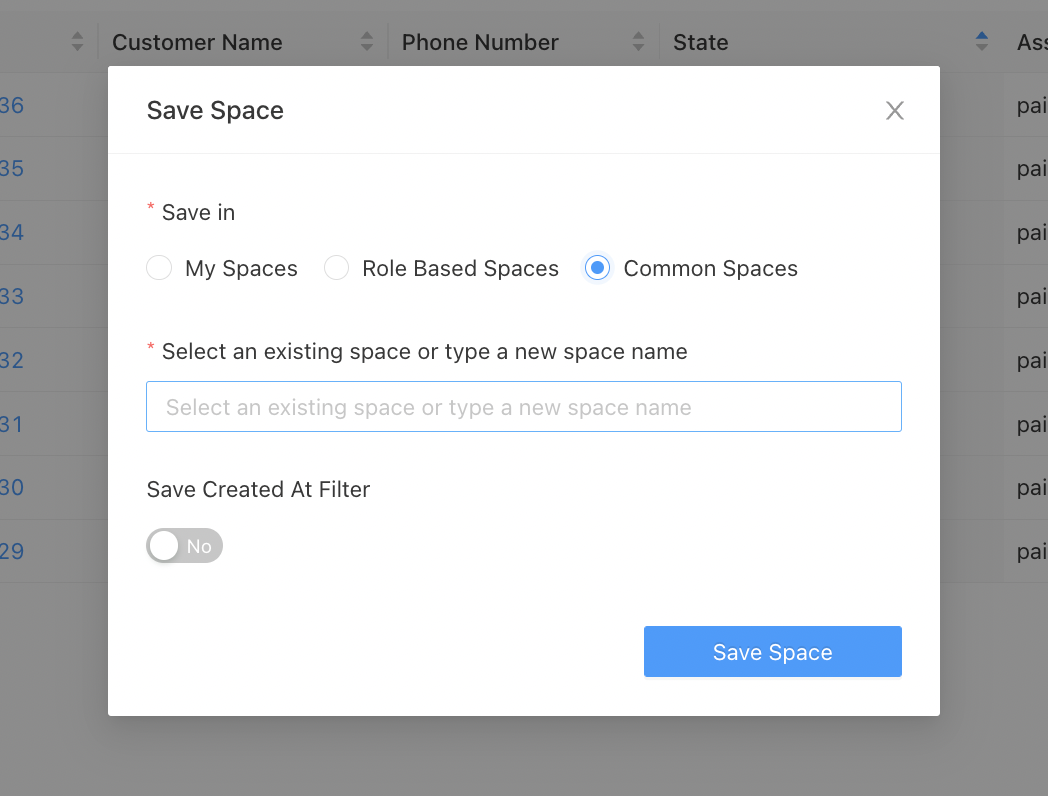
- Common Space: This will save the space in team level i.e all the users will have the visibilty to this space
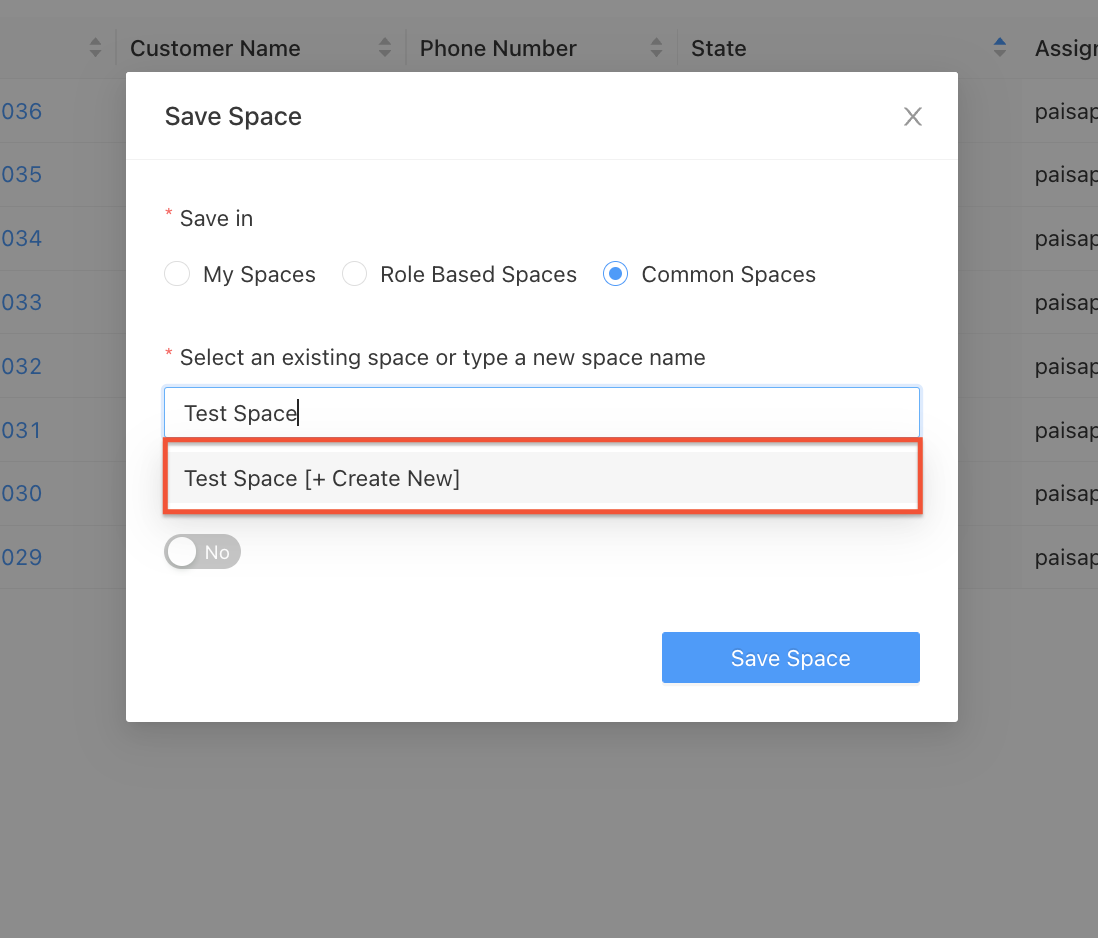
- Add the name of the Space
- Select the toggle of 'Save Created At Filter' if you want to save the filter with the added createdAt timestamp
- Click 'Save Space'
