User Management
How to Manage CRM Users: Users, Roles, Shifts & more.
User Management Overview
Step-by-step guide to configure User Management setup in Chakra Sales CRM
User Management Types
There are different type of user manage sections in Chakra. Users and Roles are the most important and generally used by teams. The section can be accesses by Admin and Manager Role Types only.
Access the User Management Setting via Admin -> User Management
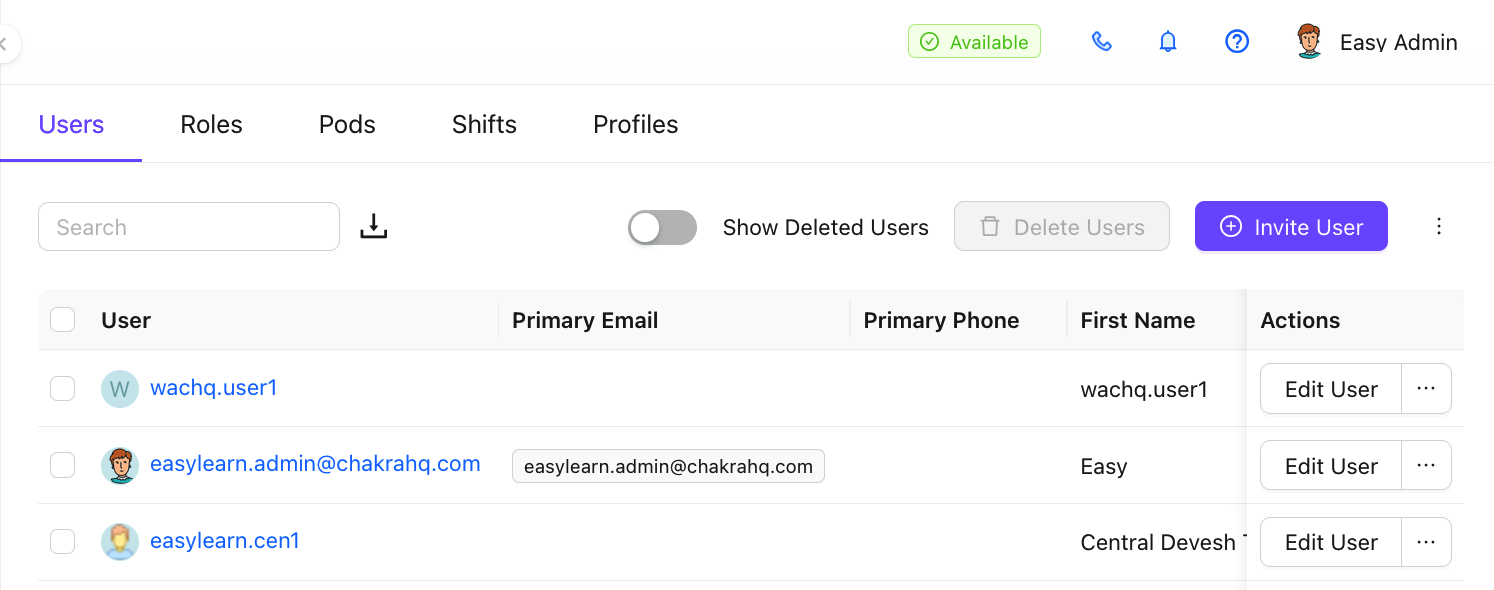
Users
User are company employees or team members - such as sales reps, marketers, or support agents - who are mandated to access to log in, manage customer data, track interactions, update activities.
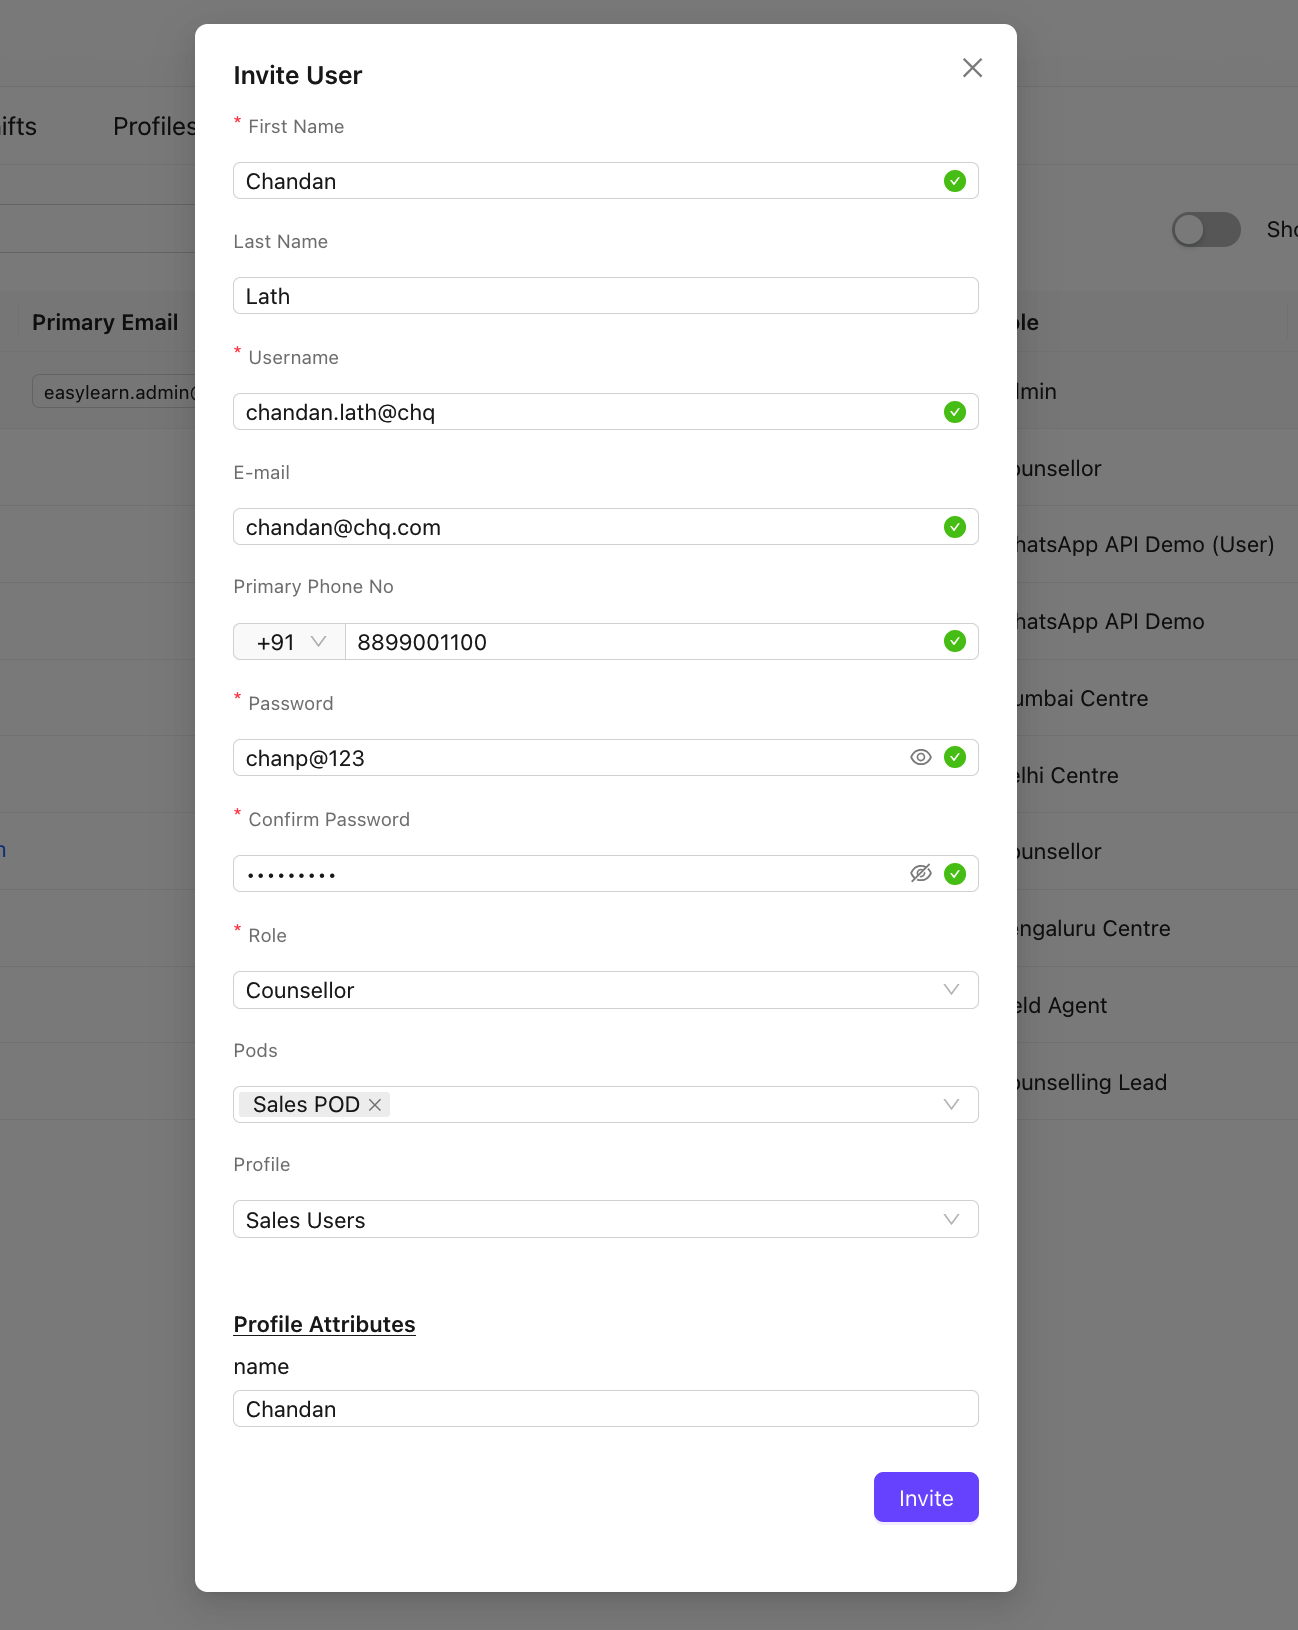
Add a User
To add a New User follow the below steps:
- Go to the Users tab in User Management
- Click on
⊕Invite User - Update the Invite User form
- First Name *, Last Name, Username *
- Email, Primary Phone No
- Password *
- Role *, Pods, Profile
* Mandatory fields
- Click on
Invitebutton in form to add the user
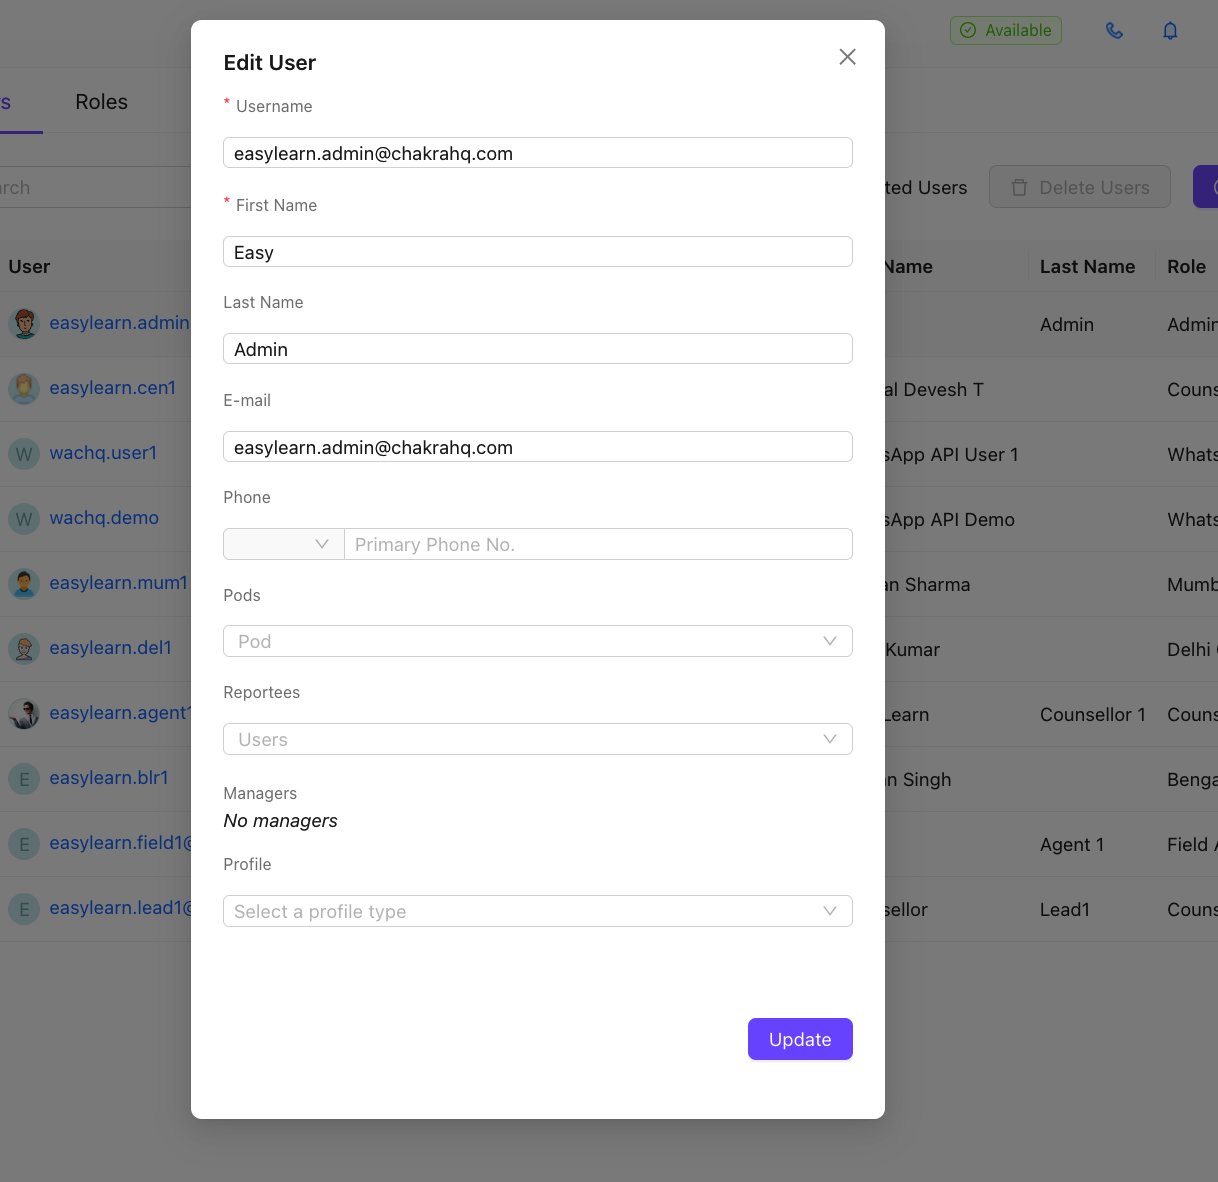
Edit User Details
To edit a user follow the below steps
- Click on
Edit Userbutton against the User in the user list - Update relevant fields
- Click on
Updateto complete the user edit
Change User Settings
To modigy other user settings, click on ⋯
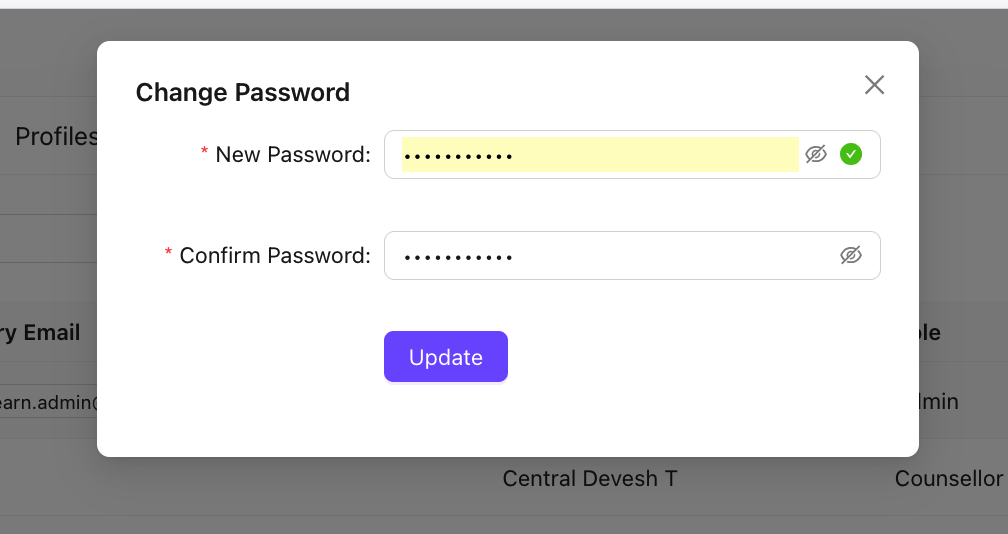
Change Password
Click on ⋯
- Click on the
Change Passwordoption - Update the New Password and Confirm Password fields
- Click on
Update
The user password is successfully updated
Change Role
Click on ⋯
- Click on
Change Roleoption - Choose the new role from the dropdown
- Click on
Change Rolebutton
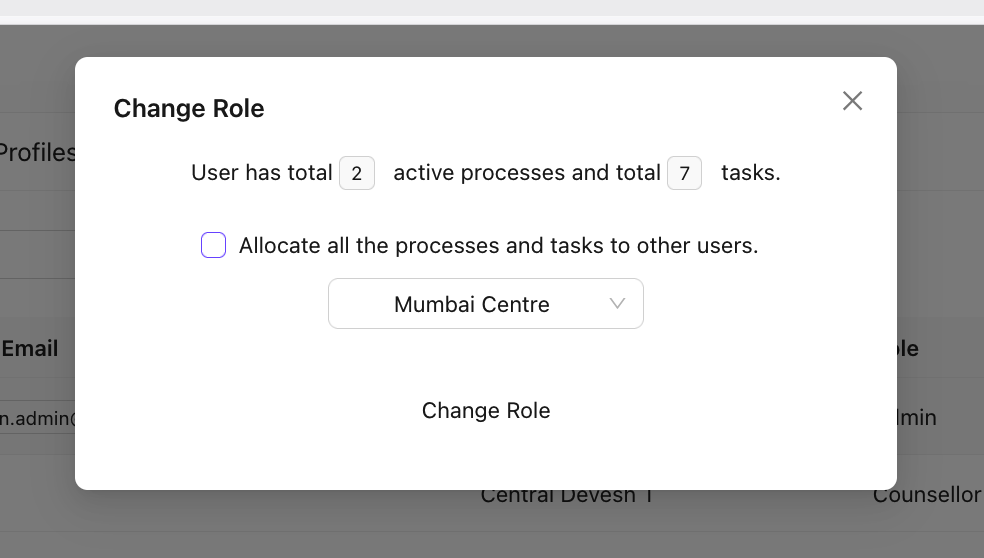
Note: Choose the option Allocate all the processes and tasks to other users if applicable. This will assign the existing user leads to other users randomly
Disable/Enable Login
To disable any user in Chakra Sales CRM, use this option. Once a user is disabled it will not allow existing user to log in Chakra using their credentials. Although, the user will continue to receive lead or chat assignment.
Disable Login
- Click on
Diasble Loginoption - Confirm the
Yes, Diable Loginto disable the user
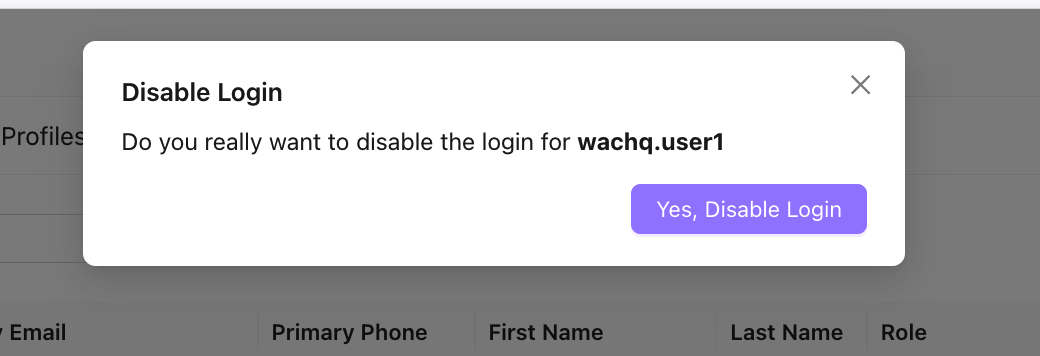
The user is successfully disabled in Chakra now.
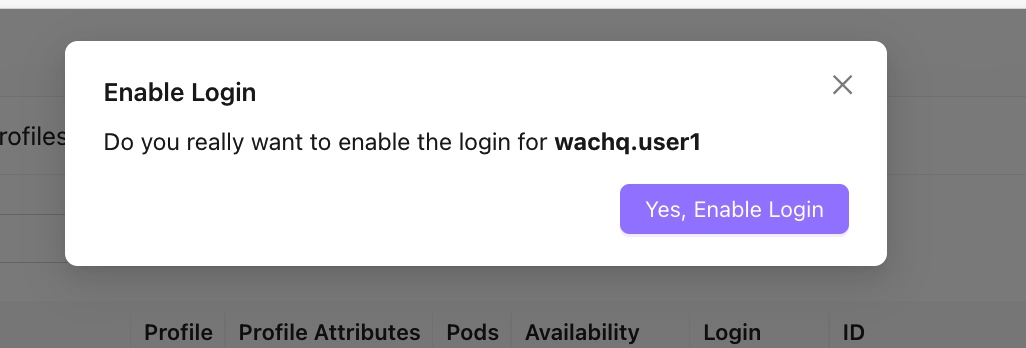
Enable Login
To enable a disables user login
- For a disabled user login, an Enable Login option is visible
- Click on
Yes, Enable Loginoption.
The user is successfully enabled in Chakra now.
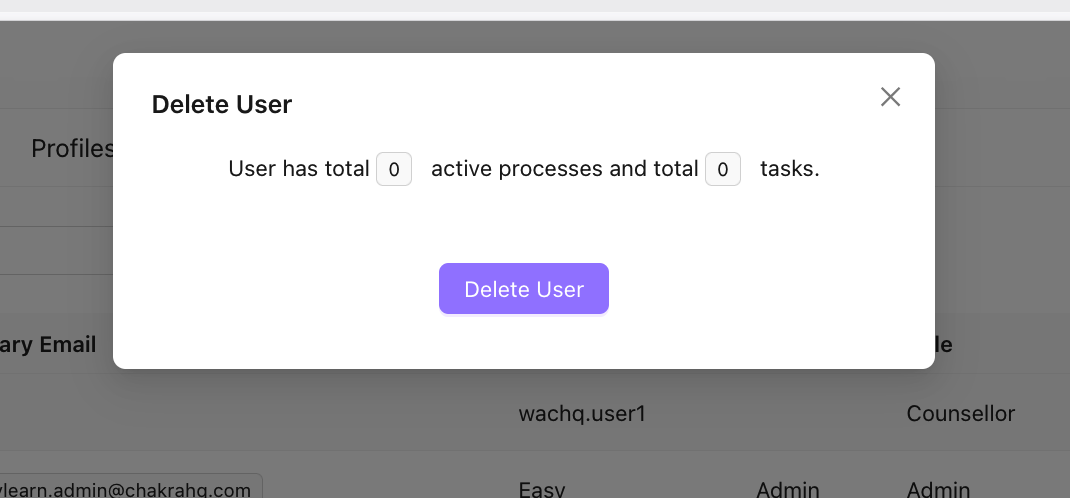
Delete User
To delete a user in Chakra use the Delete User option
- Click on
Delete Useroption - Confirm Delete User in the pop up window
The user is successfully deleted.
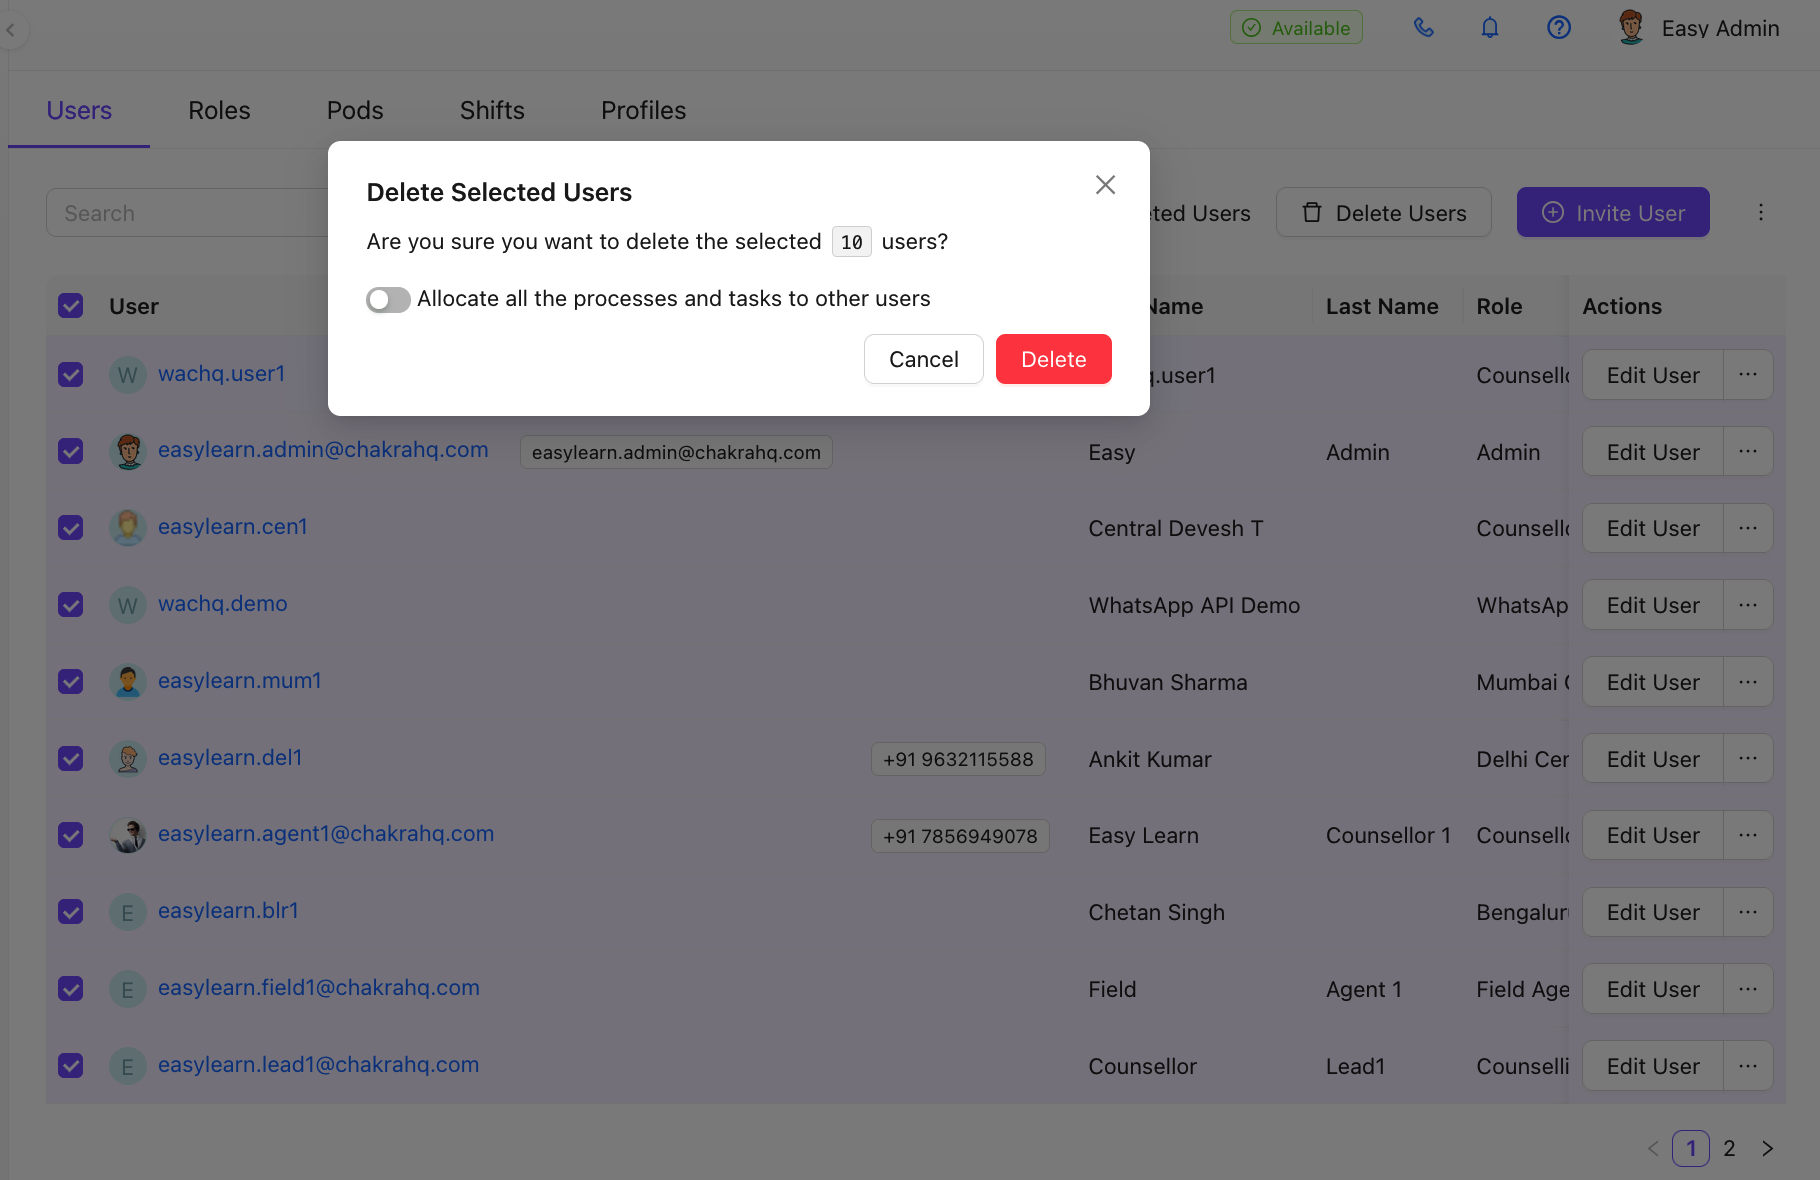
Bulk Delete Users
To bulk delete users follow the below steps.
- Use the
☑checkbox to choose the users to delete in the user list - Click on
Delete Usersbutton on the top right of the User list dashboard
In the pop up window, check the deletion message:
Are you sure you want to delete the selected _ users?
- User toggle option To: Allocate all the processes and tasks to other users
- Click
Delete
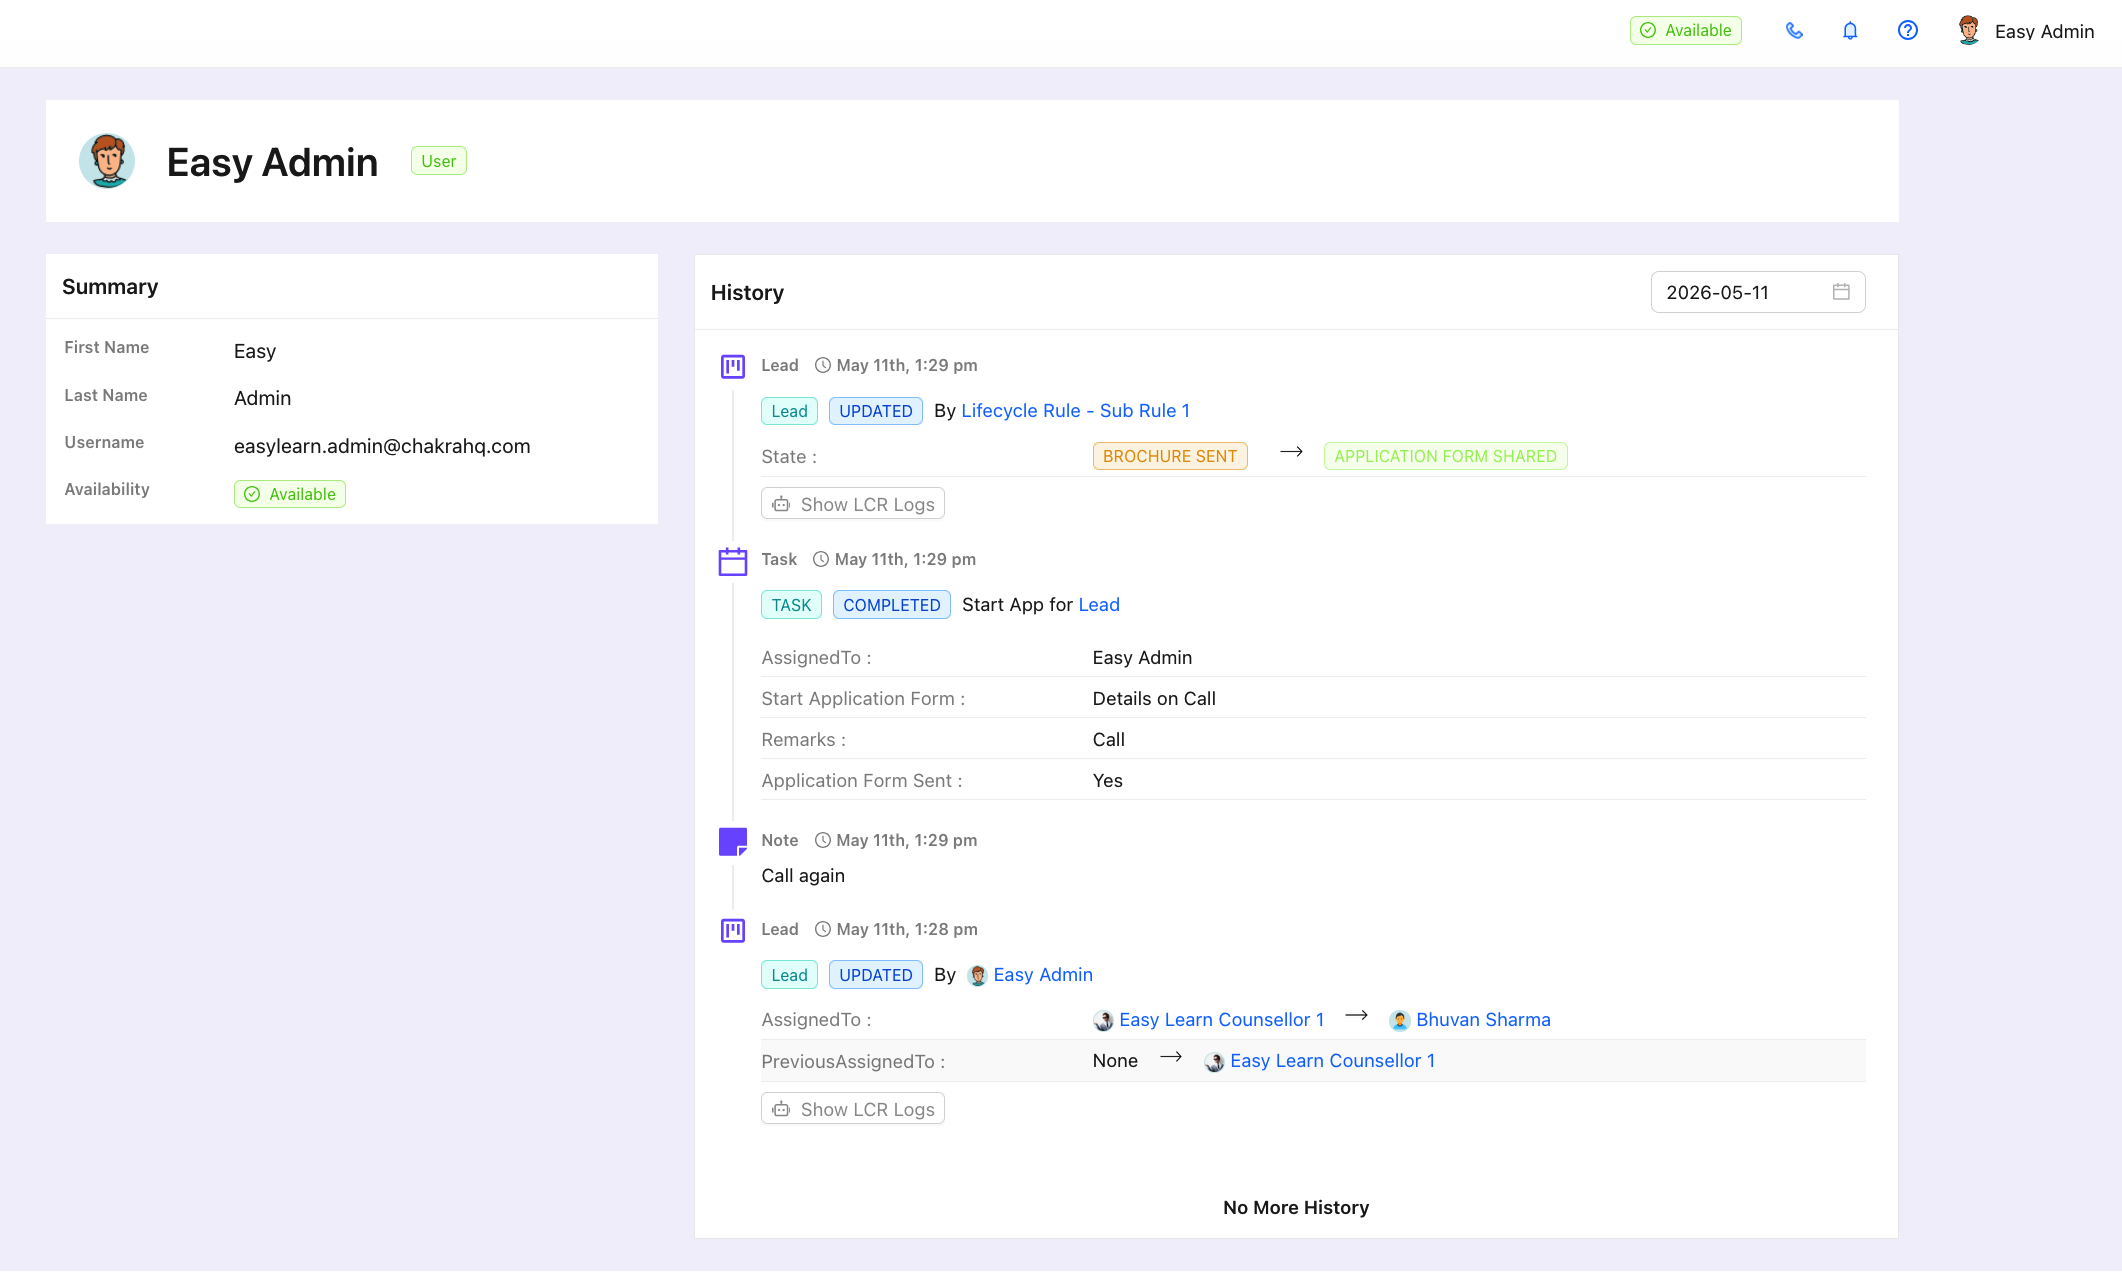
User History
To accsss the user activity history follow the step below:
- Click on the User in the Name column
- Check the user history in the right hand side column
Others
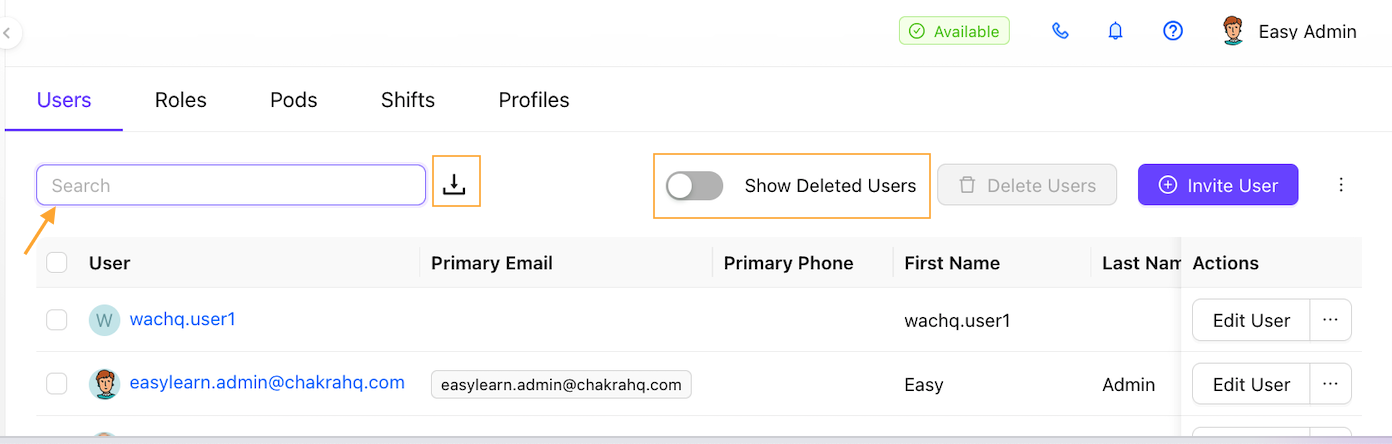
Search Users
Use the search bar on the top left of the user list dashbaord to search. Search by username or any user attribute like role, profile,etc
Show Deleted Users
To show delete users use the toggle: Show Deleted Users on the top of the User list dashboard
Download Users
To download user list data click on ⬇️ optionon on the top of user list dashboard. The list is downloaded in a csv file.

Roles
Role defines a user's fucntion or capacity within the organizational, primarily determining what data they can view or modify based on their role. Roles control visibility - such as allowing managers to view subordinates' records - while profiles control functional permissions (create, edit, delete).
Add a Role
To add a New role in Chakra Sales CRM follow the below steps to create a new role.
- Go to the Roles tab in User Management
- Click on the
⊕ Add Rolebutton on the top right - Add details in the Create Role form
- Role Name
- Role Type (User, Manager, Admin)
- Description
- Click on
Createto create the new role

Edit a Role
To edit a role in Chakra, go throught he following steps
- Click on
Edit Rolebutton against the Role, in the Action column - Modify any of the fields and click
Update
The role is modified now.
Search a Role
To search for a role.
- Go to the Search Bar 𓋰
- Enter the role name or role attributes (like role type)
Download Role Data
To download the role data, use the ⬇️ button at the top of the role list dashboard. The data is downloaded in csv format.
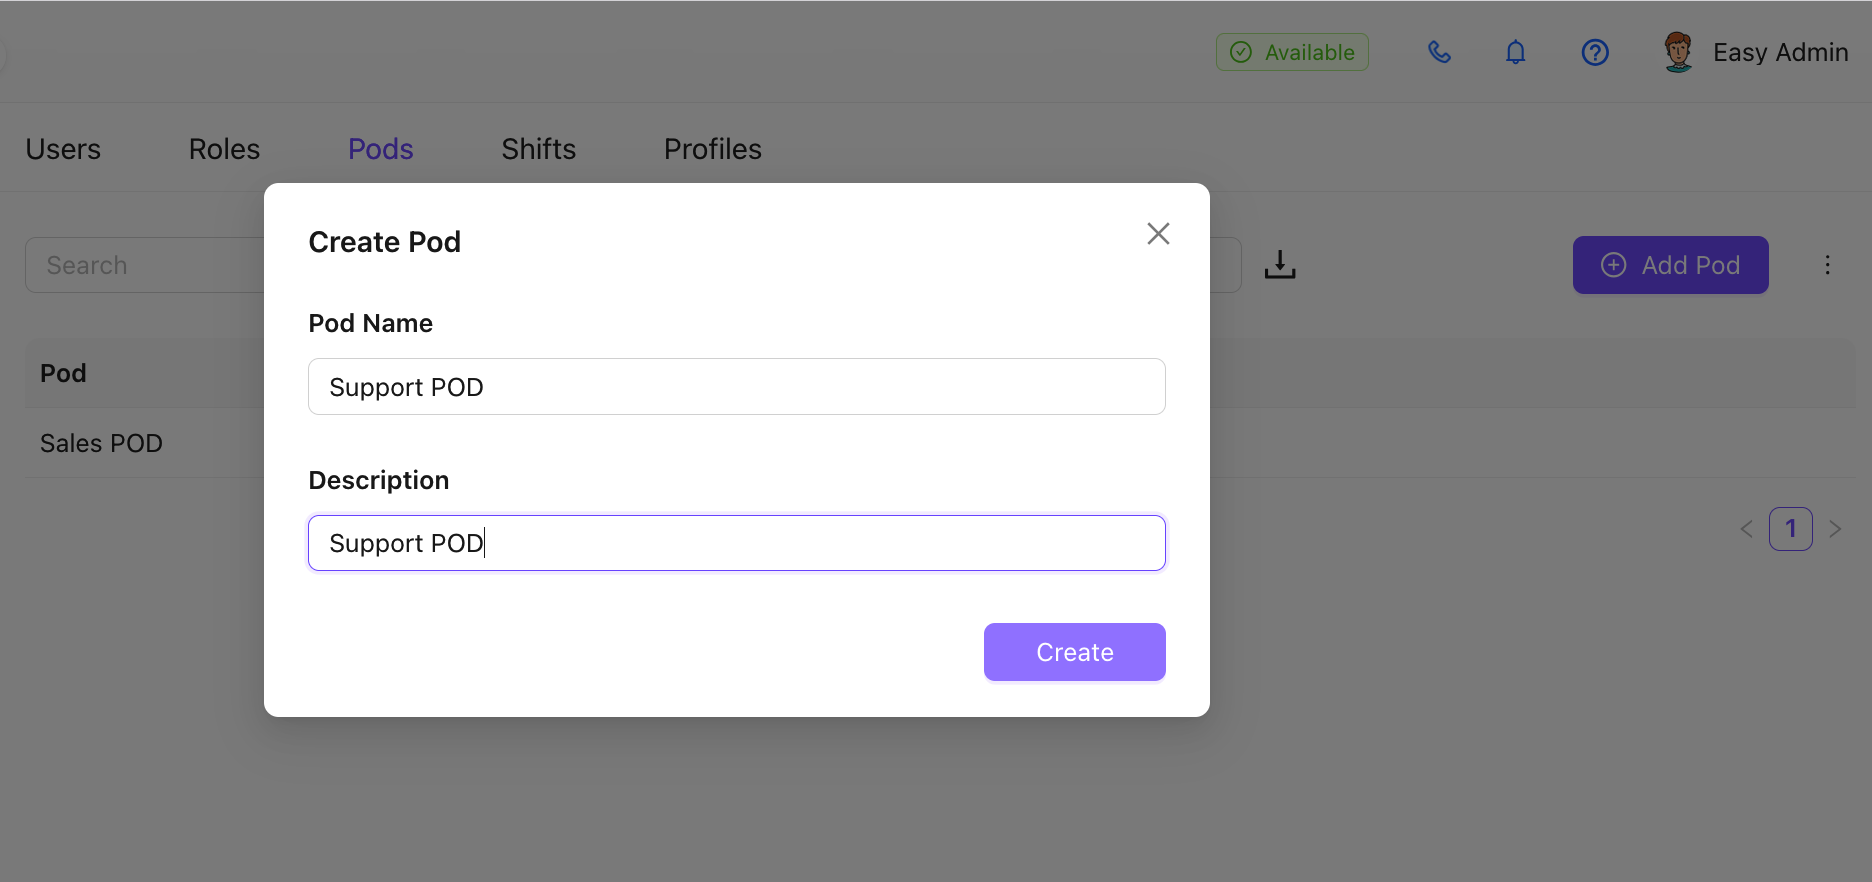
Pods
Pods are specialiazed group of users to manage a specific cohort of leads or prospects
Add a Pod
To add a pod in Chakra:
- Go to the Pods tab in User Management. Click on ⊕ Add Pod
- Add the pod details in the pop up form
- Pod Name
- Description
- Click on
Createto create the new pod
Shifts
Define shift hours for different roles for your team in Chakra as per your business requirements.
Create a Shift
- Go to the Shift tab in User Management.
- Click on
Add - Edit the Name of the shift
- Configure Shift details
- Shift Start Time
- Shift End Time
- Working Days
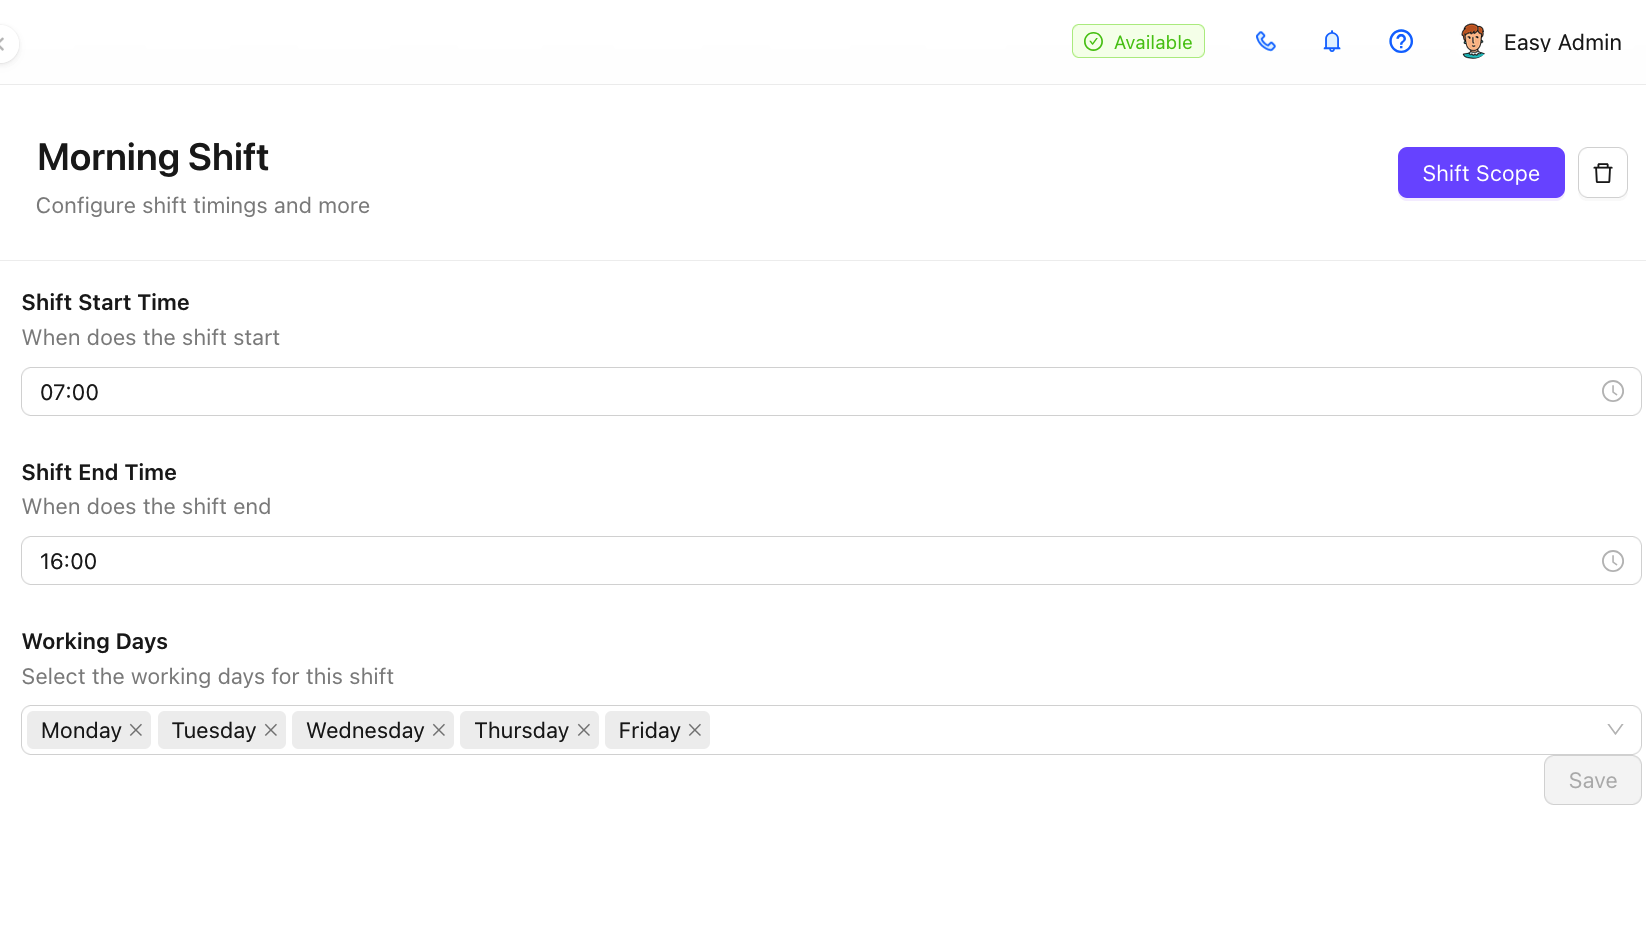
- Click on
Save - Click on
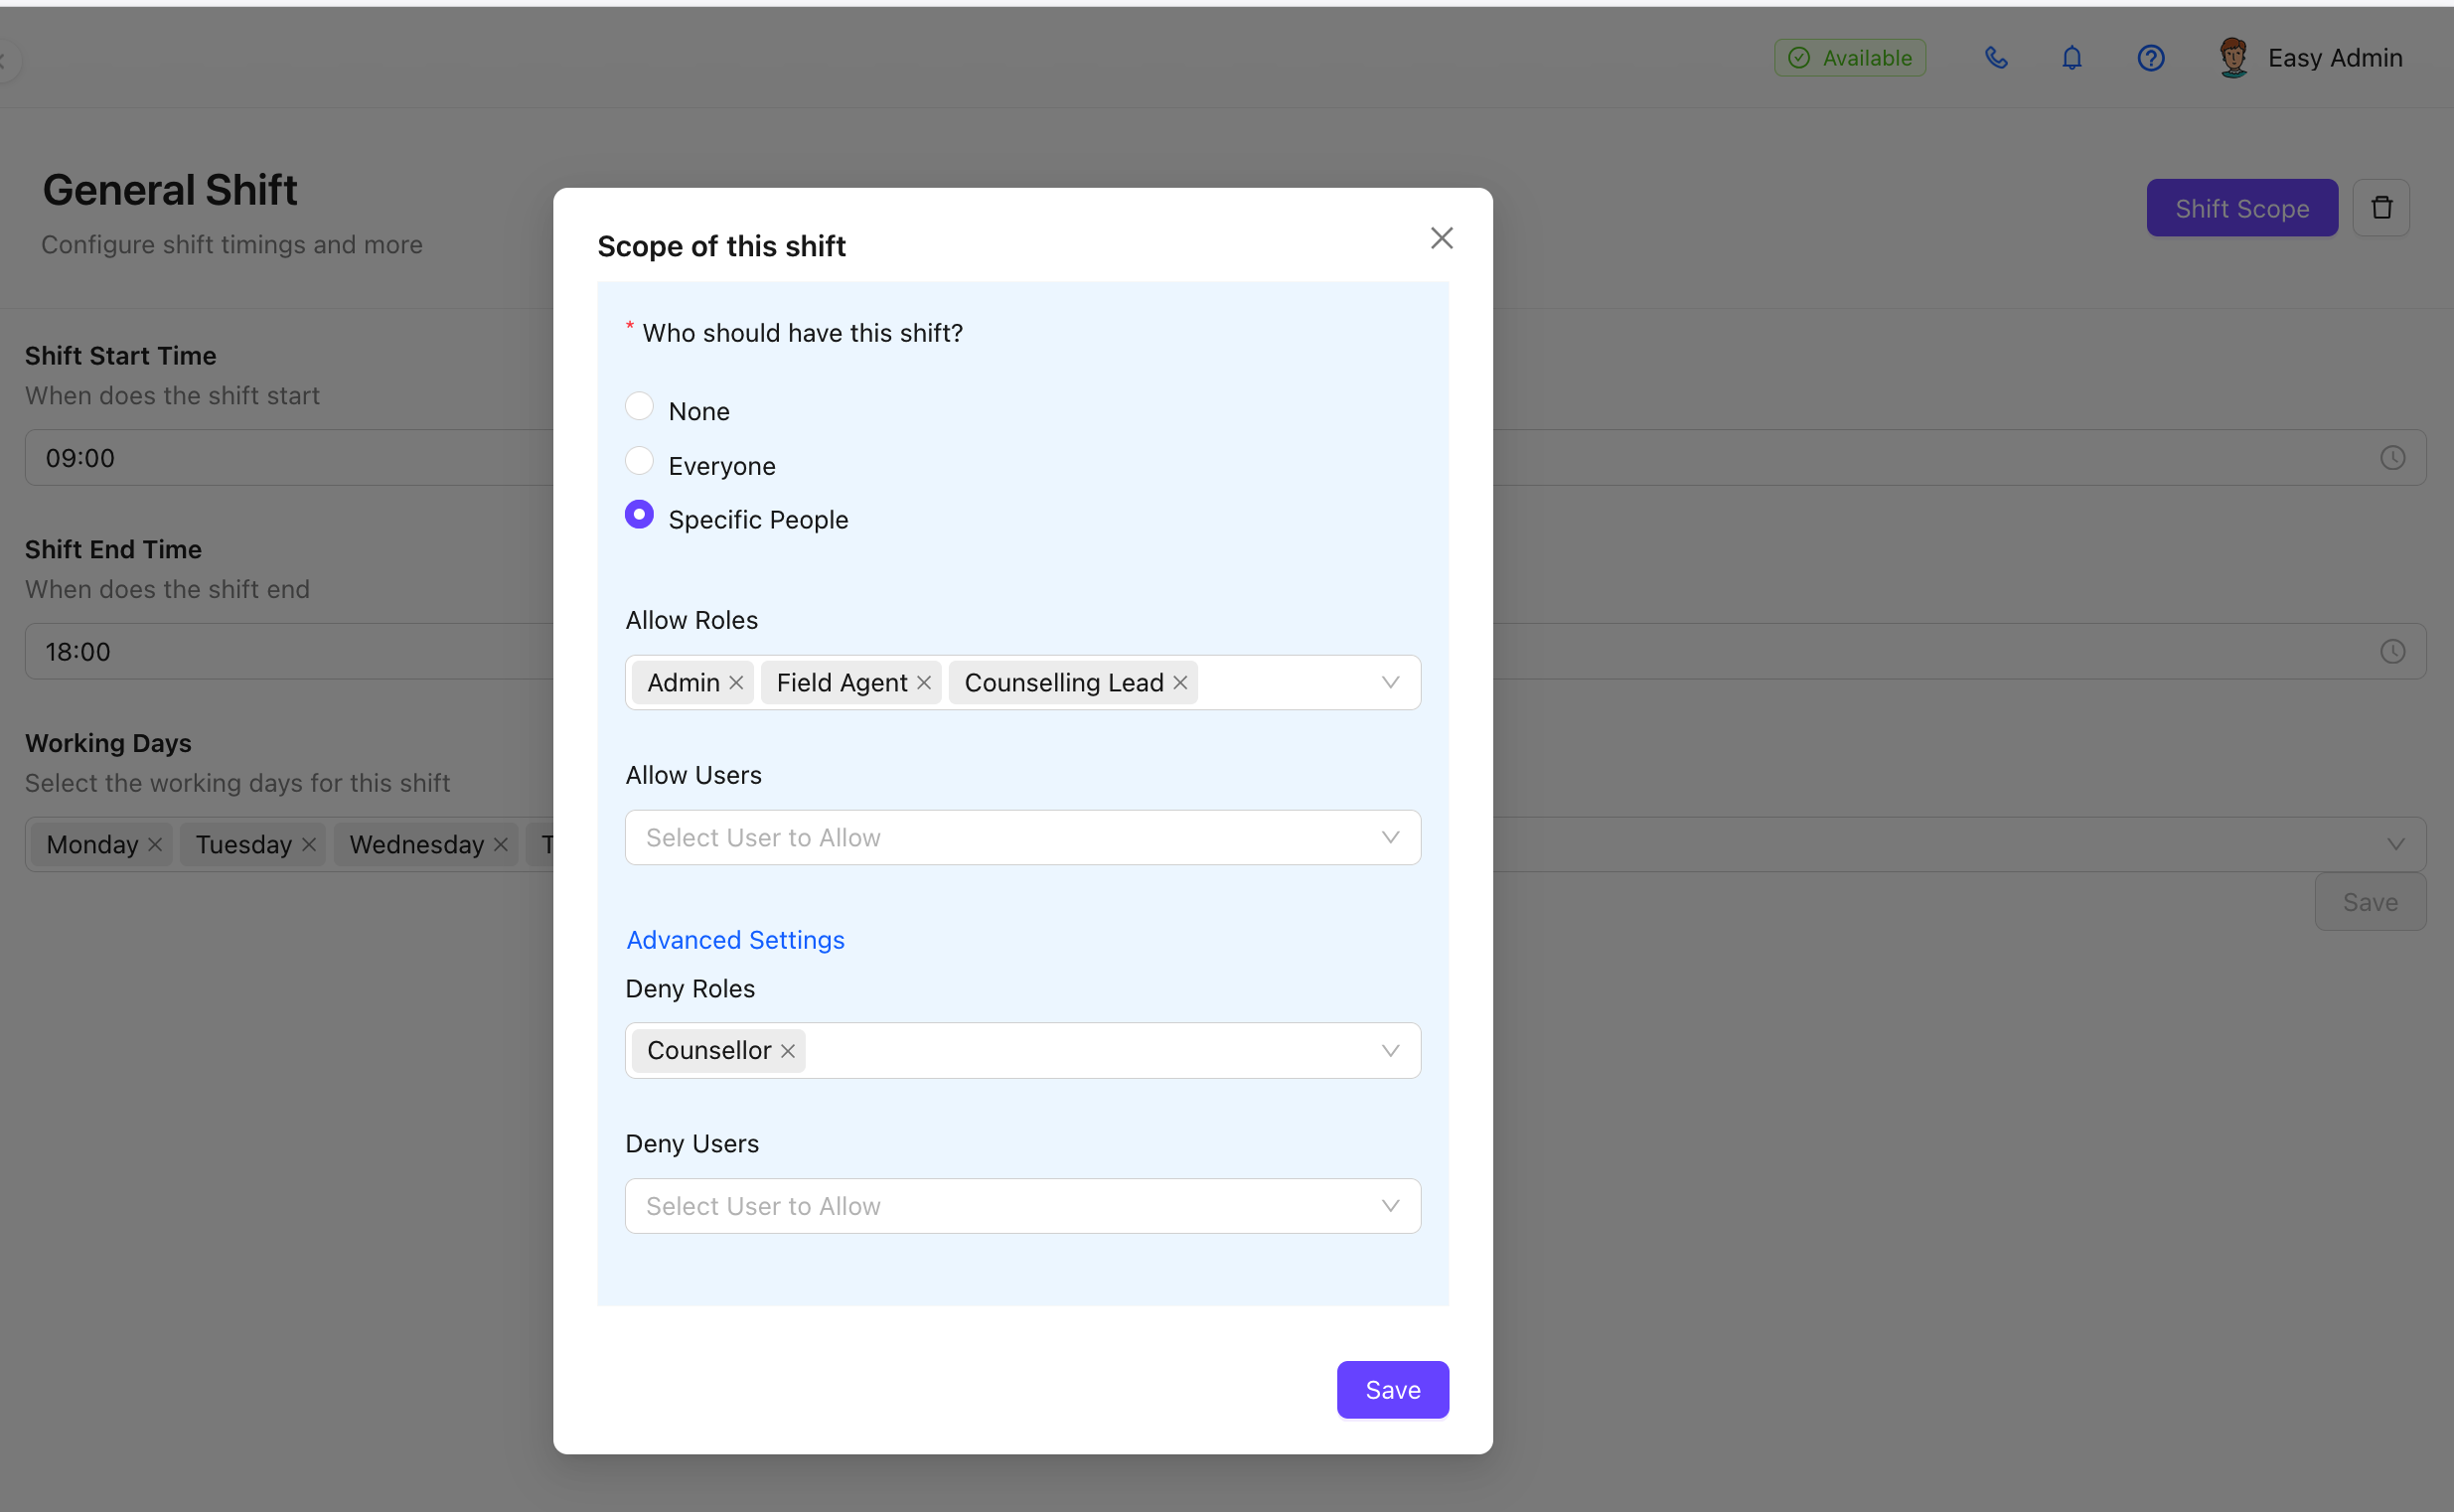
Shift Scopeto configure role/user based shift settings
Delete a Shift
Access the shift by clicking on the shift name. To delete a shift, click on the 🗑 icon on the top right.
Profiles
Add User profiles available for your team in Chakra
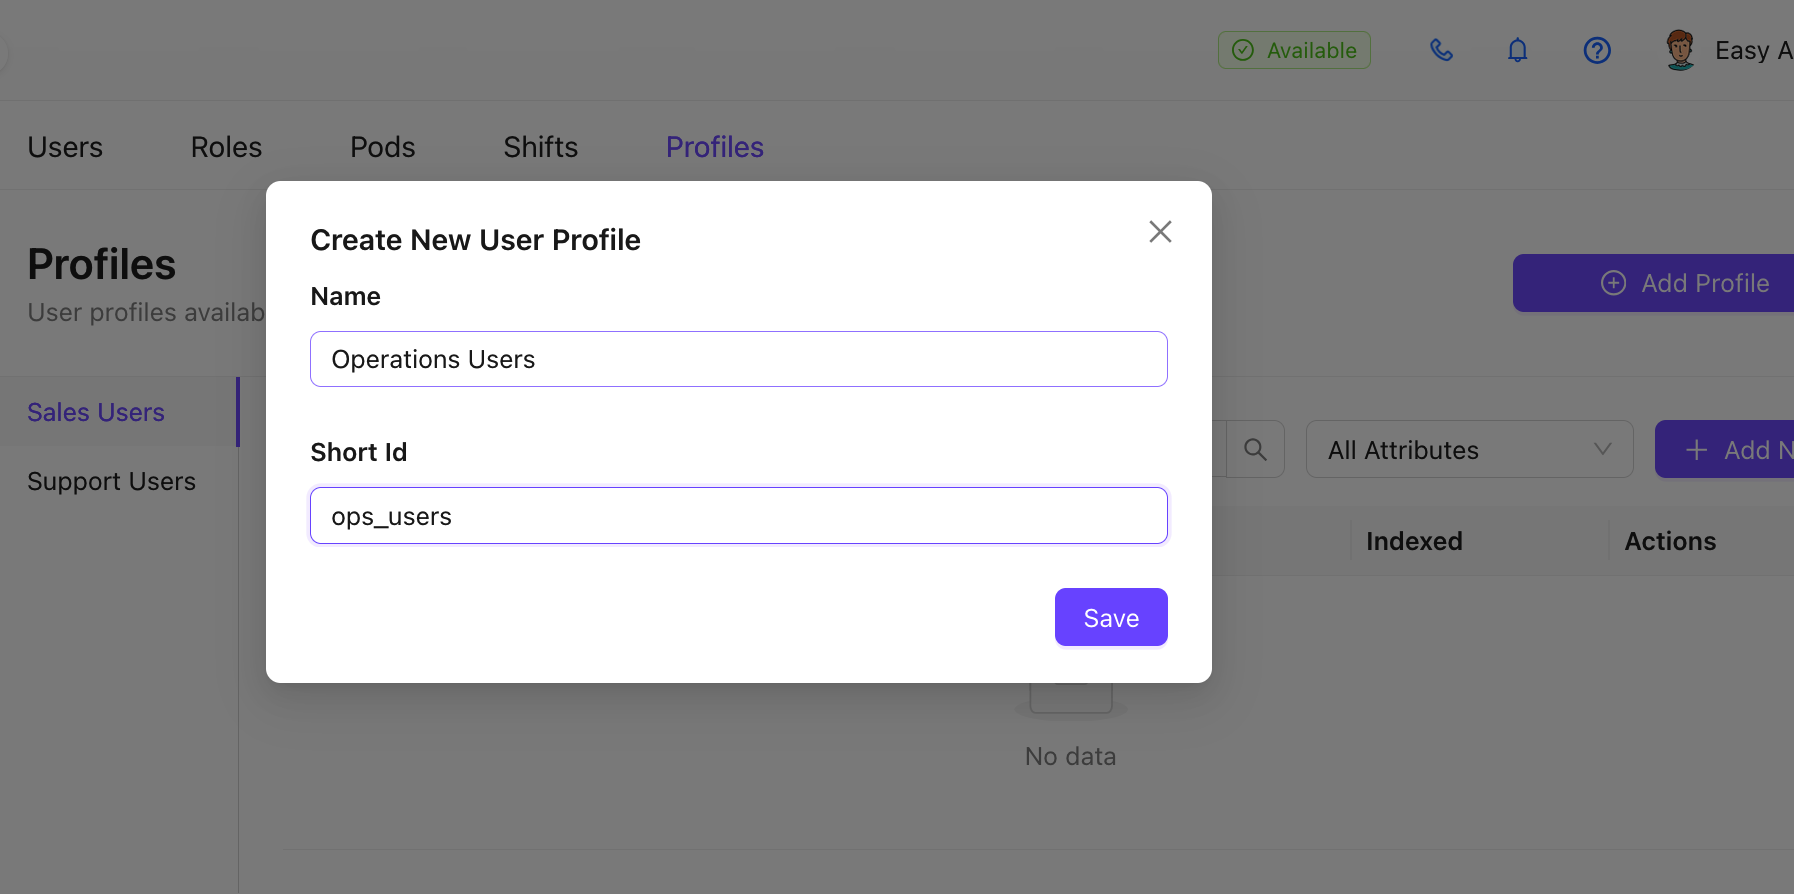
Add a Profile
- Go to the Profile Tab
- Click on
⊕ Add Profilebutton - Add the profile details
- Profile name
- Short id
- Click on Save. The profile is created
Add Profile Attribute
To add profile attributes use the Add New button to create a new attribute. Follow the standard attribute creation steps to create the profile attribute.