Automation SettingsCampaign Automations
Auto Add Leads to Campaigns
Lifecycle Rule for Campaign Automation: Automatically Add Leads to Campaigns using Triggers
Configuring Lifecycle Automation Rules for Lead Campaigns
This guide walks you through the process of setting up Lifecycle Automation Rules for Leads in the Chakra Admin panel. Follow these steps to configure rules based on lead triggers and conditions.
Prerequisites
- Admin access to the system.
- A Campaign or a message template should be create to be used as an Action
Step-by-Step Instructions
1. Navigate to Lead Settings
- Go to Admin > Lead in the system dashboard.
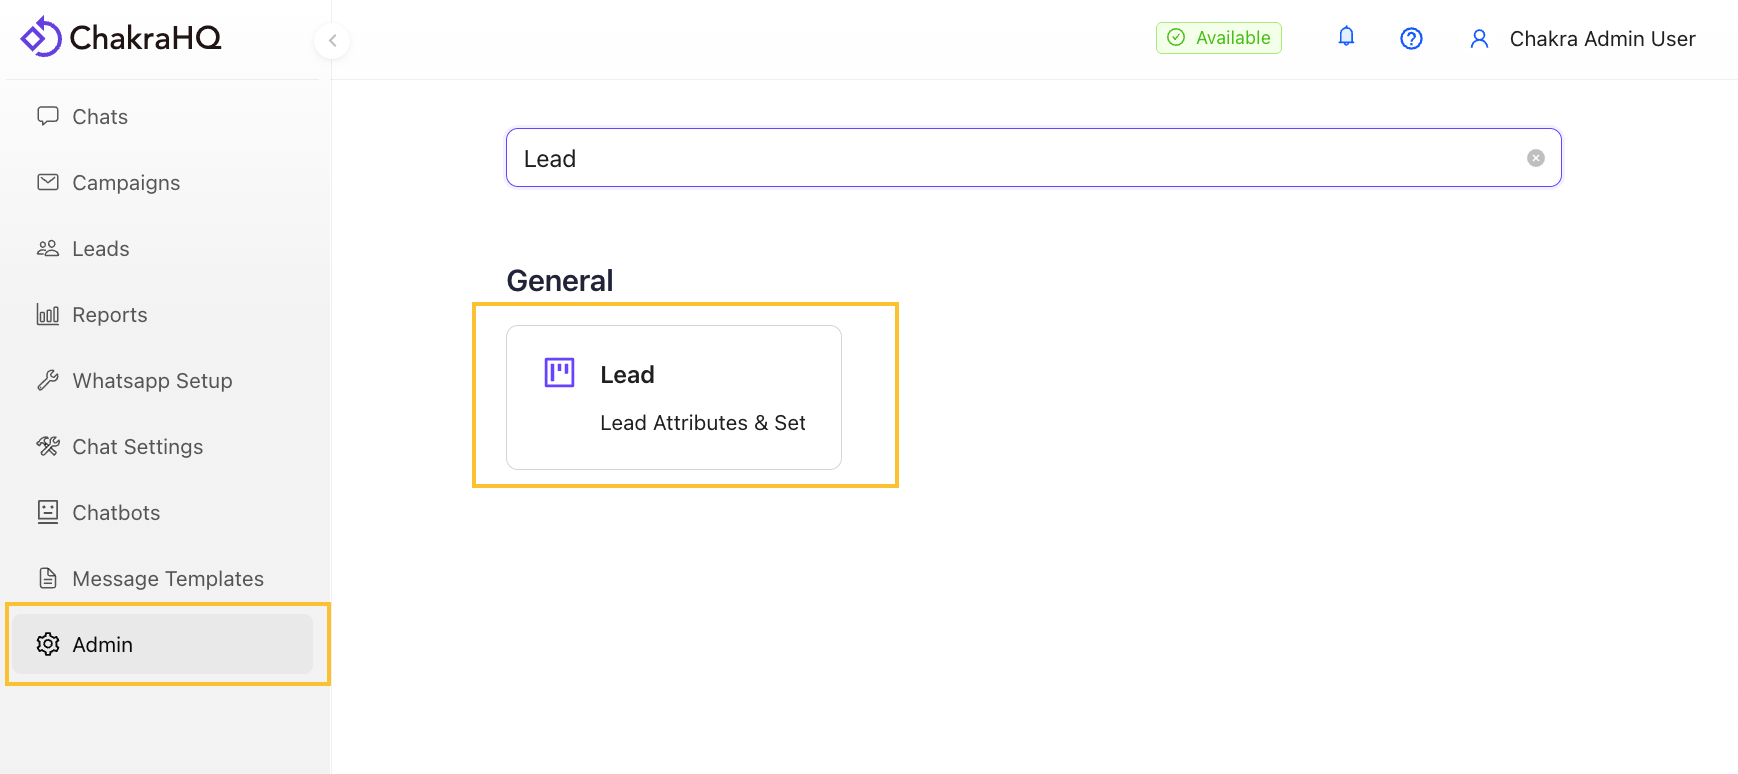
2. Access Lifecycle Rules
- In the Lead section, locate and select Lifecycle Rules.
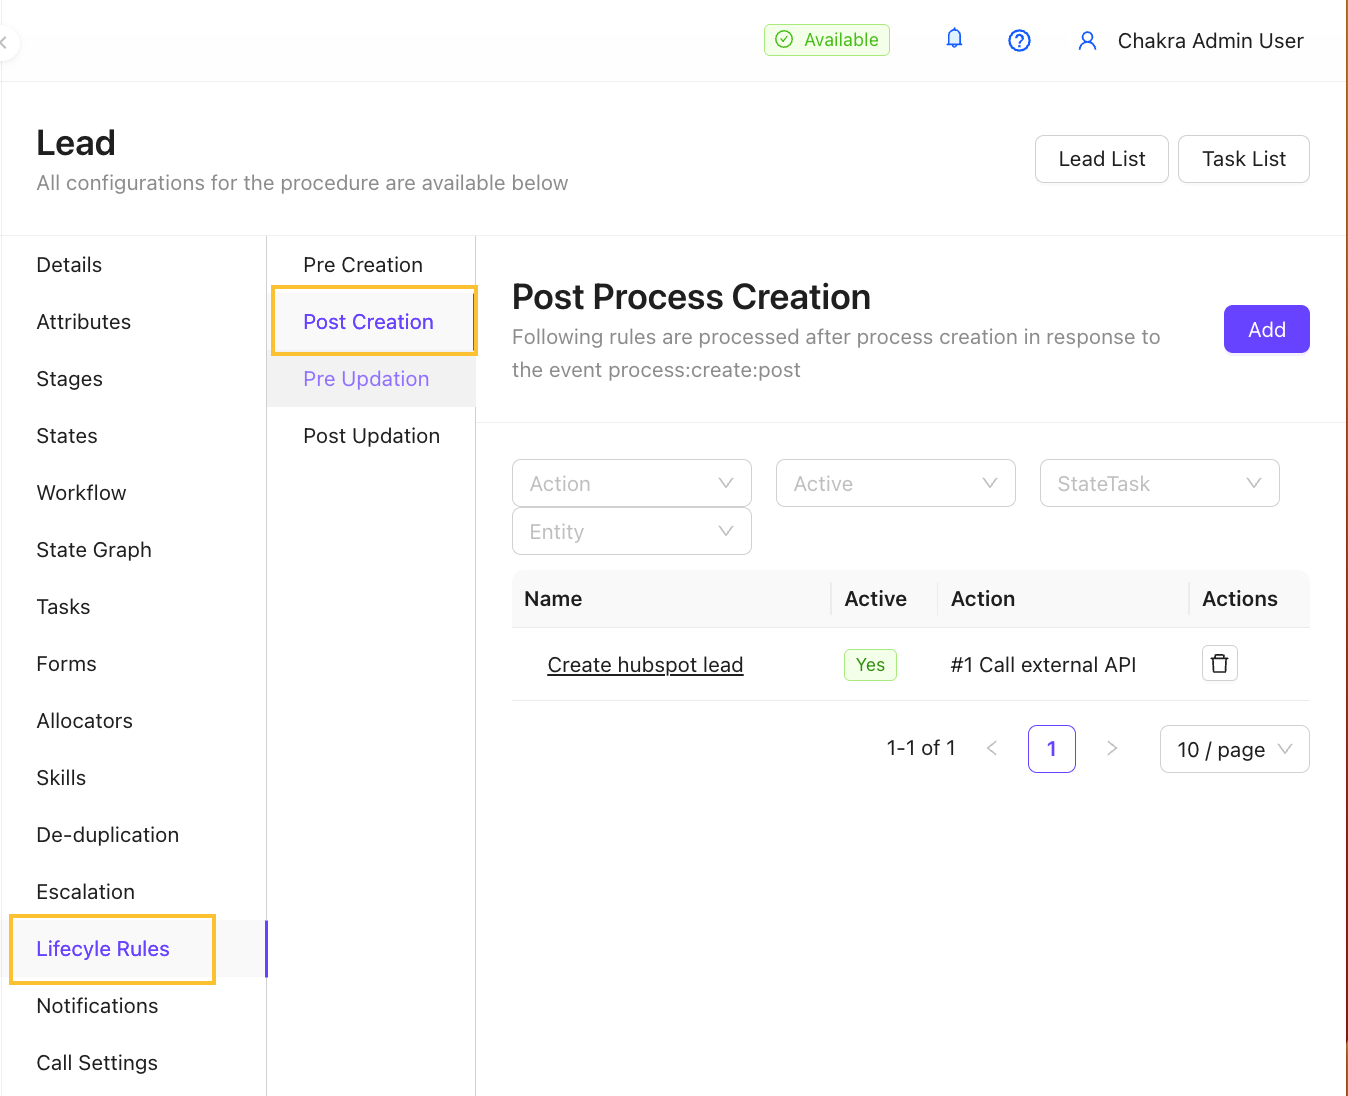
- Select the Trigger Stage
- Choose one of the following trigger stages for the Lead:
- Pre Creation: Before a lead is created.
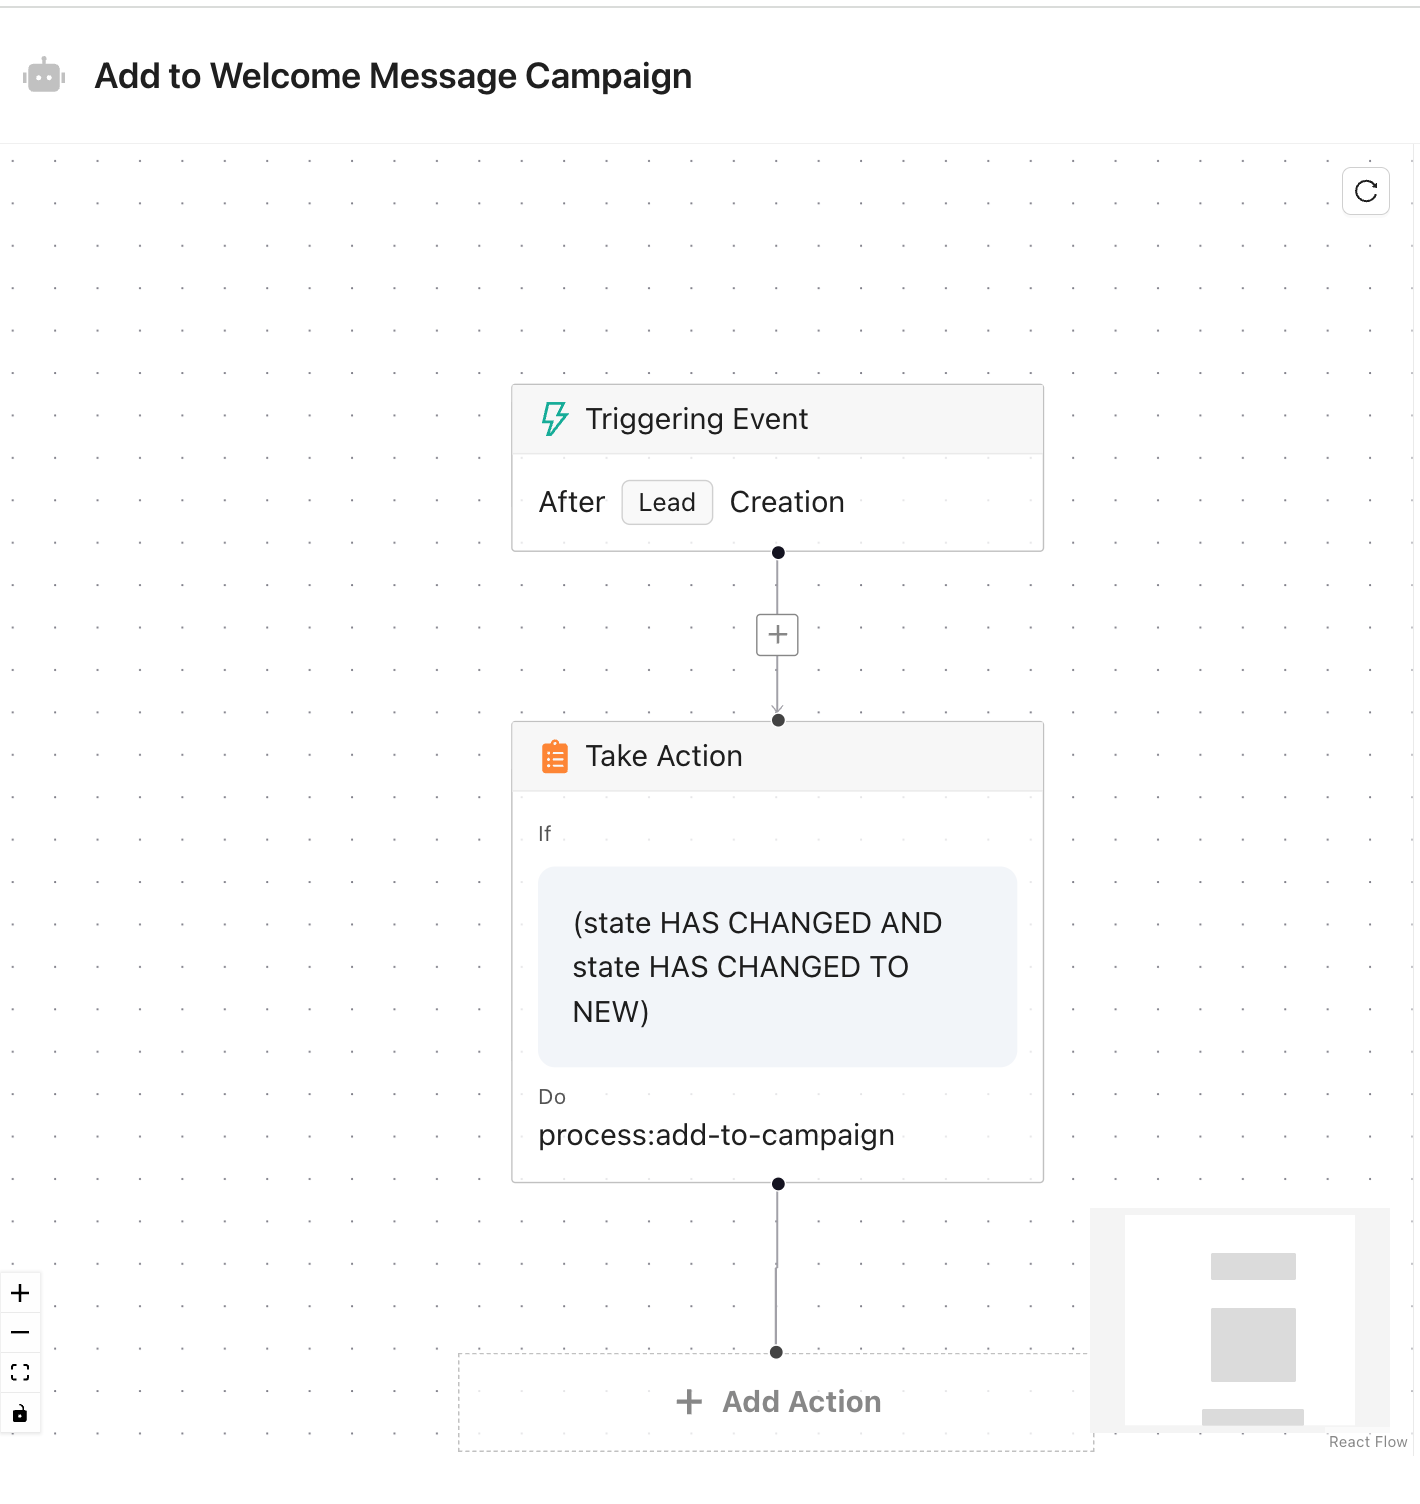
- Post Creation: After a lead is created.
- Pre Updation: Before a lead is updated.
- Post Updation: After a lead is updated.
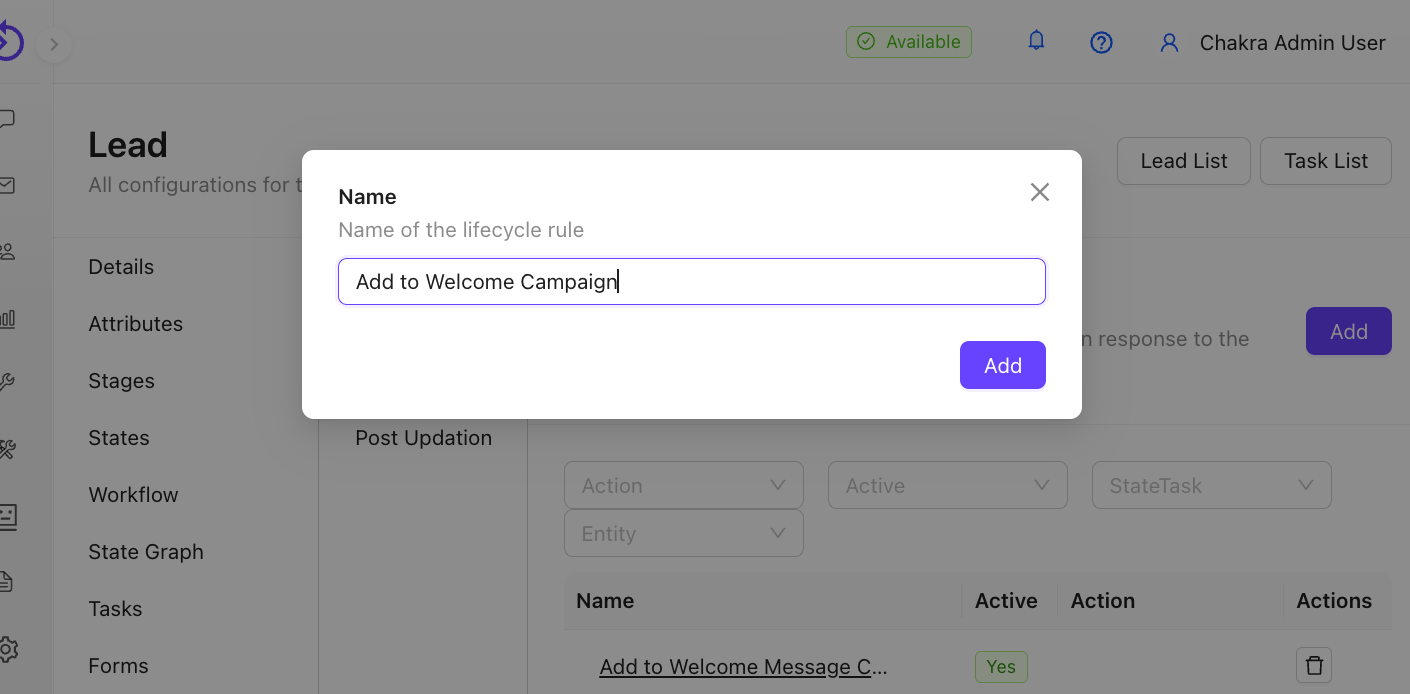
3. Add and Name the Lifecycle Rule
- Click on Add to create a new lifecyle rule
- Add a Name to the Lifecycle Rule
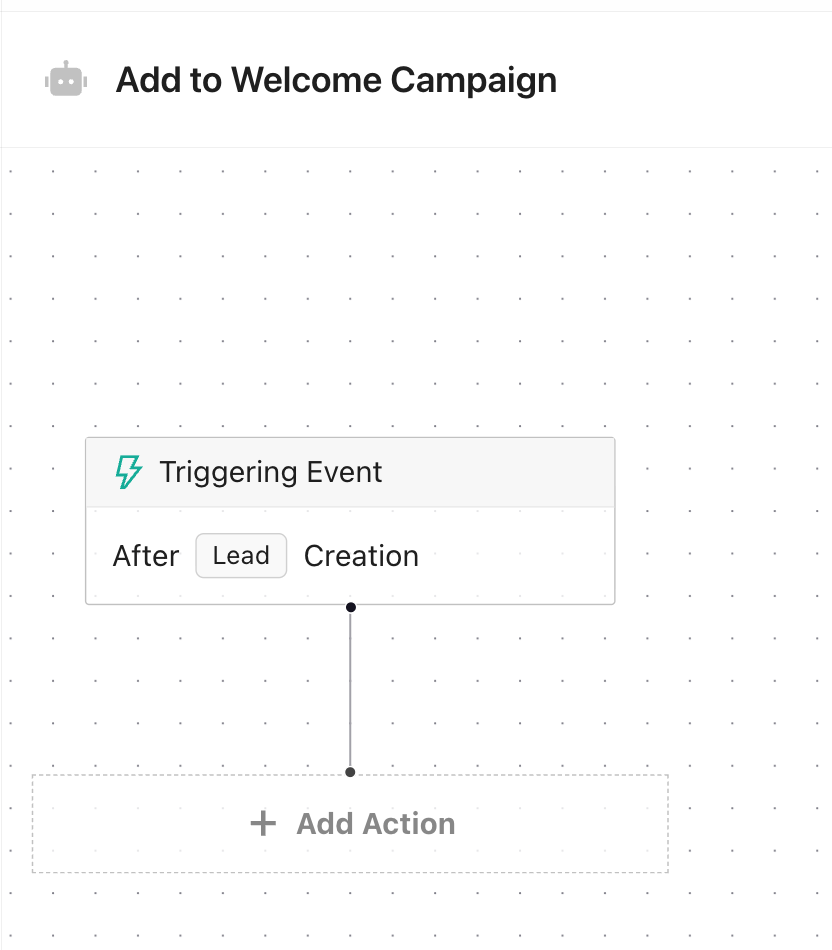
4. Confirm Trigger Stage
- Ensure the selected trigger stage aligns with your automation goal. The system will automatically set the Lead Trigger Type based on your selection in Step 3.
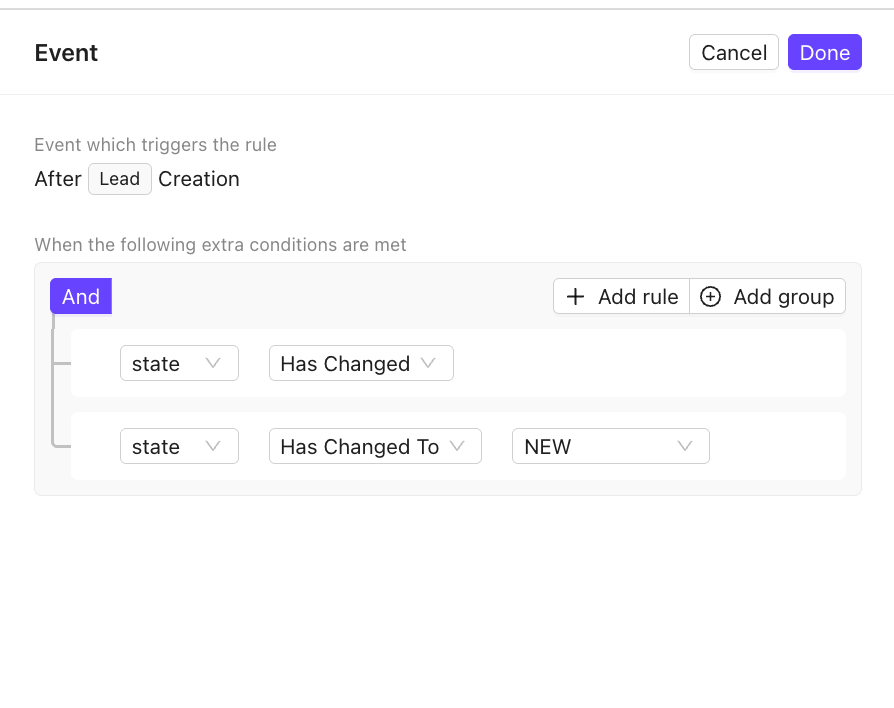
5. Define Conditions
- In the Action box, click (add conditions) to set the rule conditions.

- Add conditions based on lead attributes or other fields. Examples include:
- Lead State has changed && State has changed to NEW
- Date of Birth Field has Value && Date of Birth = (now + 0d)
- Click Done to save the conditions.
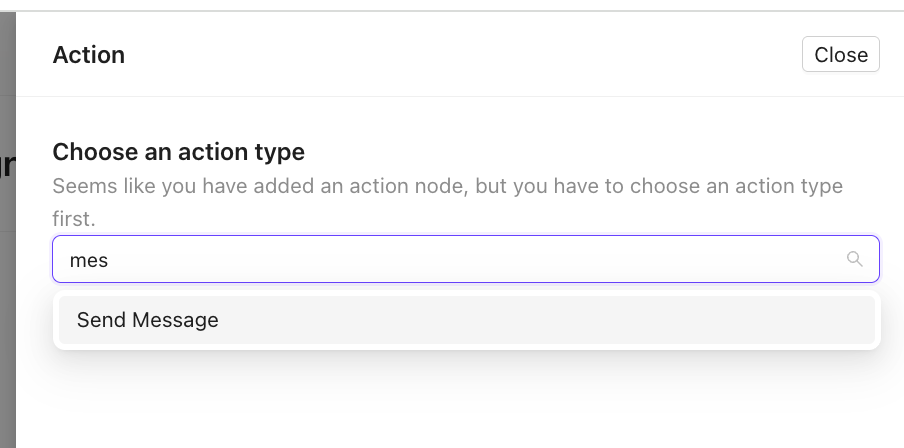
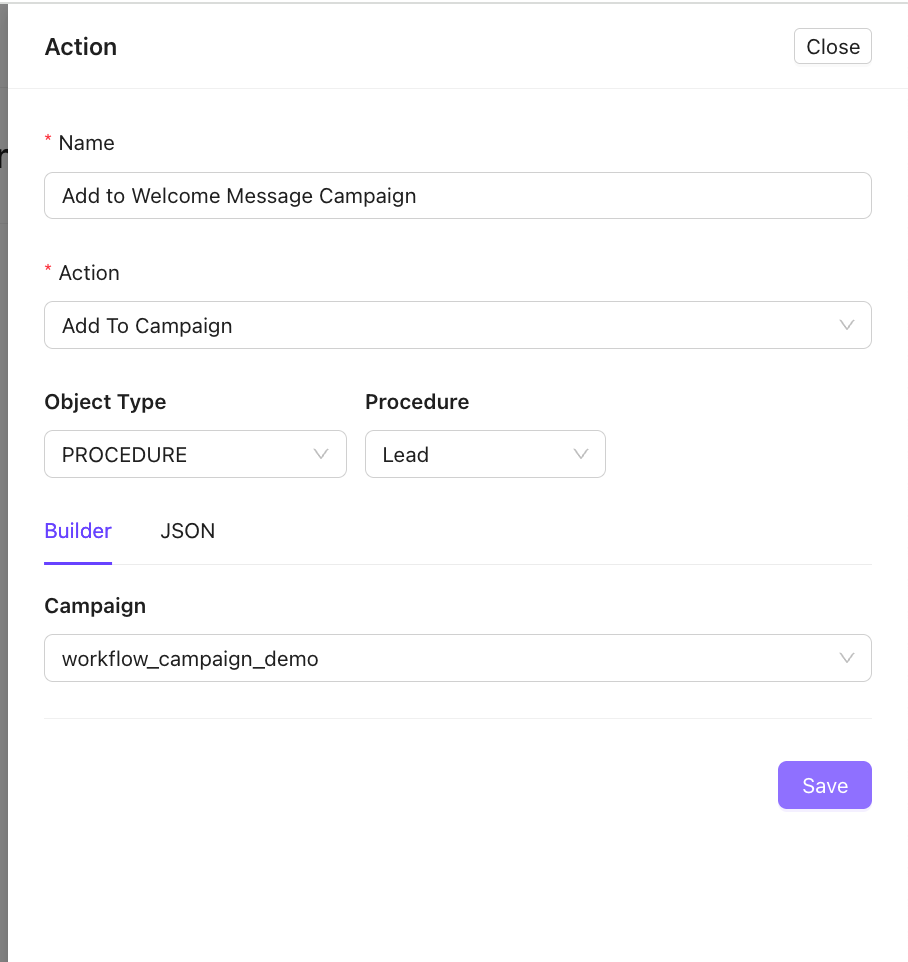
6. Configure Action Rules
- Click the Action Edit option to define the action.
- From the dropdown, select an action type. Common options include:
- Add to Campaign
- Remove from Campaign

- Send a Message
- Complete the action configuration (e.g., specify the campaign for the lead to be added to).
7. Activate the Rule
- Set the Lifecycle Rule status to ACTIVE.
- Click Save to finalize the configuration.
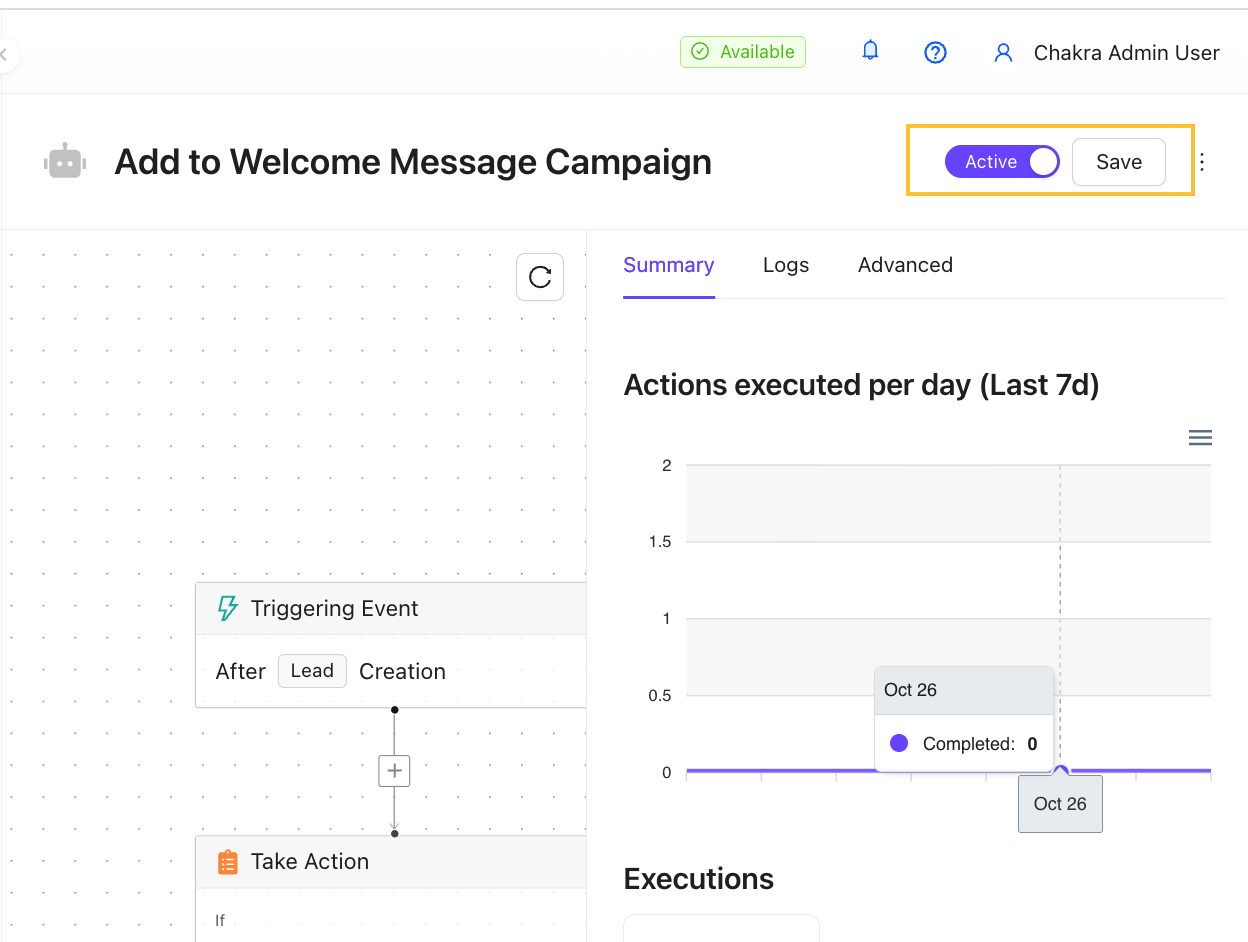
Campaign Automation is Set Up
Your Lifecycle Automation Rule is now configured and active. The system will apply the rule based on the specified trigger, conditions, and actions.
Notes
- Ensure all conditions and actions are thoroughly tested to avoid unintended automation.
- For further assistance, create a ticket