WooCommerce on WhatsApp
Send WhatsApp notifications messages from WooCommerce
If you have a WooCommerce Shop and want to send WhatsApp template messages on events like order created, dispatched, etc..., follow the steps below to install our Woo Commerce WhatsApp Notifications plugin.
1. Download and install plugin
You can download the plugin from the link below
- The above link will download a zip folder containing the plugin code.
- Now go to your WooCommerce admin view
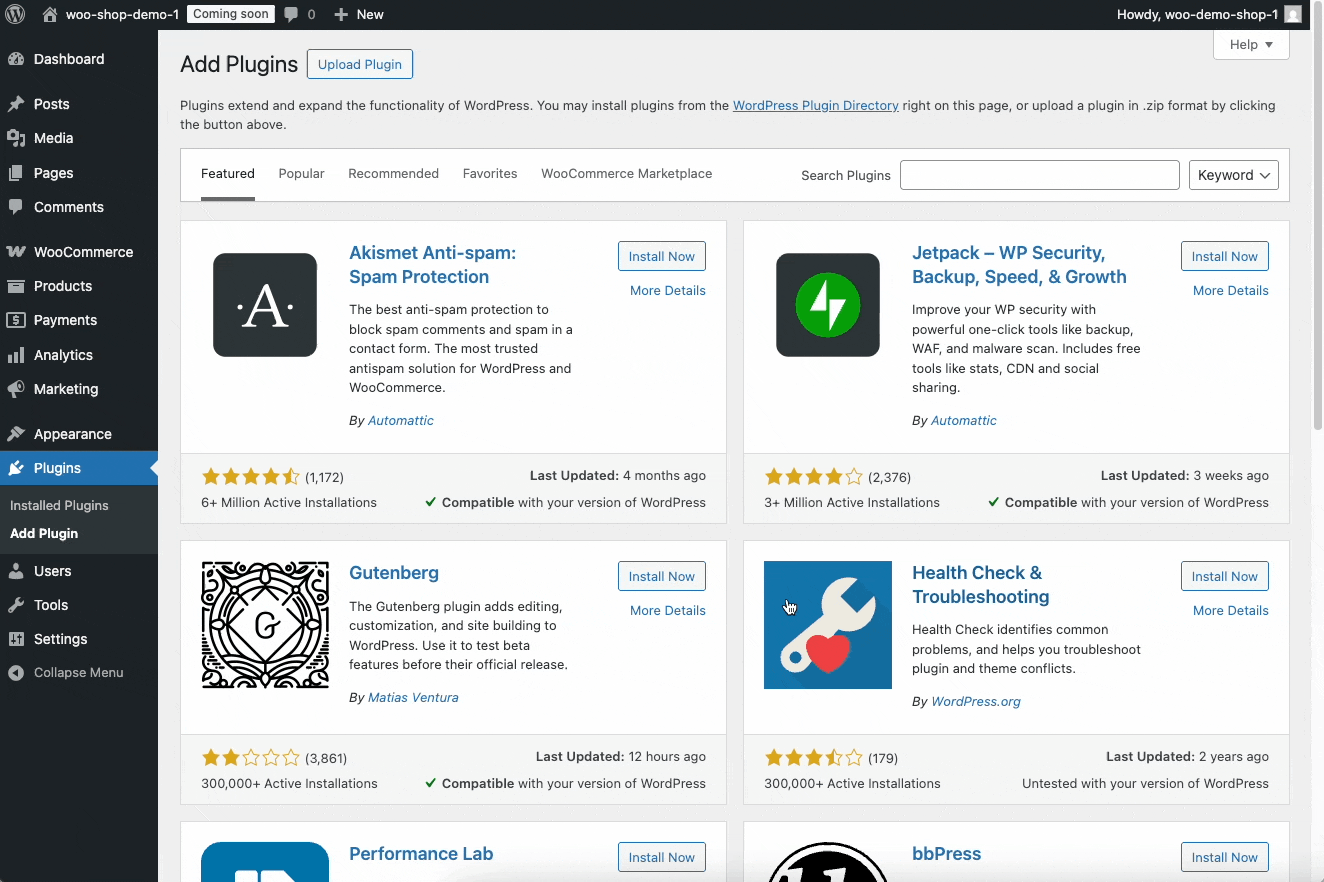
- From the navigation menu go to Plugins > Add Plugin
- From the top of the page click "Upload Plugin" which will open the file uploader
- Click "Choose File" and select the downloaded zip file
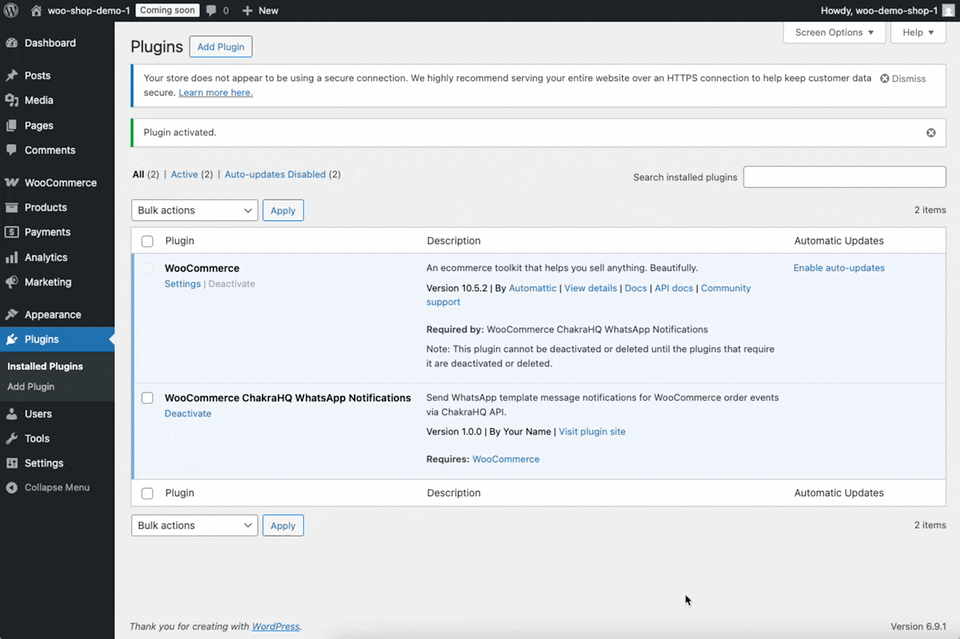
- This should install the plugin. After the installation is complete, click "Activate Plugin"
See gif below for a demo of the steps
2. Configure Plugin
You need to now configure the plugin before you can send notification messages
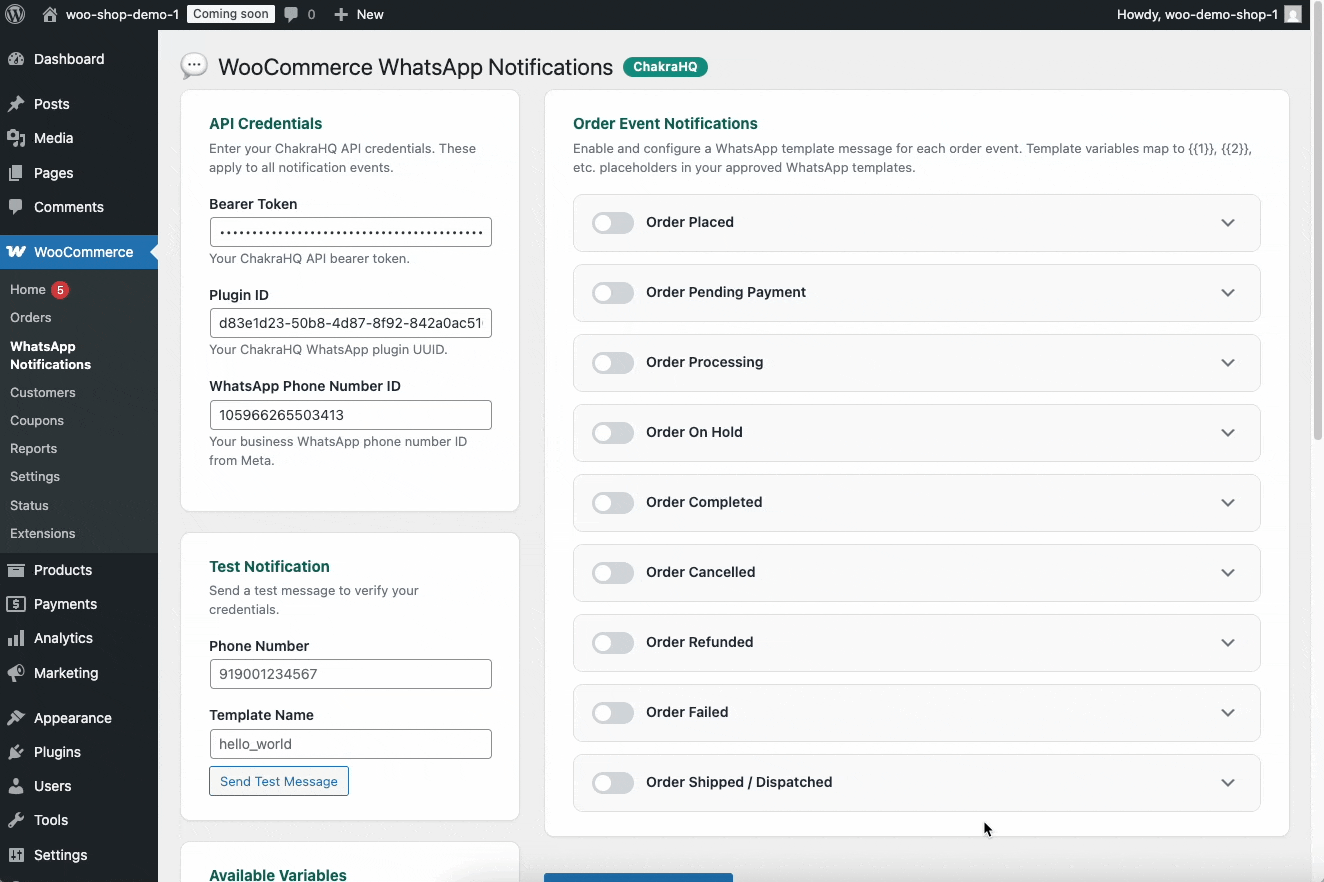
WooCommerce Plugin Page
From the left navigation bar go to WooCommerce > WhatsApp Notifications
You should now see the plugin page, where you have to configure 3 things
- Access Token
- WhatsApp Setup Plugin Id
- WhatsApp Phone Number Id
Copy Configuration From Chakra WhatsApp Setup Page
- Open your Chakra Chat account and navigate to the WhatsApp Setup page
- Here click on the 2 dots from the top right corner of the page and click "Copy plugin id"
- Enter the plugin id from above and put it in the WooCommerce Plugin page under "Plugin Id
- Now click on the gear icon next to the "WhatsApp Phone Numbers" section
- This will open a drawer showing all the connected WhatsApp phone numbers
- Under the WhatsApp phone number you want to use is its WhatsApp Phone Number Id - Copy this id and enter it under "WhatsApp Phone Number Id" in the WooCommerce Plugin Page
Configure the Access Token
- Create an API key in Chakra by following this article - https://help.chakrahq.com/chat/api-webhooks/create-an-api-key
- Copy the Access Token from the newly created API Key
- Enter the access token under "Bearer Token" input in the WooCommerce Plugin page
After the configuration is saved, please refresh the page once and verify that the configuration is saved correctly
See the gif below for a demo of these steps
3. Test configuration
- Lets test the configuration to see if everything is working properly
- First, lets create a test message template without any tempalte variables
- You can create a message template from Chakra by following these steps - https://help.chakrahq.com/chat/getting-started/create-a-message-template
- Once the template is approved, come back to the WooCommerce Plugin page
- Here, in the left sidebar, under Test Notification, enter the template name
- Enter a test recipient phone number. The phone number should not hae any special characters like + ( ) or spaces. It should have the country code - Eg: 919923400822
- Click "Send Test Message" - If everything is configured successfully, you should receive a test WhatsApp message
- If not please review the configuration steps above and verify if everything is configured correctly
See the gif below for a demo of these steps
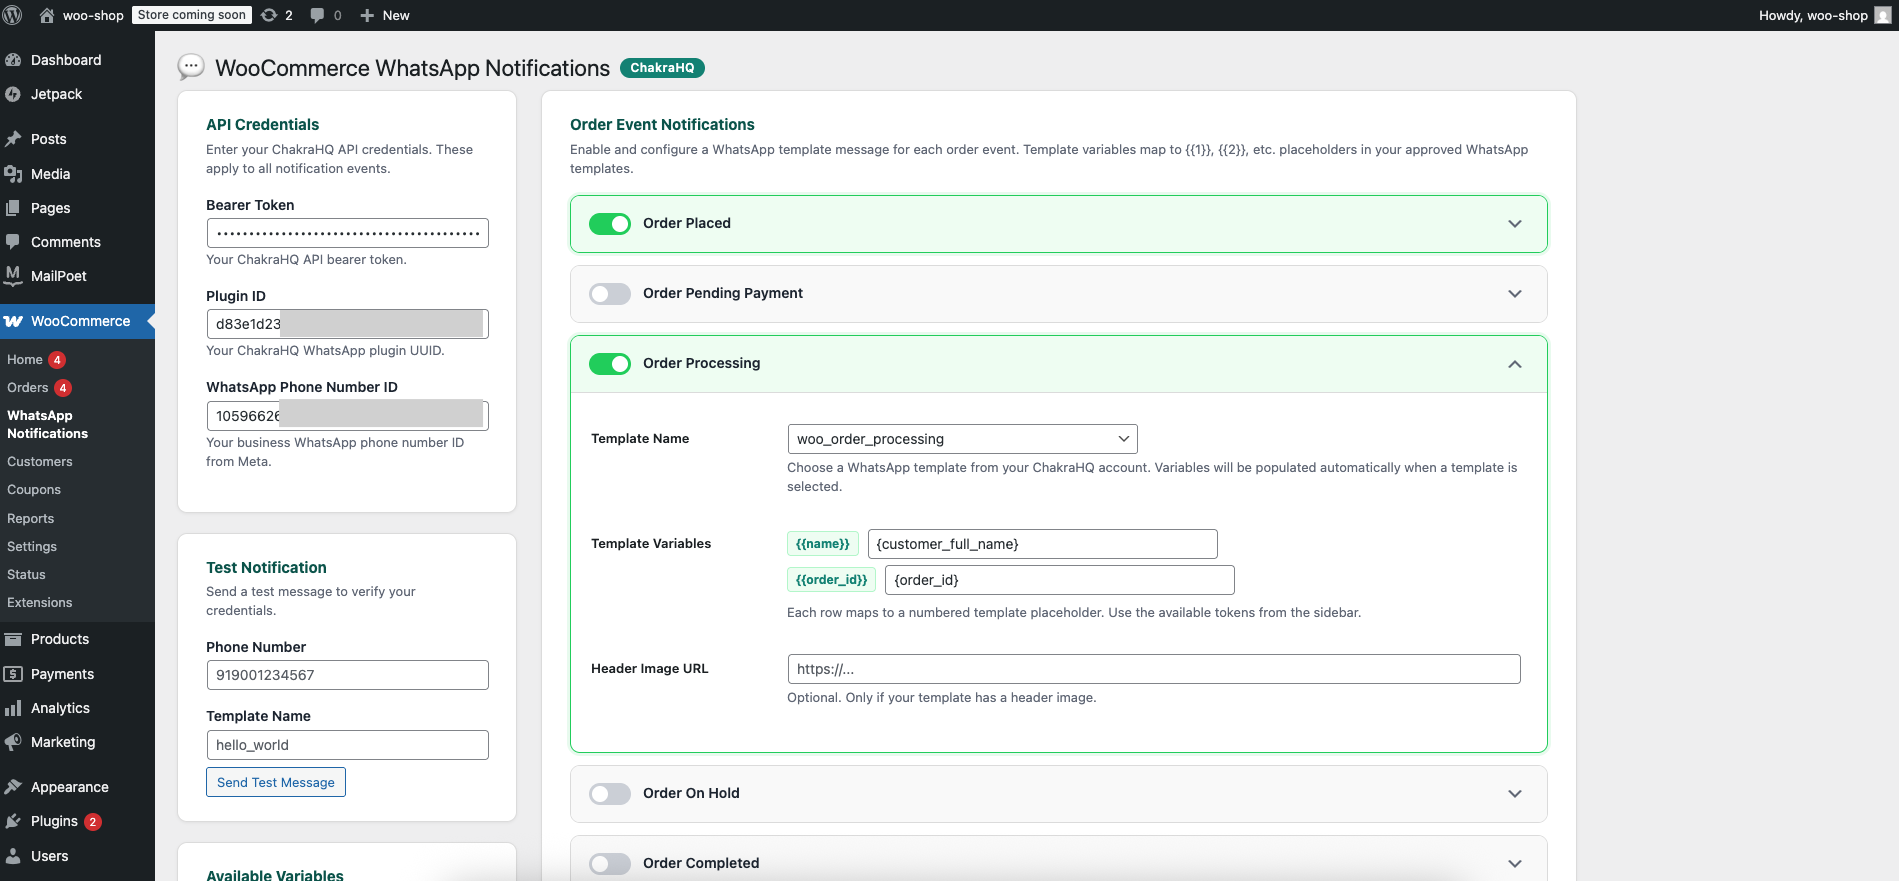
4. Configure a notification
Currently you can configure WhatsApp notifications for the following events
- Order Placed
- Order Status Changed To Pending Payment
- Order Processing
- Order Status Changed to On Hold
- Order Completed
- Order Cancelled
- Order Refunded
- Order Failed
- Order Shipped/Dispatched
To configure any notification follow the steps below
- Change the toggle for an event to active
- Then open the config for that event
- Choose a WhatsApp template name from the list
- If there are any template variables, they will be listed below
- Provide placeholder values for each template variable. For eg: provide the value {order_id} against the Order Id template variable
- If there is any header image for the template message, provide a public url to the image under "Header Image"
- Click "Save Settings" below
See the gif below for a demo of these steps
