Leads Dashboard
The Leads Dashboard is your central hub for managing, tracking, and acting on leads.
Lead Dashboard Views
The Leads Dashboard offers three ways to view your lead list:
Table View (Default) The standard view. Most features and actions are optimised for this view and it's recommended for day-to-day use.
ka

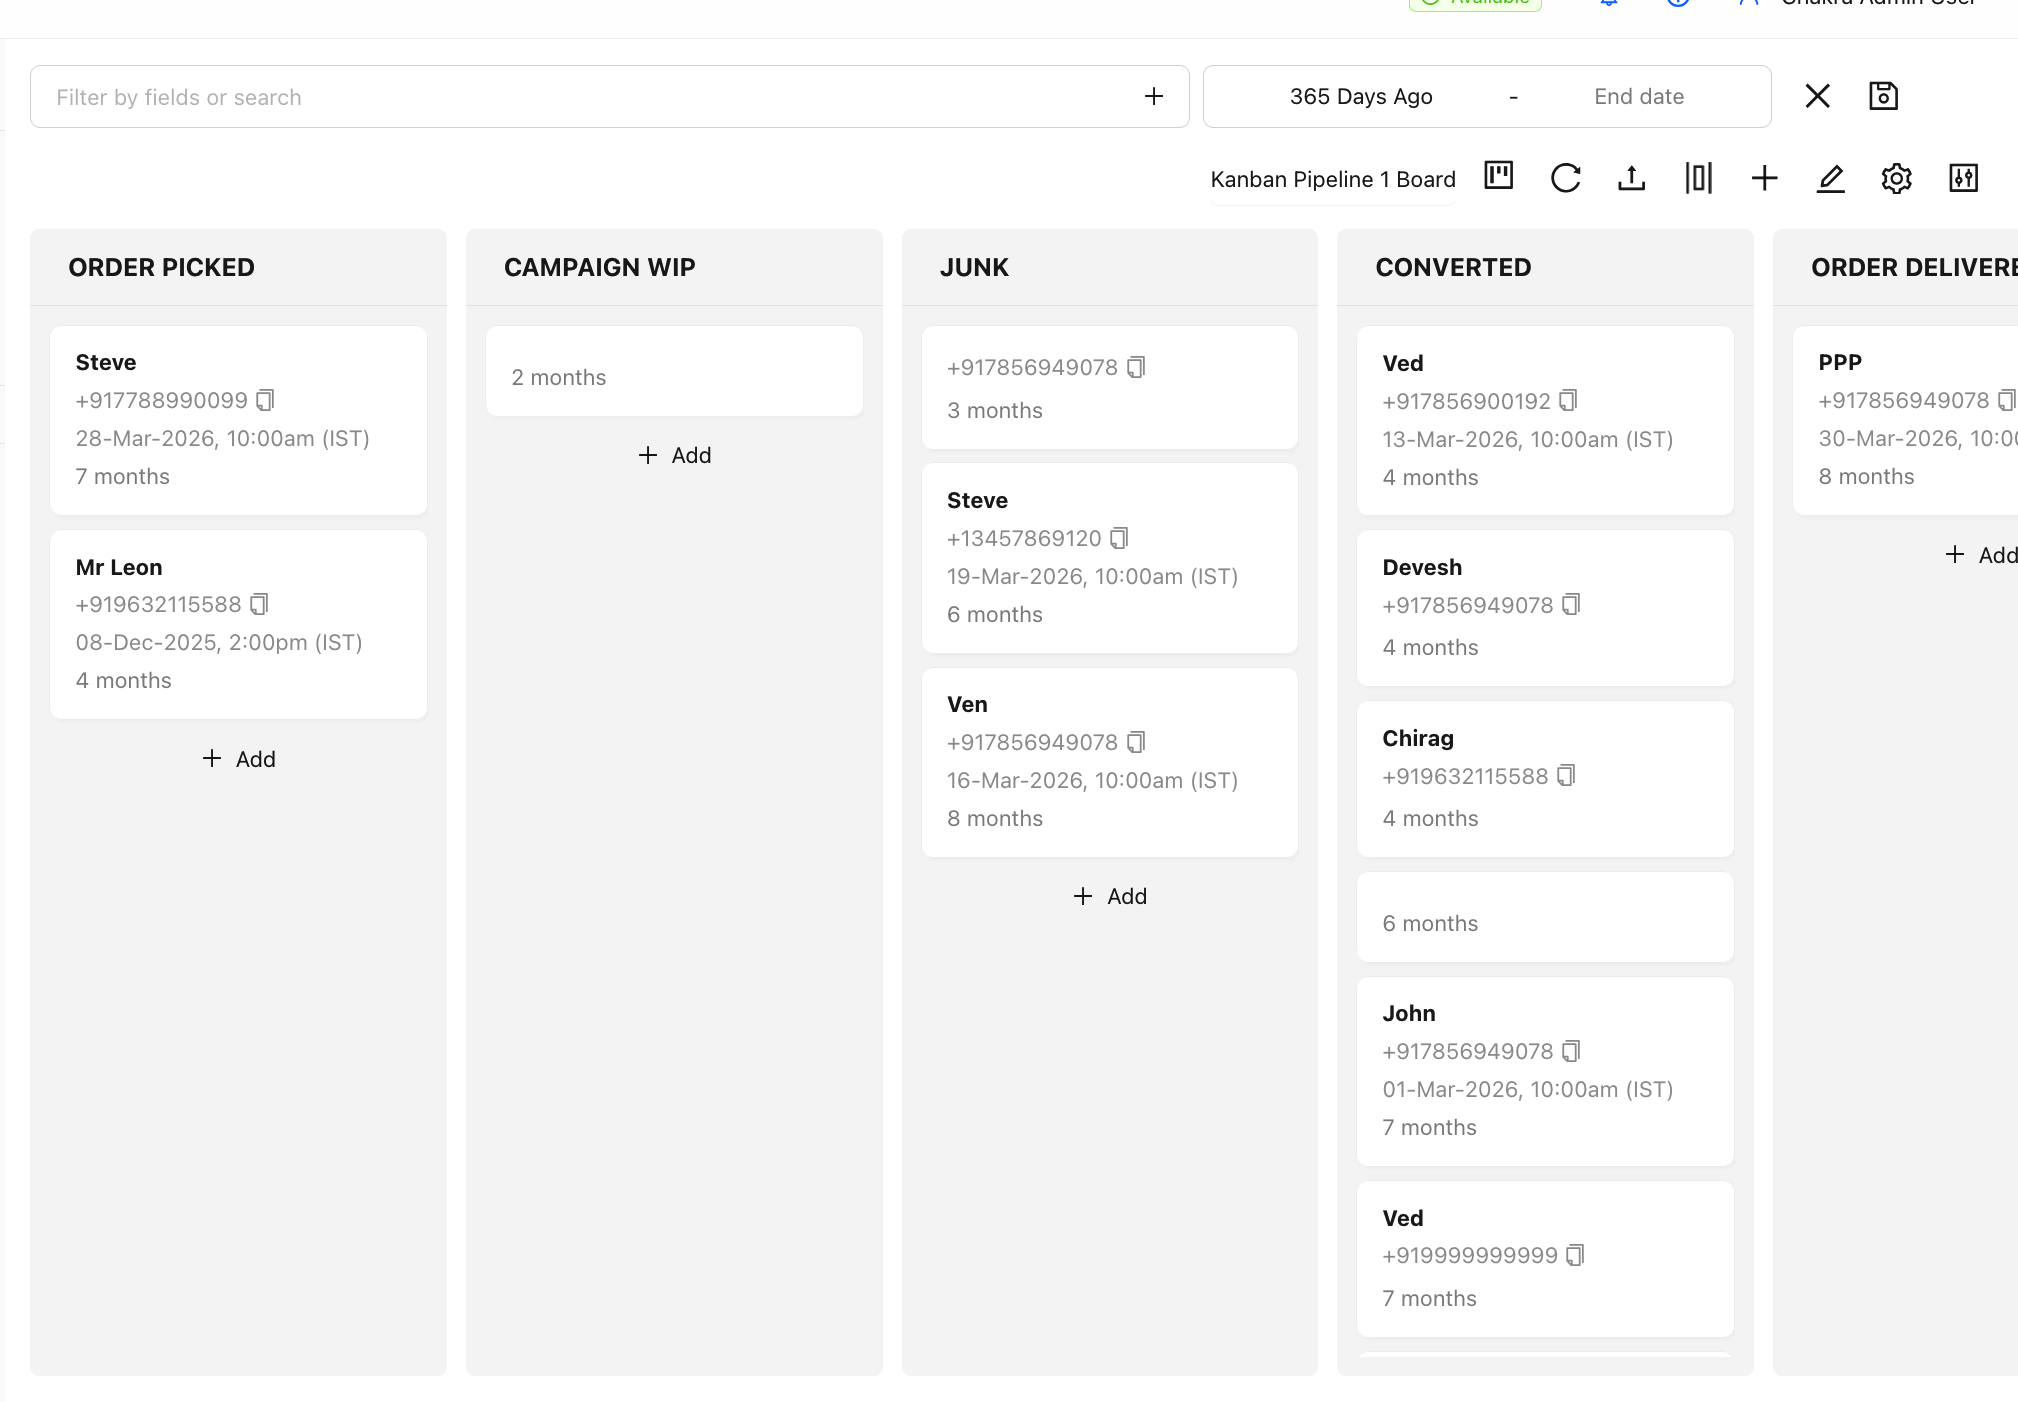
Kanban View Best for sales pipeline management. Drag and drop leads between stages to update their status. Note: Some actions like bulk selection and deleting leads are not available in this view.
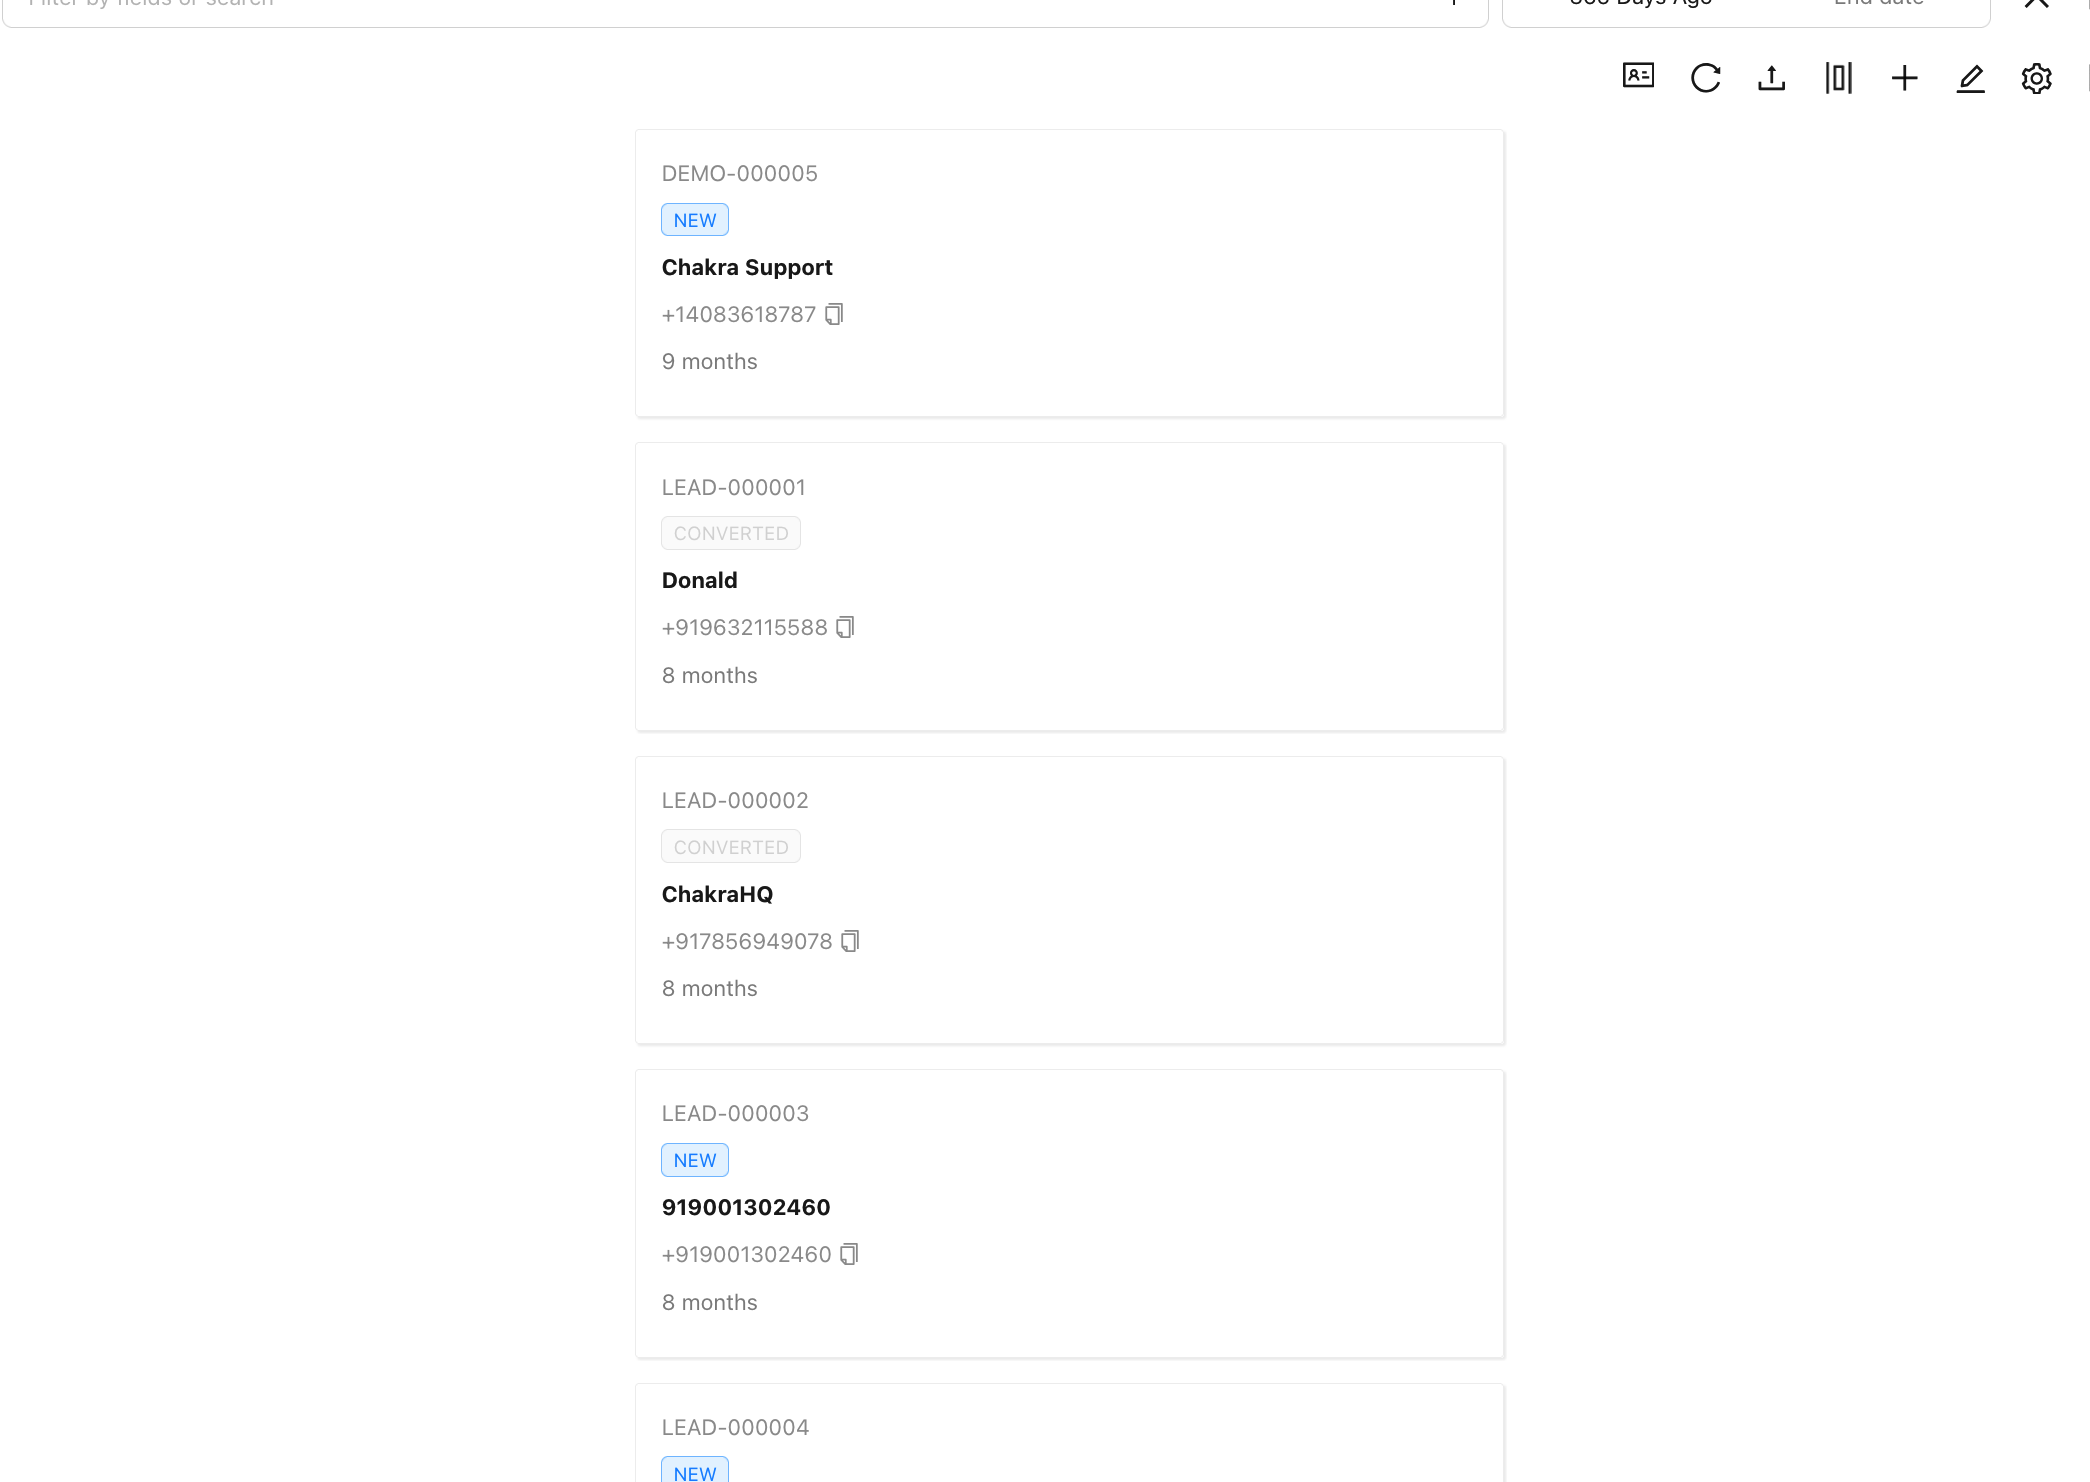
Card View Displays leads in a vertical card layout. This view is linked to how leads appear in the Chakra Mobile app, so it's ideal if you want to customise the mobile display. Note: Some actions like bulk selection and deleting leads are not available in this view.
Searching for Leads
Use the Search Bar to quickly find leads by attributes such as Name, Phone Number, or Lead ID.
How to search:
- Type your search term in the search bar
- Press Enter
- The term will appear as an active text filter in the bar
Filtering Leads
Basic Filter
Filter leads using any lead attribute (field).
How to use:
- Type the attribute name in the Search/Filter bar
- Select the appropriate filter field from the dropdown
- Choose a relevant operator (e.g. =, ≠, >, <, exists, contains)
Different field types support different operators. For example, Date fields support <, >, and exists, while Name (text) fields support =, ≠, exists, and contains.
Advanced Filter
Use this when you need to apply multiple filters or handle more complex filtering scenarios.
How to use:
- Click the + (Add a Filter) button on the right side of the Search/Filter bar
- A Filter Drawer will open on the right
- Select a Field, choose an Operator, and add or select a Value
- Repeat to add multiple filters
Lead Created Date Filter
The Created Date filter is a standalone filter separate from the standard filter feature.
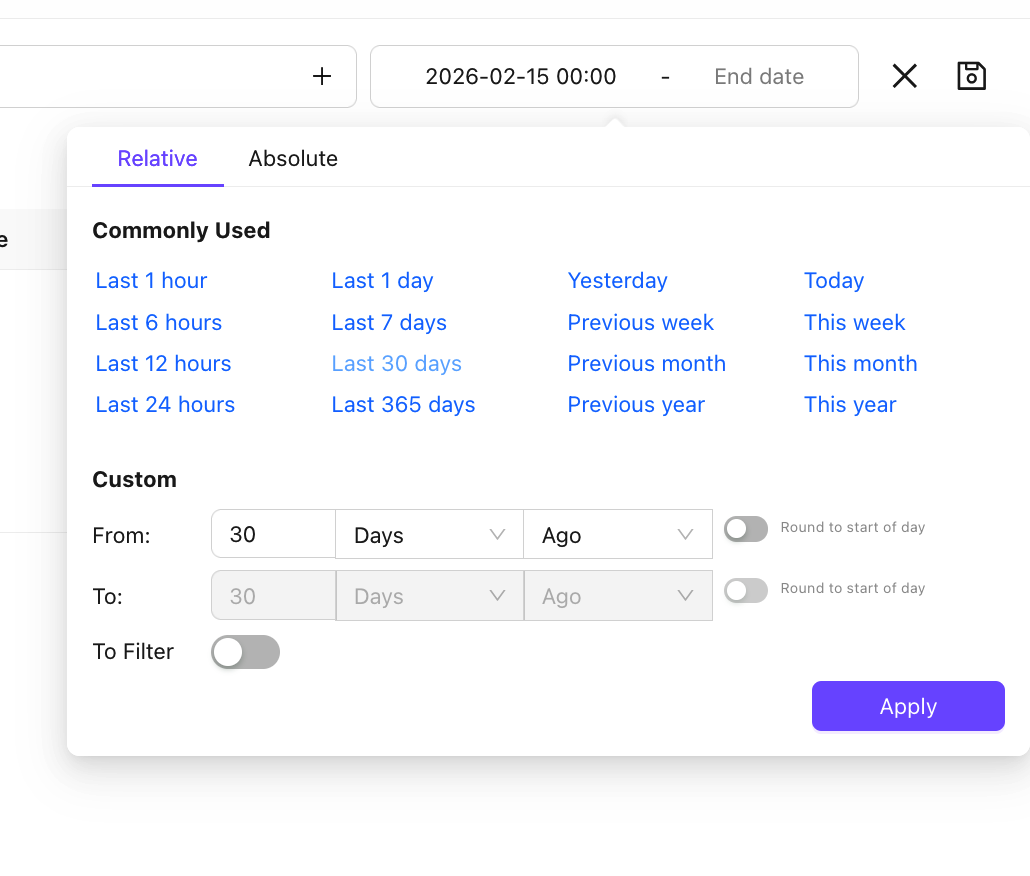
How to use:
- Click the Start Date filter button and enter a value
- Click the End Date filter and enter a value
- You can use absolute dates or relative options like Last 7 Days, Yesterday, or Last 365 Days
Spaces (Saved Filters)
Spaces let you save a combination of filters so you can quickly reapply them later.
How to Save a Space
- Set up your filters using the steps above (including any Created Date filter if needed)
- Click the 💾 icon to the right of the Created Date filter
- In the Save Space pop-up:
- Save In: Choose who can see this Space
- My Spaces – Visible only to you
- Role-Based Spaces – Visible to users of a specific role (Admins/Managers only)
- Common Spaces – Visible to all team members (Admins/Managers only)
- Select or Create a Space: Choose an existing Space from the dropdown, or type a new name and click Create New
- Save Created At Filter: Toggle this on if you want the date filter saved with the Space
- Optionally customise which table columns appear for this Space
- Click Save Space
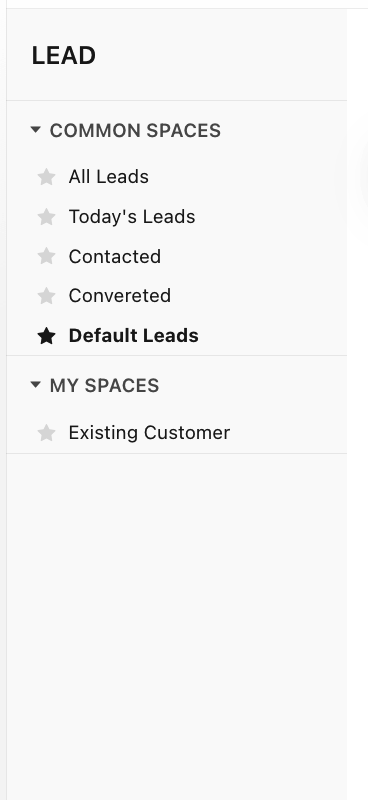
How to Use a Space
- Click on any Space name to apply its saved filters instantly
- Hover over a Space name and click ⫶ for more options:
- 📌 Set as Default – Automatically applies this Space whenever you open the Leads Dashboard
- 🗑️ Delete Space – Removes the Space permanently
Managing the Lead List Table
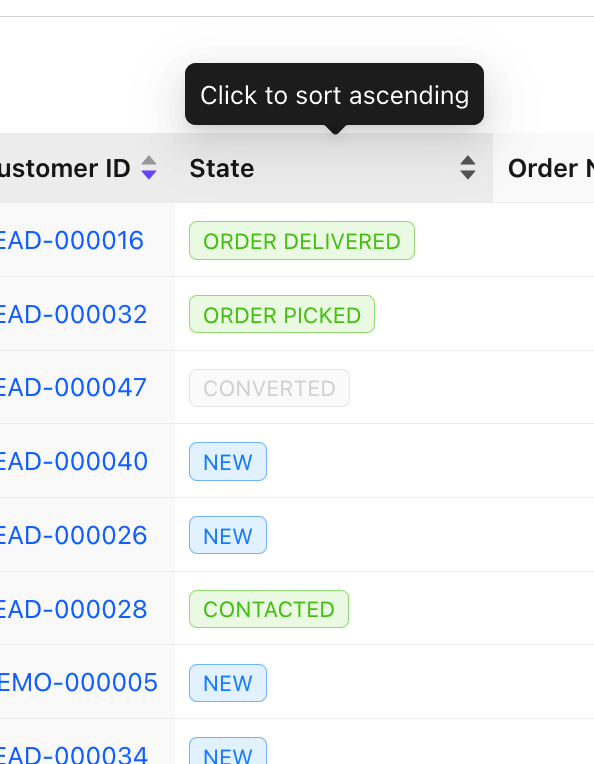
Sorting
Click on any column header to sort by that field. Click once for ascending, again for descending, and a third time to remove the sort.
In-Place Editing
Editing is enabled by default. Click directly on a field in the table to update values like text, dates, and more.

Customising Table Columns
- Click Customise Table Columns
- Add columns: Select attributes from the Select Column to Add dropdown
- Remove columns: Click the delete icon next to any field in the Actions column
- Reorder columns: Drag and drop rows using the ☰ icon
- Click Save
Admins can save column customisations for the entire team or a specific role. Use the 🗑️ button in the Customisation pop-up to reset to defaults.
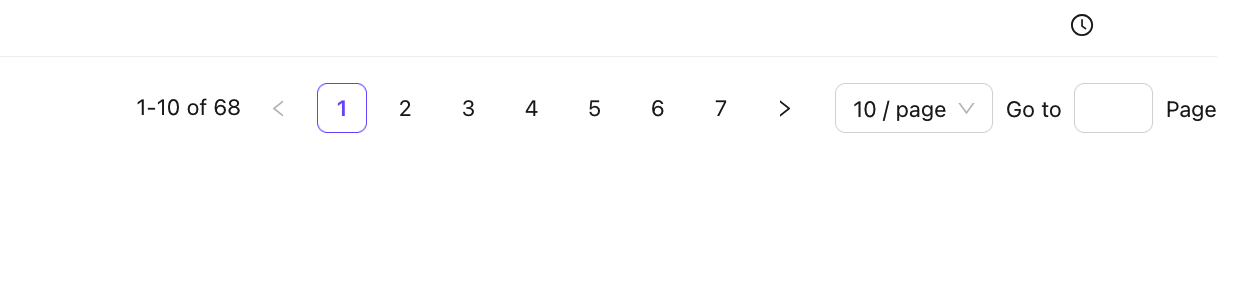
Navigating Pages
At the bottom of the Lead List, you can:
- Jump to a specific page number
- Change the number of leads shown per page (default: 10)
- Navigate using page numbers or the
>next page button
Selecting Leads
Individual Selection: Check the checkbox on the left side of any lead row.
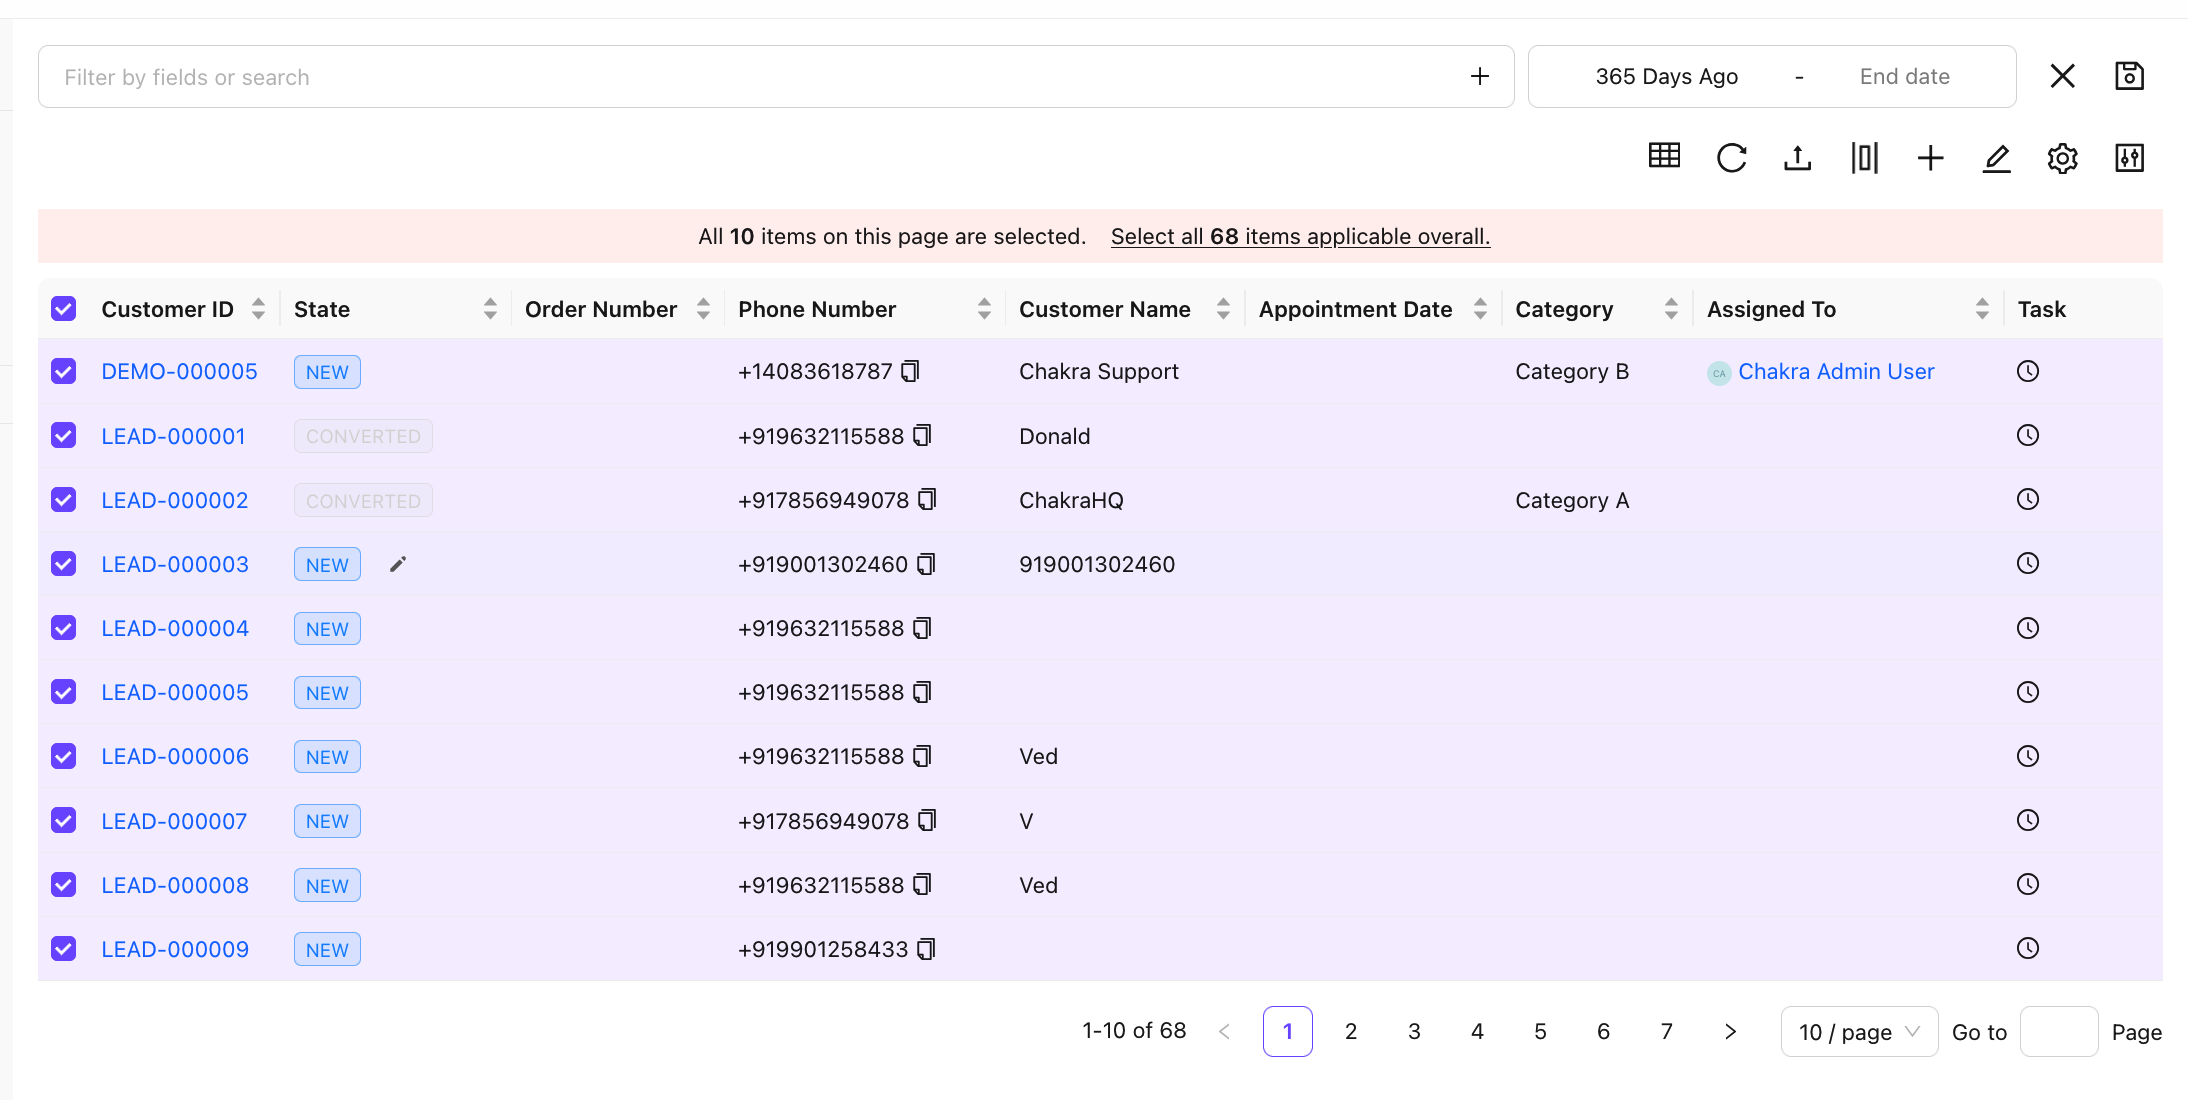
Select All on Current Page: Check the checkbox in the table header row. A prompt will confirm how many leads are selected on the page.
Select All Leads (across all pages):
- Check the header checkbox
- In the selection prompt, click "Select all
#Countitems applicable overall"
Lead Actions
Once leads are selected, you can perform the following actions:
- Click on the Pencil Icon ✎
- From the dropdown choose appropriate action
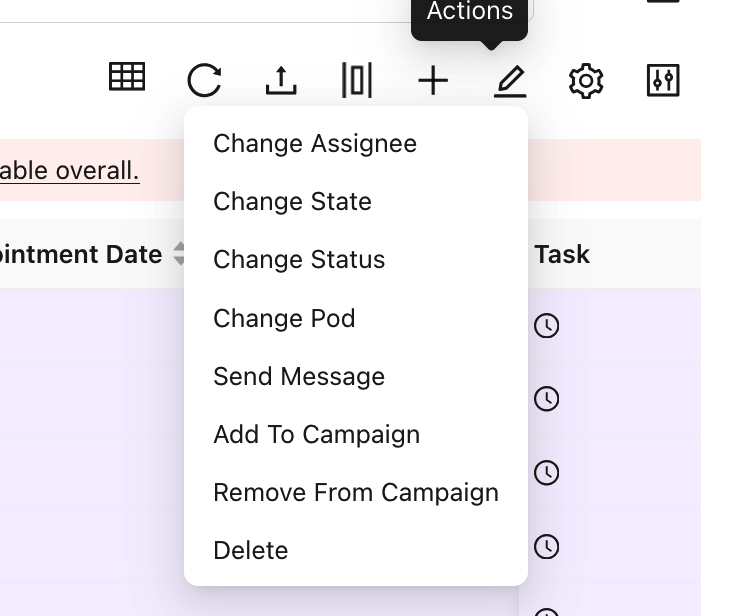
Action | Description |
Change Assignee | Assign or reassign the lead to a team member |
Change State | Update the lead's current stage or status |
Send Message | Send a direct message to the lead |
Add to Campaign | Add the lead(s) to a campaign |
Remove from Campaign | Remove the lead(s) from a campaign |
Delete Lead | Permanently delete the lead(s) |
How to use:
- Select your lead(s)
- Click the Action icon
- Choose the action, fill in any required details in the pop-up, and click Submit/Save
Download Leads
You can download leads from the lead dashboard
- Select the Leads using ☑ checkbox [Optional]
- Click to
⚙️settings icon
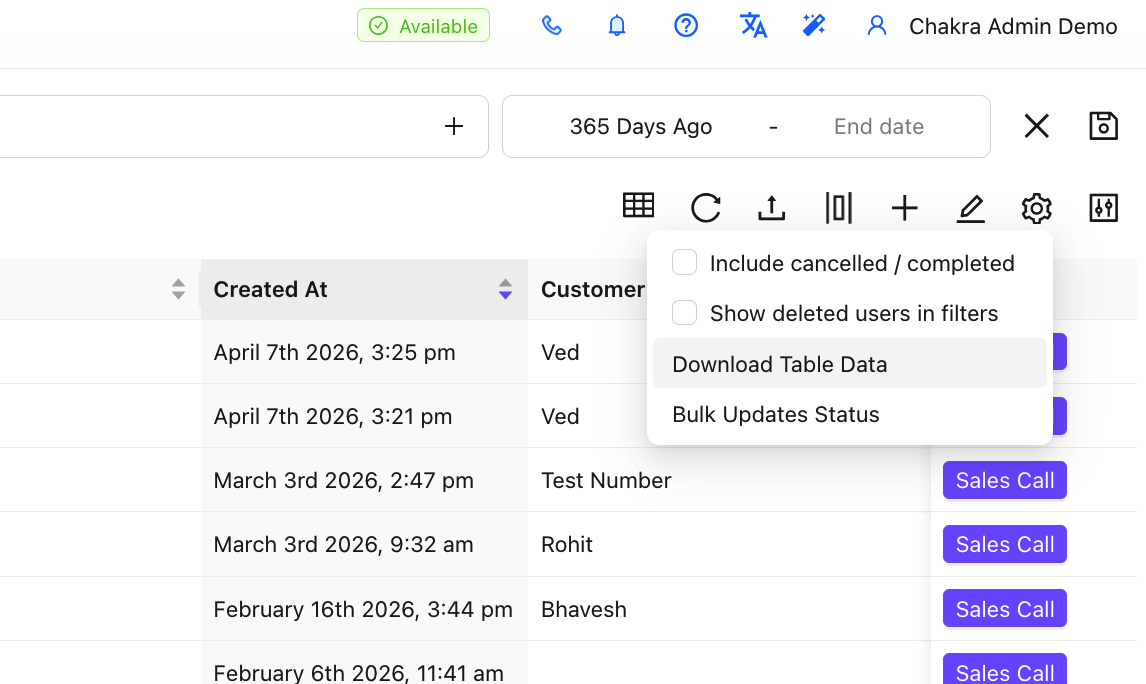
- Click on
Download Table Data - To Download select custom fields of the leads. In the download manager;
- To download all column in the lead list, simple click on
Request New Download - To download select columns from the lead list, click on
Columnfilter - Choose
Custom. Add the custom fields to download and thenRequest New Download
- To download all column in the lead list, simple click on
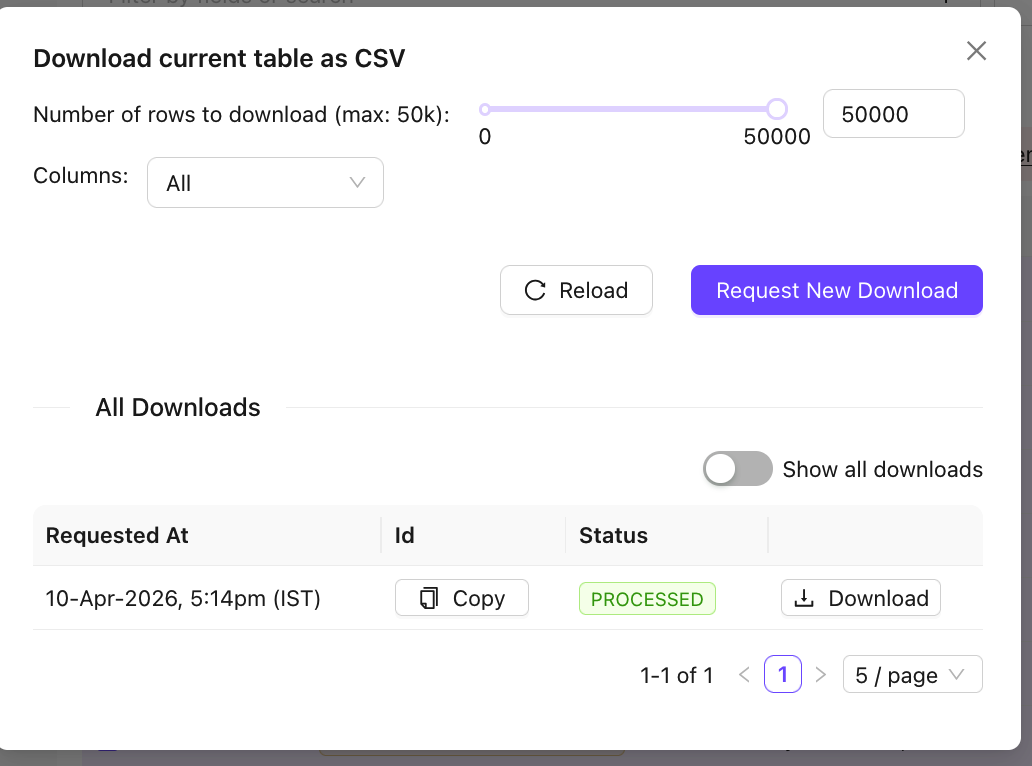
- Access the Downloaded File in the
All Downloadssection - Once the Status is PROCESSES the data can be downloaded
Adding Leads
You can add leads to Chakra Chat in the following ways:
- Manual Lead Addition – Add leads one at a time directly in the dashboard. Use the help guide to create a lead manually
- Bulk Lead Upload – Upload multiple leads at once via a file. Follow the steps in the Bulk Lead Upload help guide
- Bulk Lead Update – Update multiple existing leads in bulk. Follow the steps in the Bulk Lead Update help guide
- Webhook Integration – Automatically add or update leads via a connected webhook
Refer to the individual help articles for each method for step-by-step instructions.