Communication ChannelsEmail Integration Setup
Setup Email Inbox
Steps to create and configure an Email Inbox in Chakra Sales CRM
Overview
To connect an email inbox to manage your business communications.
Create Email Inbox
- Go to Admin settings in Chakra
- Search for Email Inbox settings
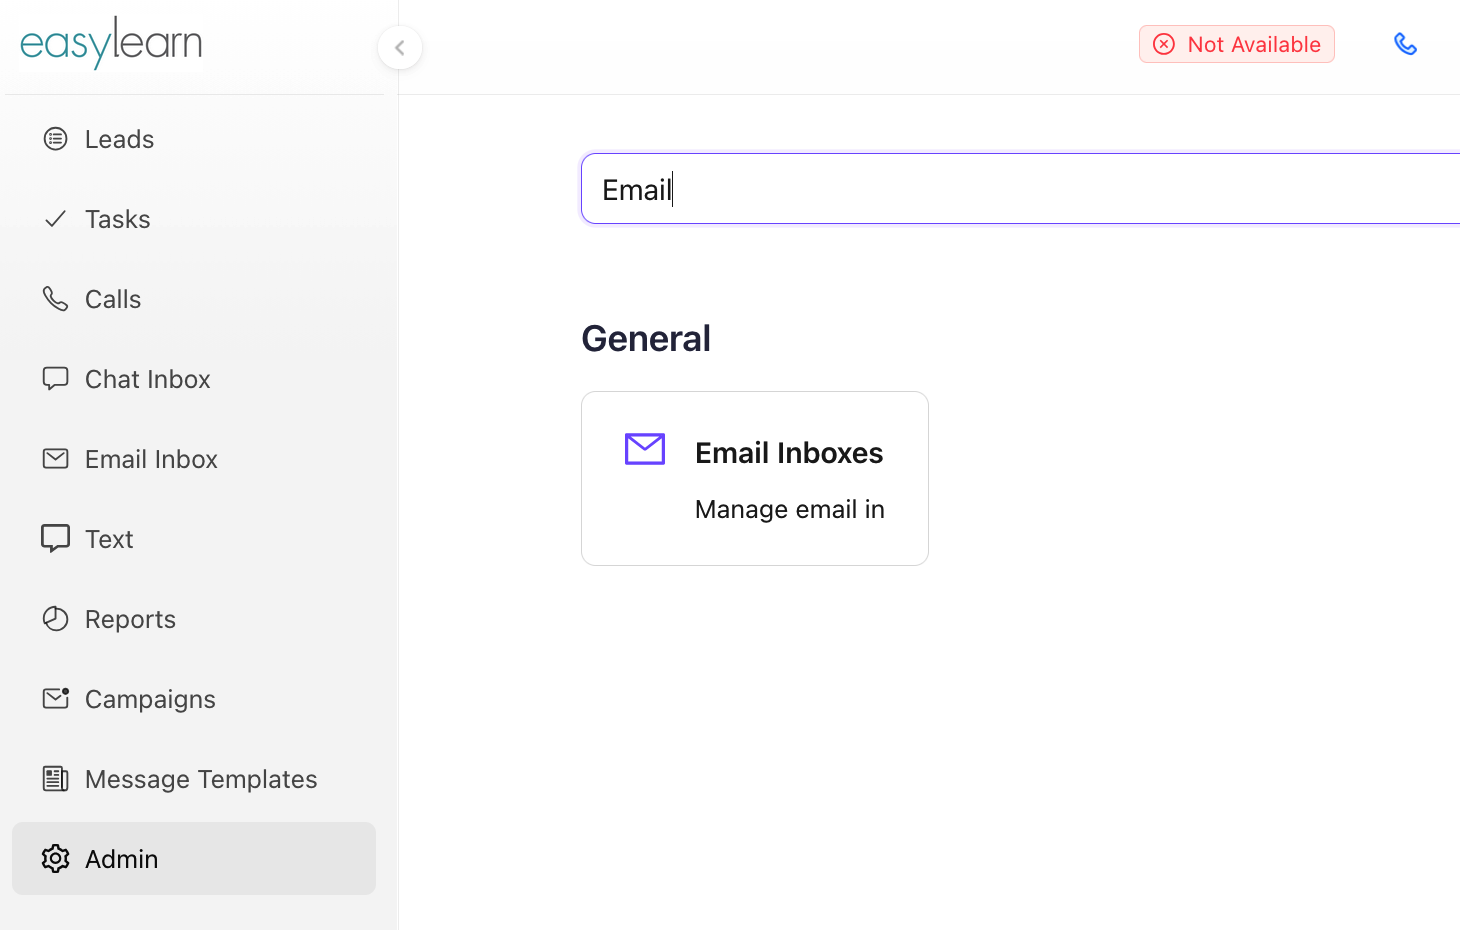
- Click on + Add Email Inbox
- Add Email Inbox (email id) in the popup box, click
Save - By Default, the email inbox name is saved as @chakrainbox.
teamshortname.com
- By Default, the email inbox name is saved as @chakrainbox.
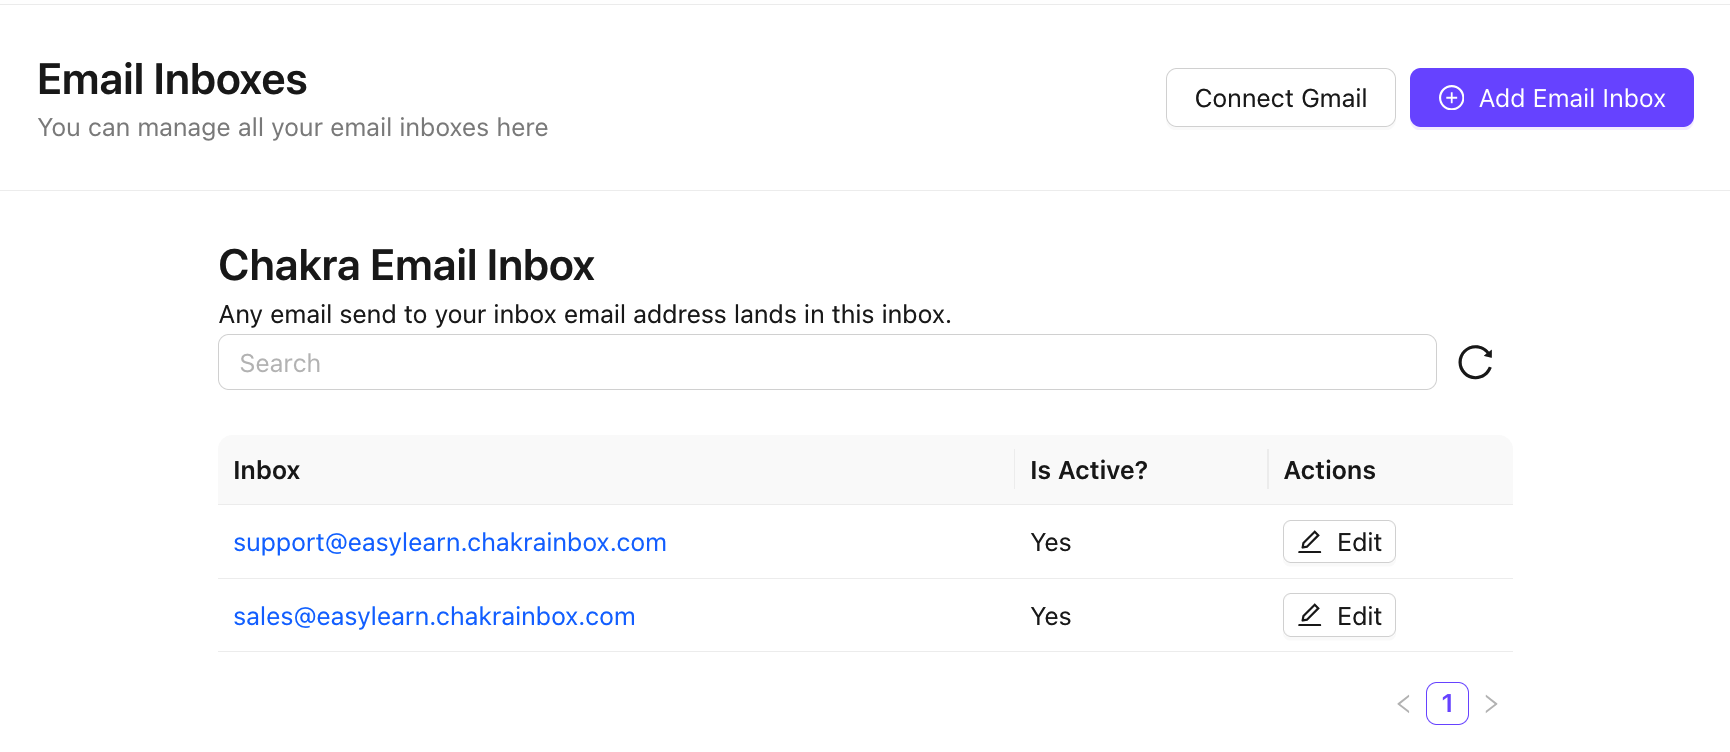
The email inbox is created successfully
Configure Email Inbox
Access the email inbox by clicking on the specific inbox in the Inbox column. Start the configuration of the email inbox.
Outbound Email Settings
- Send via connected Gmail account (click toggle to
Yes) - Send via Outbound Email Plugin (choose the plugin)
Inbound Email Rules
Rules
- Order (Add the order of this rule)
- Action (How to manage lead creation updation with incoming/outgoing emails)
- Create Process (lead): To create a new lead
- Link or create process (lead): To link an existing lead or create a new lead
- Update Process (lead): To only update an existing lead
- Condition (Add conditions to trigger the lead creation)
- fromEmail
- fromDomain
- isStartingEmail
- text
Action Context
- Procedure (Choose
Leadas the procedure) - Data (Map Chakra field on left column to the email field values)
Chakra Fields | Email Fields | Remarks |
Email (Lead) | From Email (Email Message) | Map Chakra Lead name |
Name (Lead) | From Name (Email Message) | Map Chakra email field |
From Domain Name (Email Message) | Optional - Create a domain name attribute in Chakra and map it | |
Subject (Lead) | Subject (Email Message) | Optional - Create an attribute in Chakra "Subject Name" and map it |
- State (Add the starting state for your lead created for this email inbox)
- Status (Add the Status for your lead created for this email inbox)
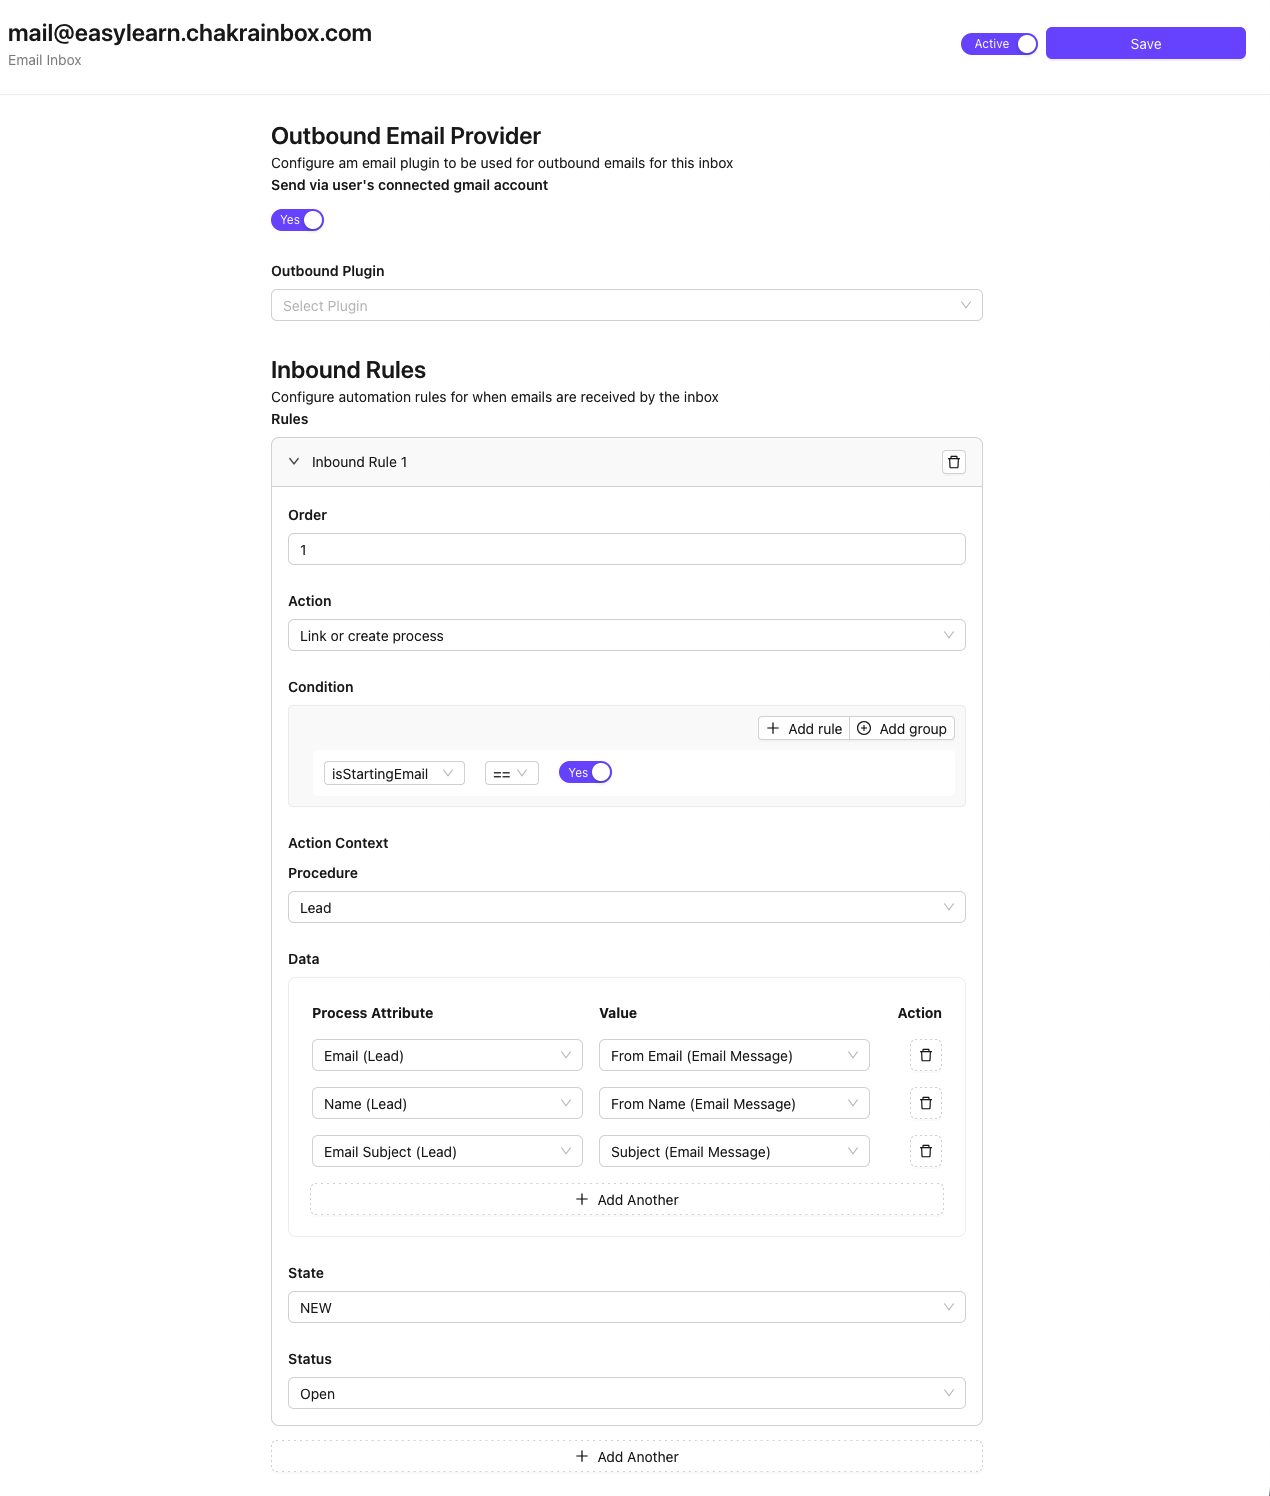
Save & Active
- Click on
Save - Toggle the Email Inbox as
Active
Manage Email Inbox
- Check Active status. Change Email Inbox active status from the Inbox configuration
- To Edit inbox name use the
✎ Editicon to change the email inbox name