Exotel WebRTC Setup (For Admins)
To setup Exotel WebRTC please follow the steps below. Ensure you have admin access to ChakraHQ.
Create a new Exotel WebRTC Plugin
- Go to the plugins page - https://app.chakrahq.com/admin/plugins
- Click "Add Plugin"
- You will see a list of plugins. Type exotel in the search bar. Click the "Exotel (WebRTC)" card
- You will be asked to provide a name for the plugin. Then click "Add"
- A new plugin will be created and you will be redirected to the details page
Configure Plugin
In the plugin configuration page, you will be asked to fill out the following details
- Customer ID
- Customer Secret
- Exotel Account SID
- Exotel API Key
- Exotel API Token
- Exotel Domain
- Customer Name
- Allowed Virtual Numbers
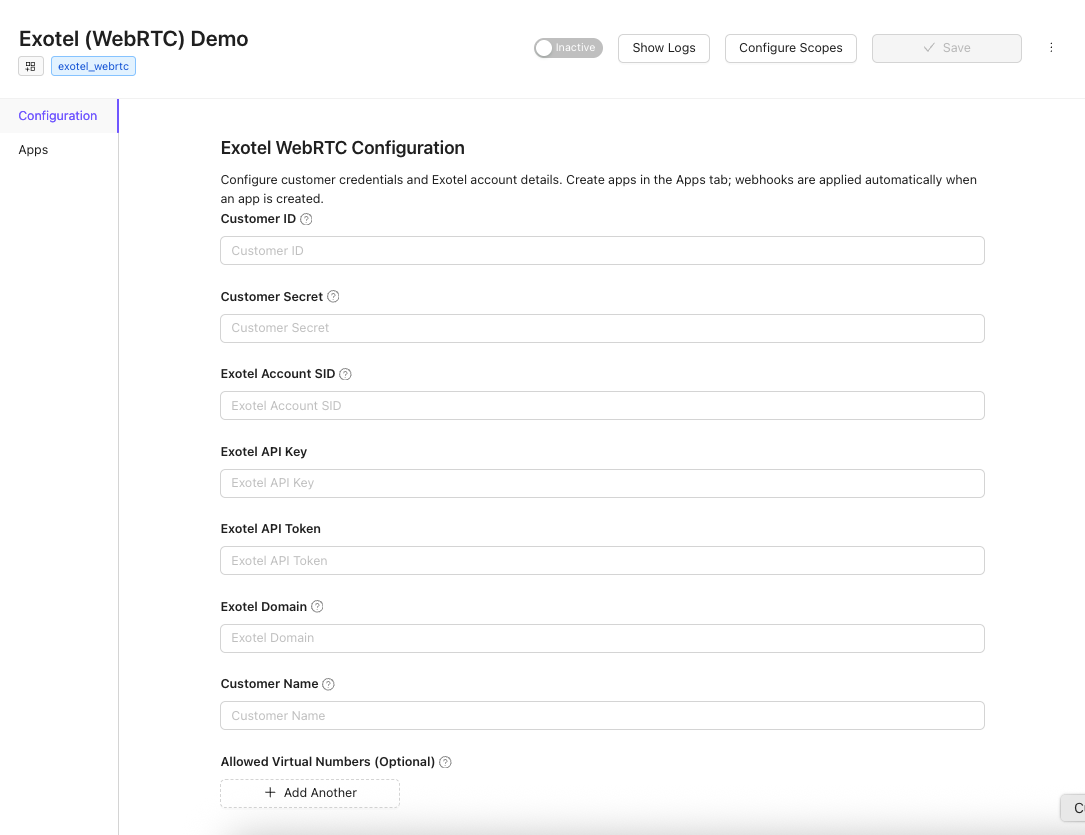
Please fill out these details and save the configuration. Then mark the plugin as active.
Create a new App
- Click the Apps tab
- Click the "Create app" button
- Provide a name for the app and click "Create & configure webhooks"
- The new app should be created and shown in the list
- The new created app should be marked as default. If not please click "Set Default"
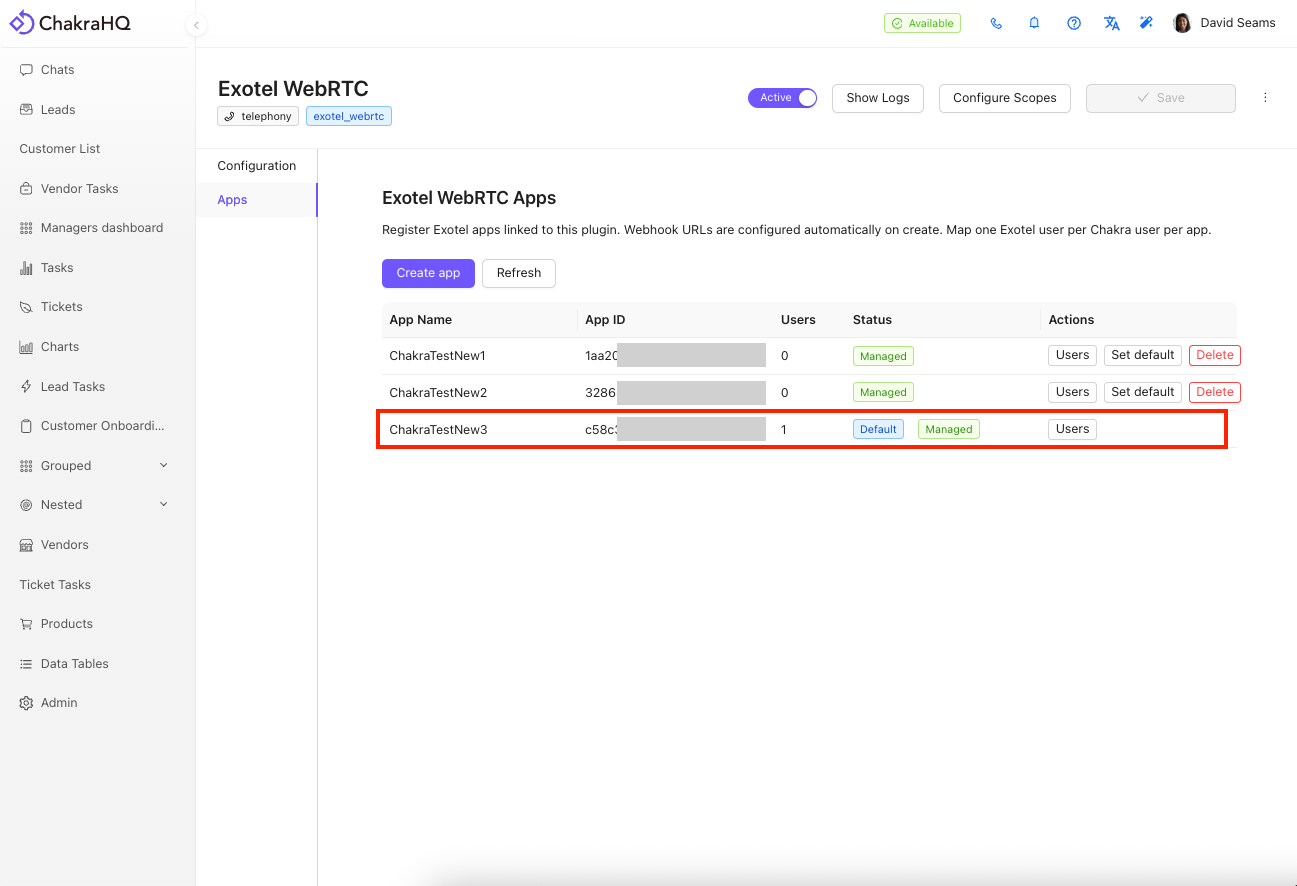
The image above shows successfully created apps and the default app.
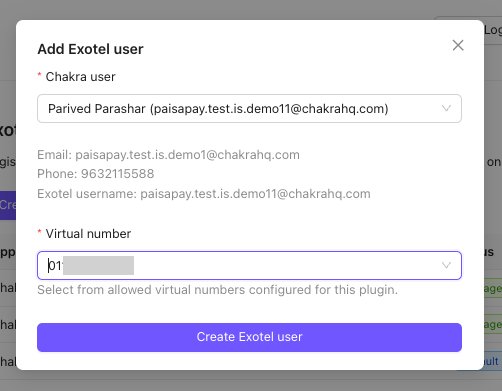
Create users
To allow your users to use this telephony, you need to create exotel users corresponding to your Chakra Users.
- Click "Users" next to your Exotel App
- This will show a list of users
- Click "Add User"
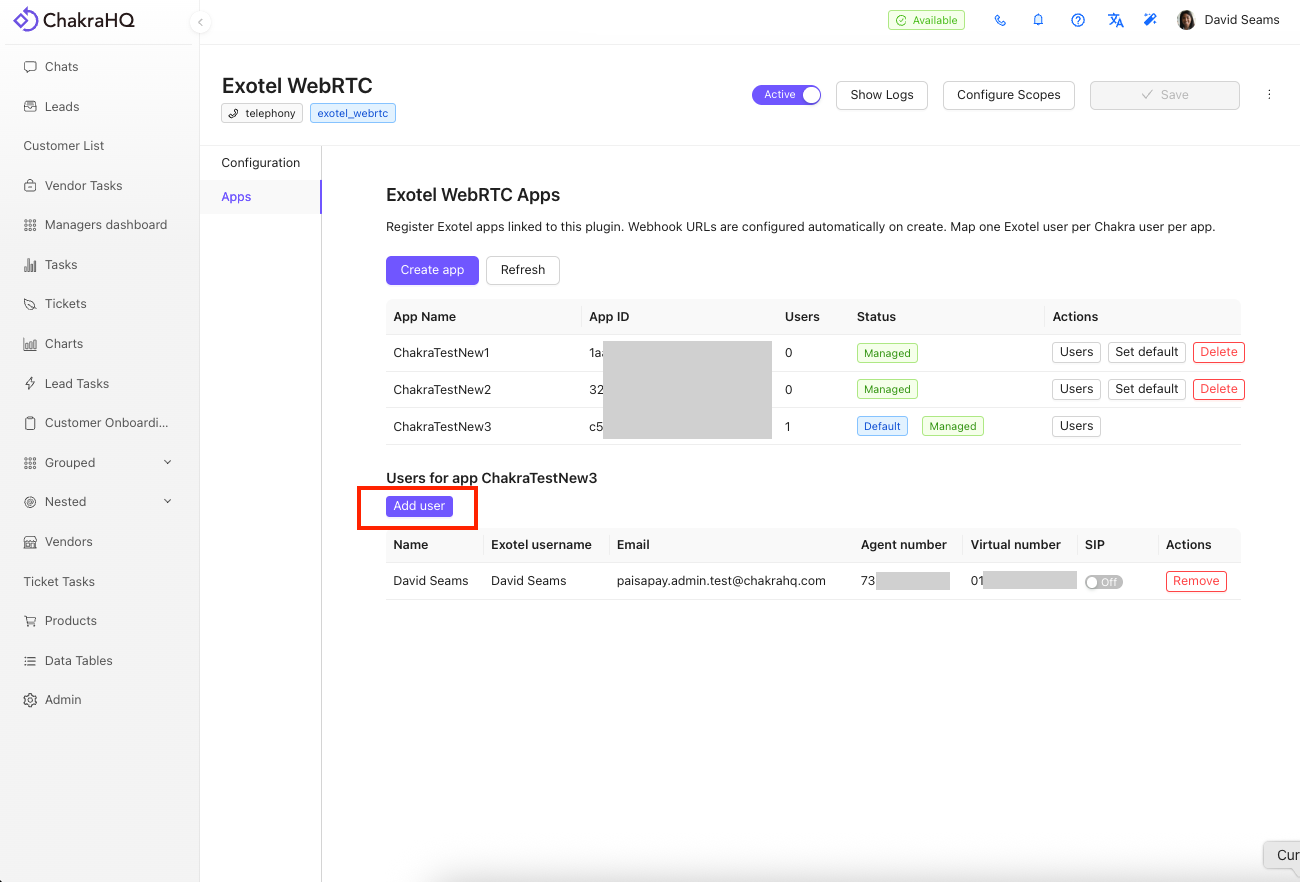
- Select a user from the user list
- Ensure that the user has a valid phone number
- Then select the virtual number
- Click "Create Exotel User"
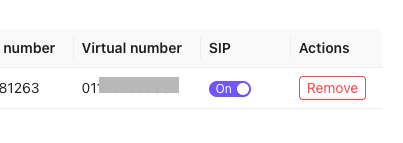
- After the new user is created, click the toggle in the SIP column - this enables SIP calling for the user