Add New Leads
Overview
You can add customers as leads using their phone numbers and include additional fields, which can be updated as needed
Add Leads
Bulk Upload Leads
Go to 👉 Chakra Dashboard Leads tab
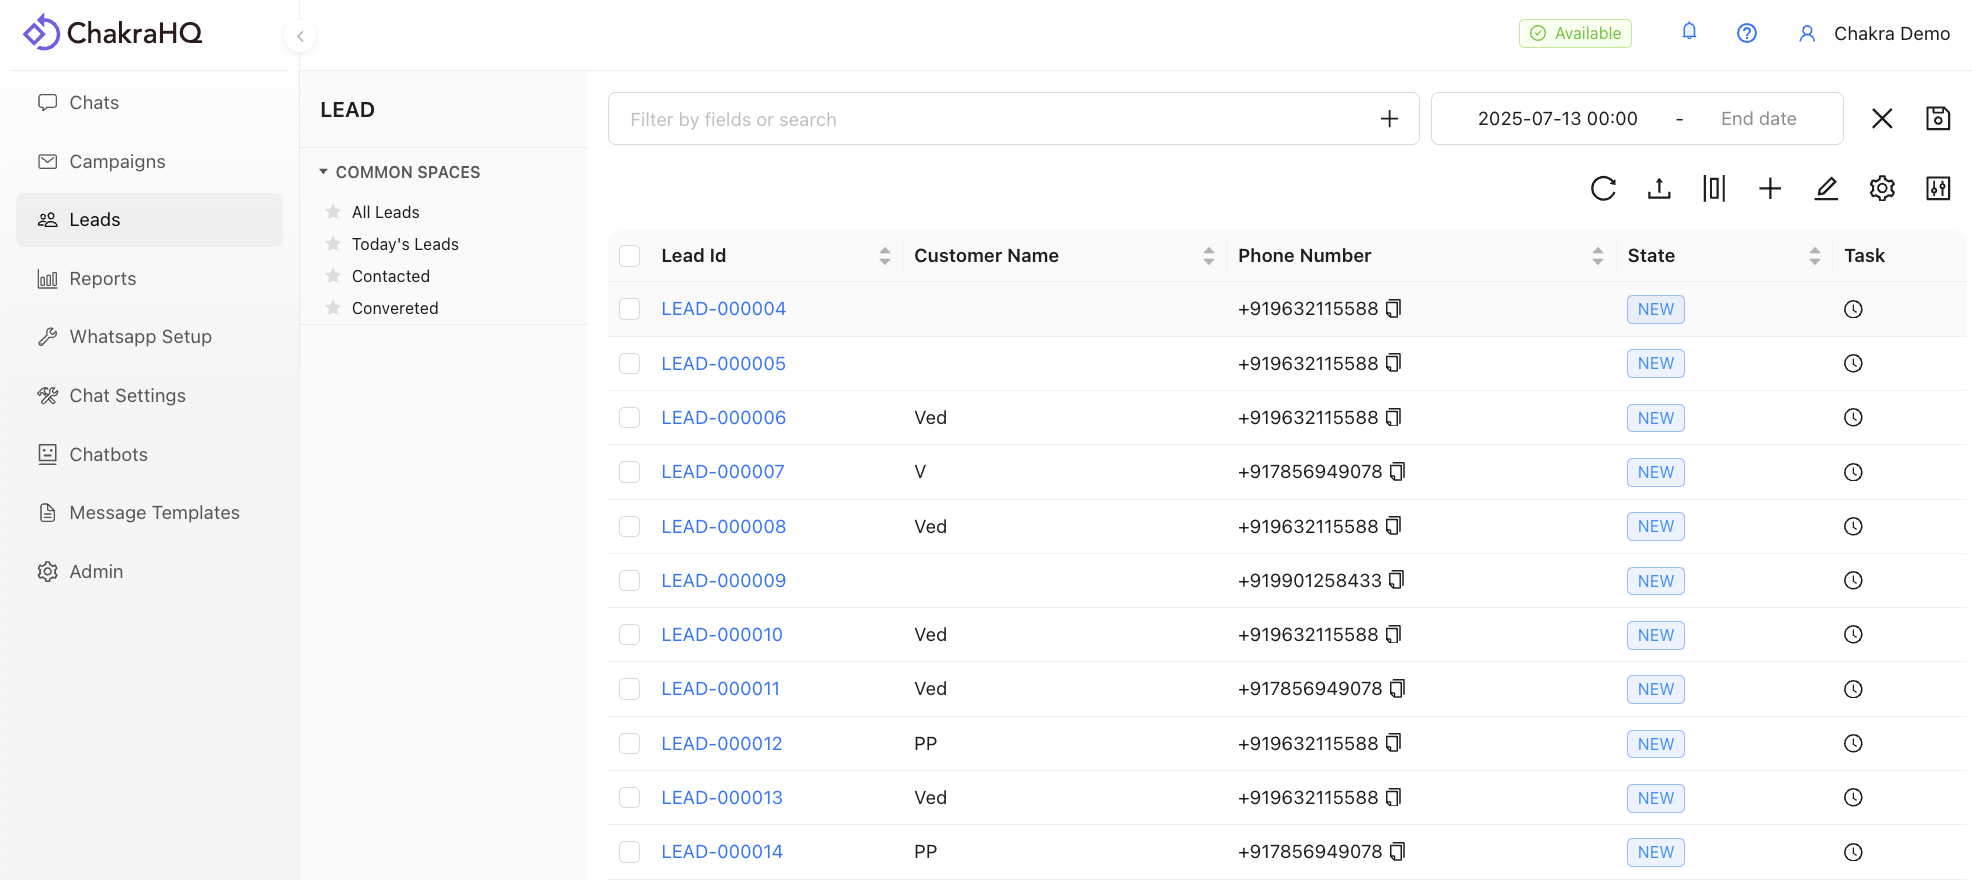
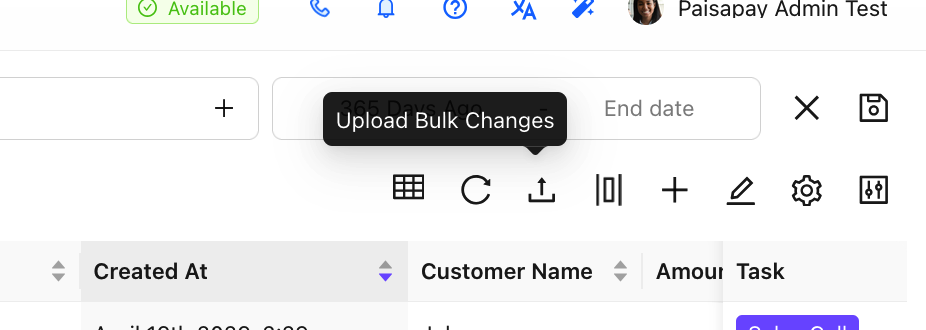
Click on the ⬆️ Upload icon
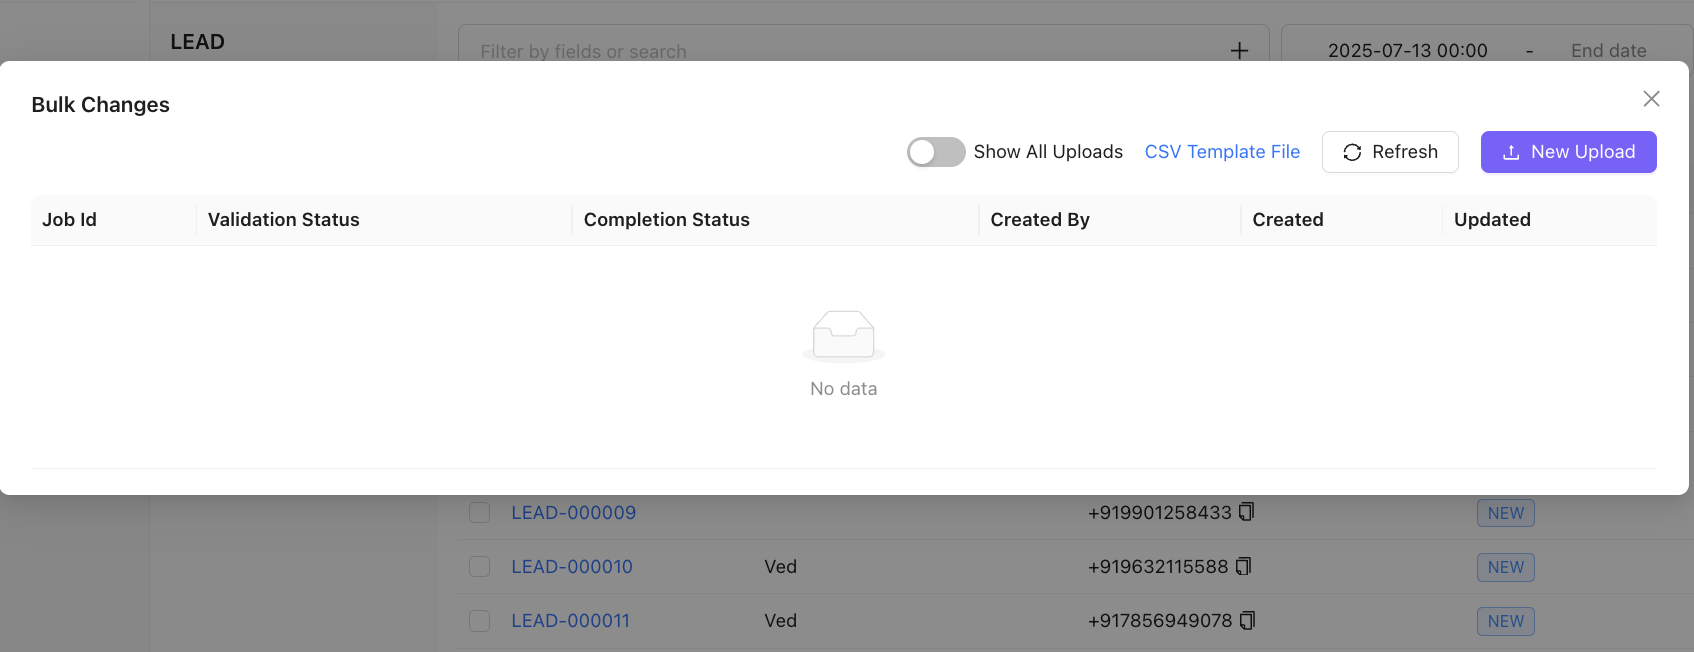
In the bulk changes window, click on New Upload
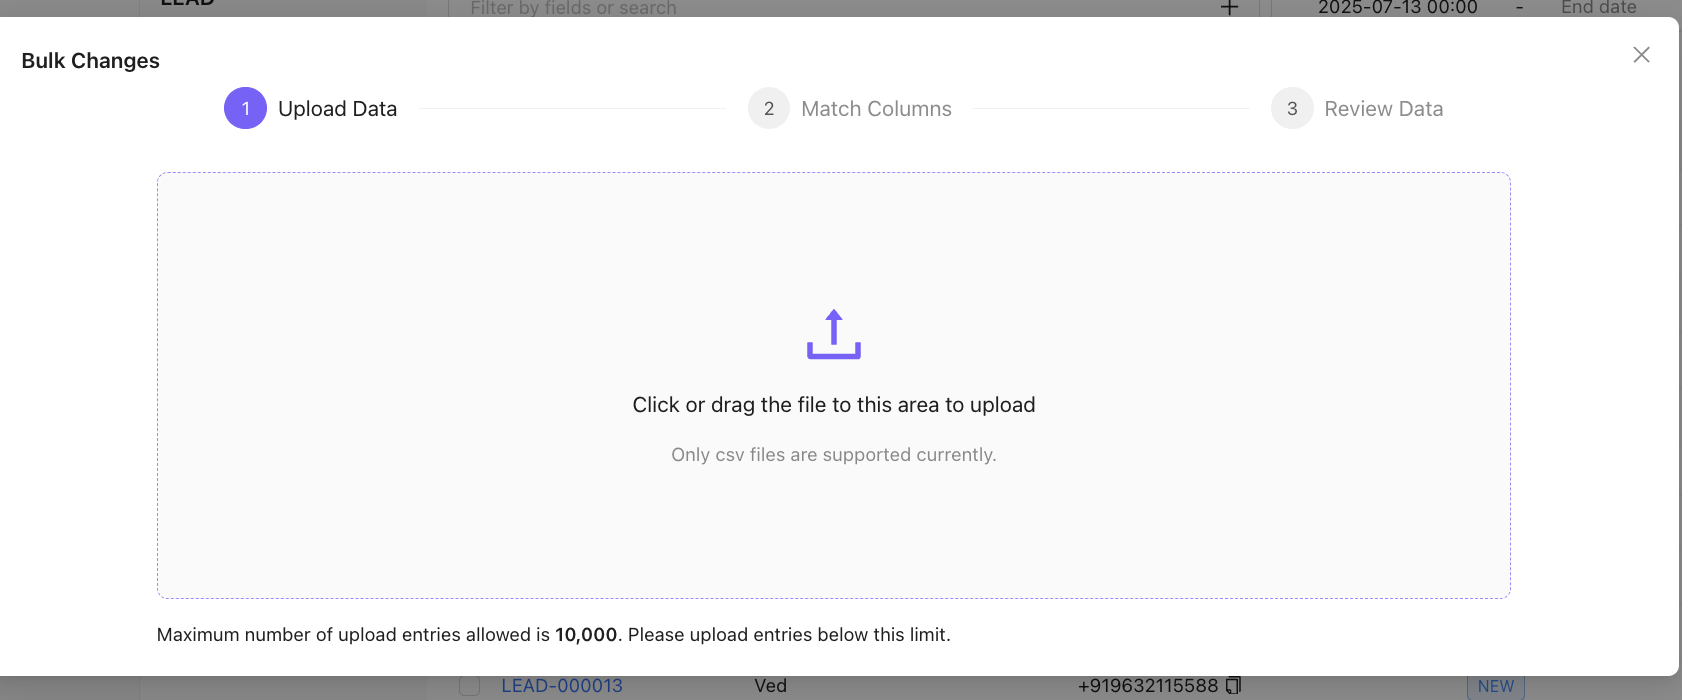
Next, click or drag the file to this area to upload (Only CSV files are supported)
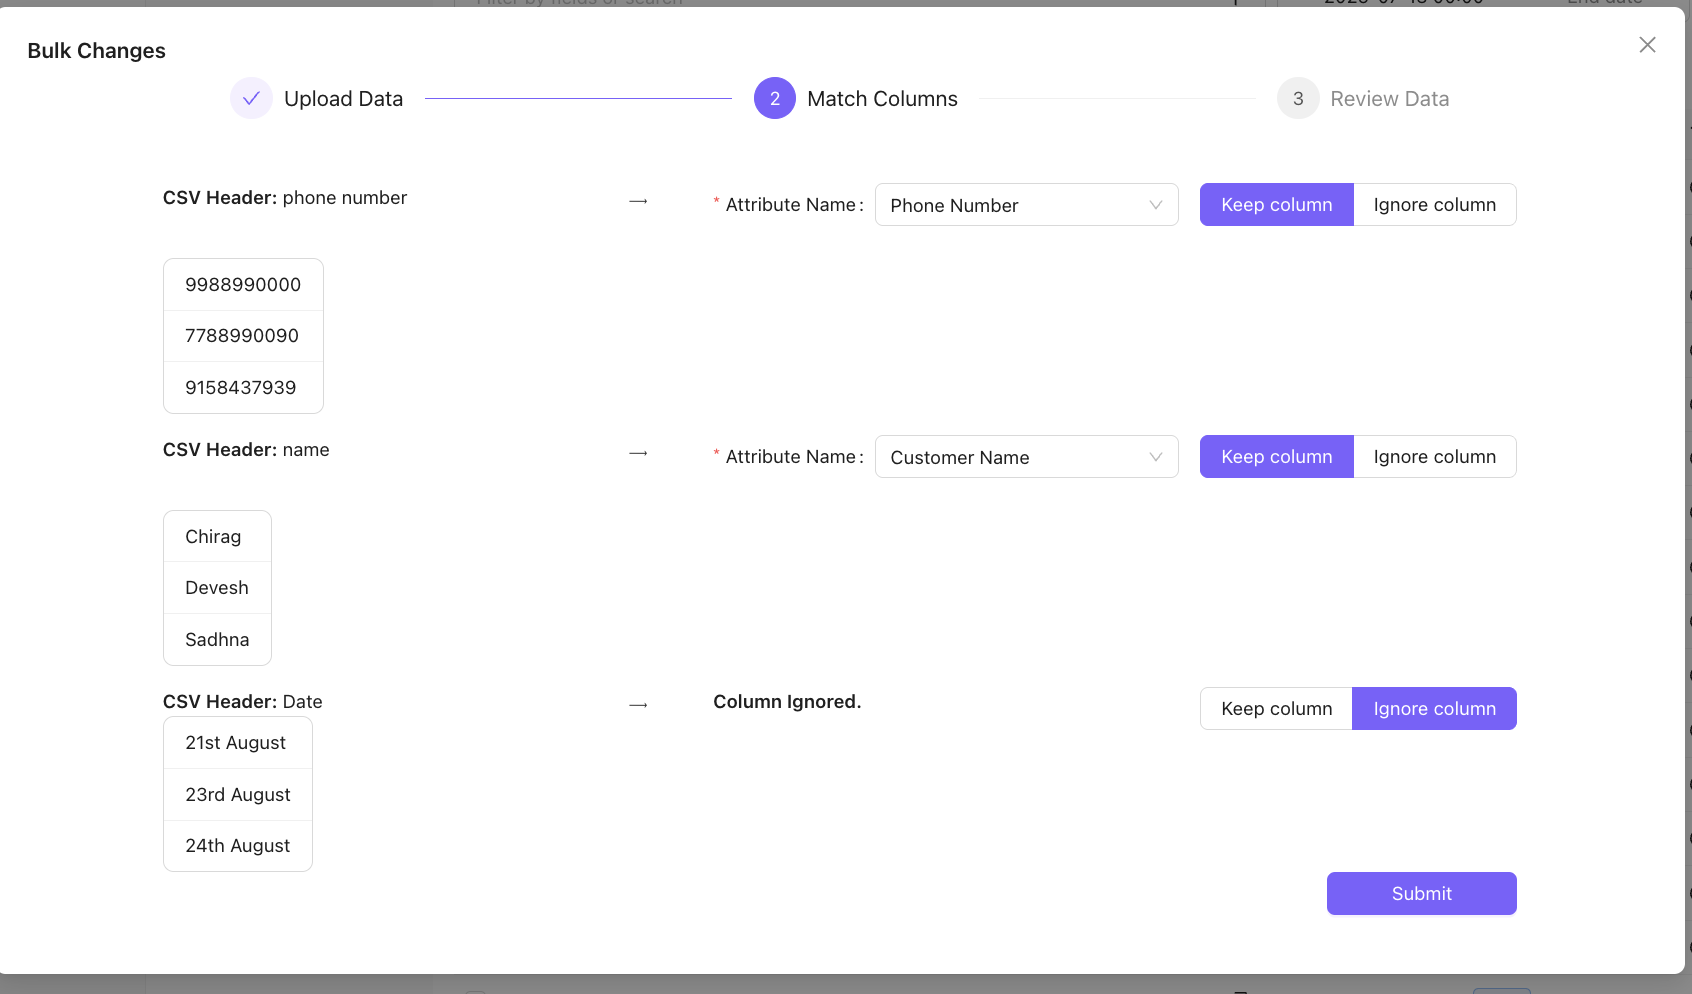
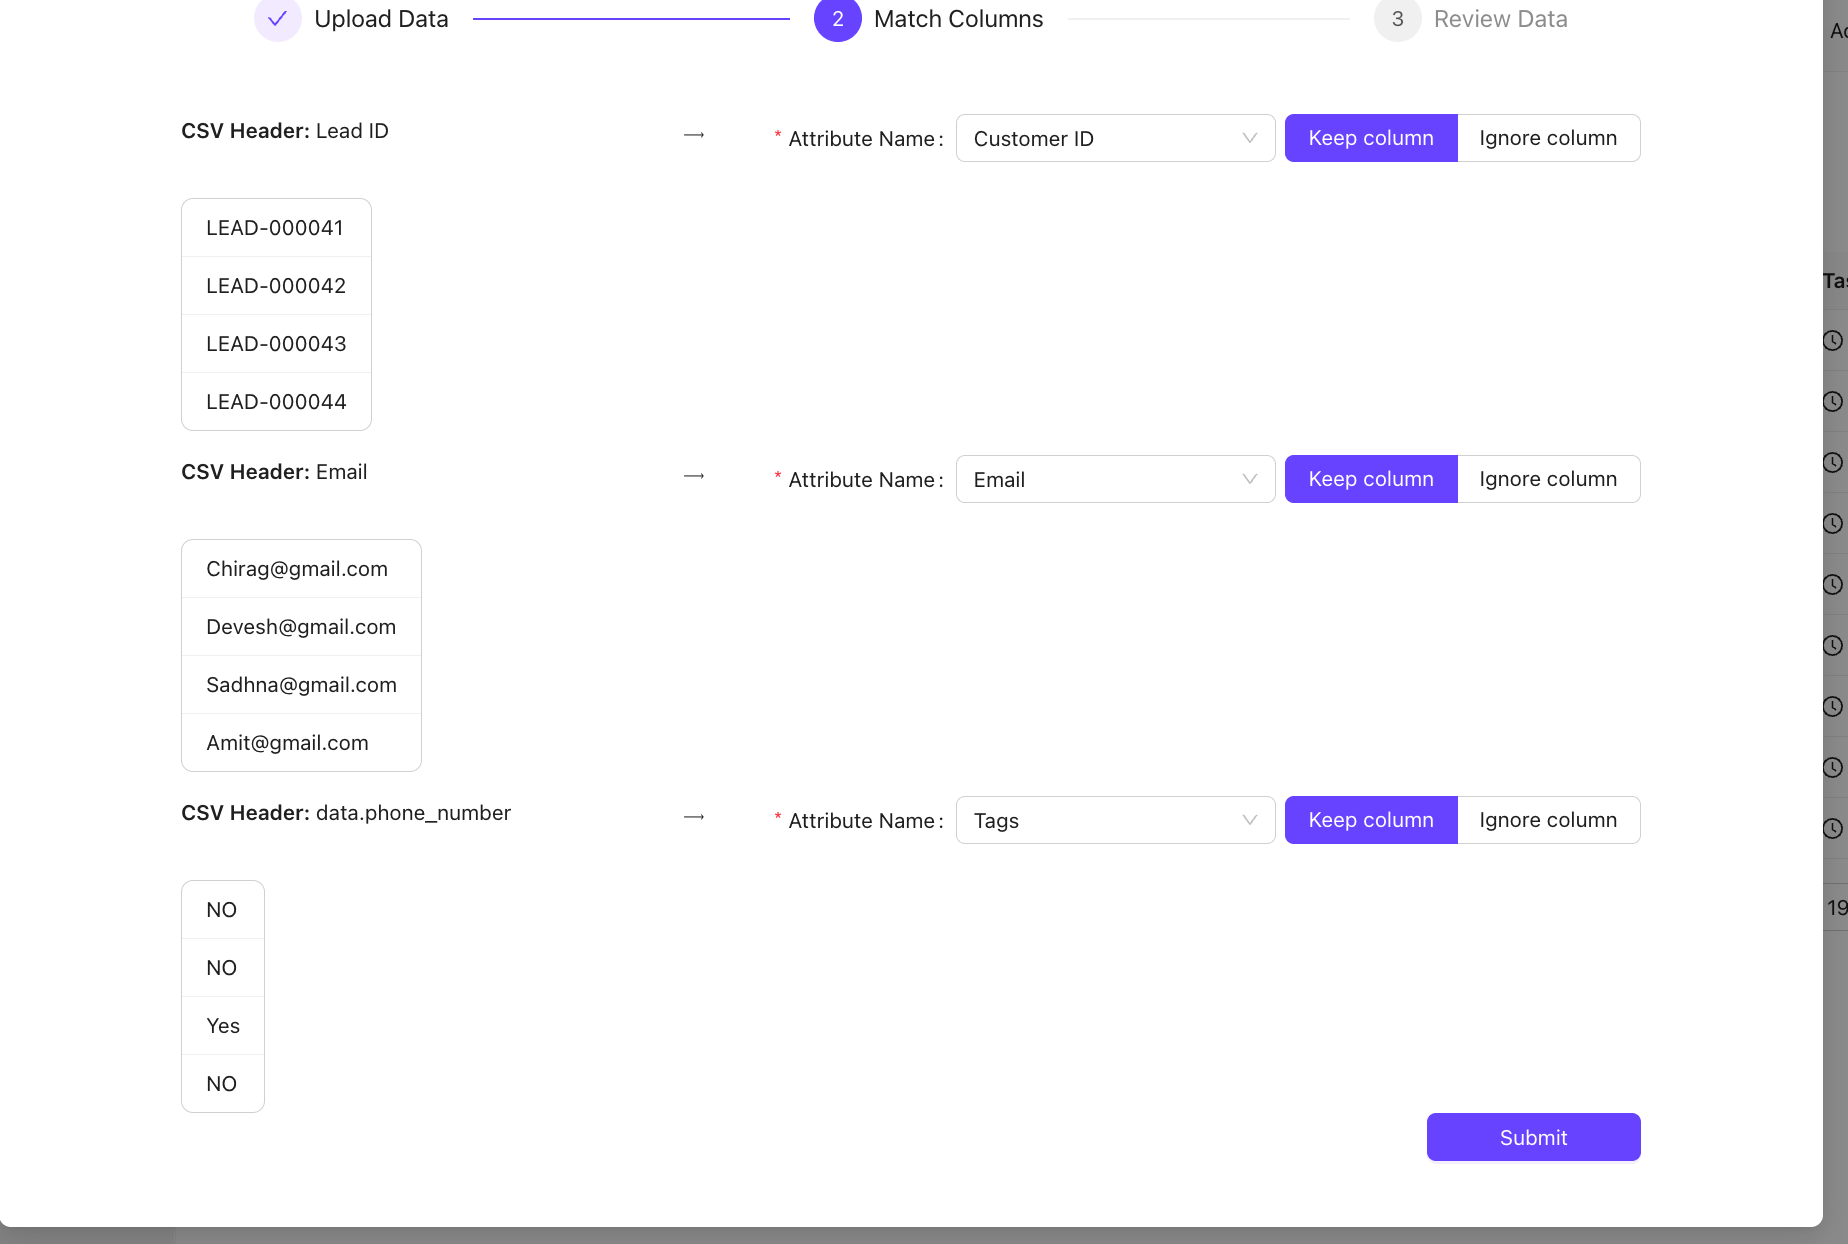
Edit the mapping of the CSV header name with the Chakra Attribute Name if required. Click Submit
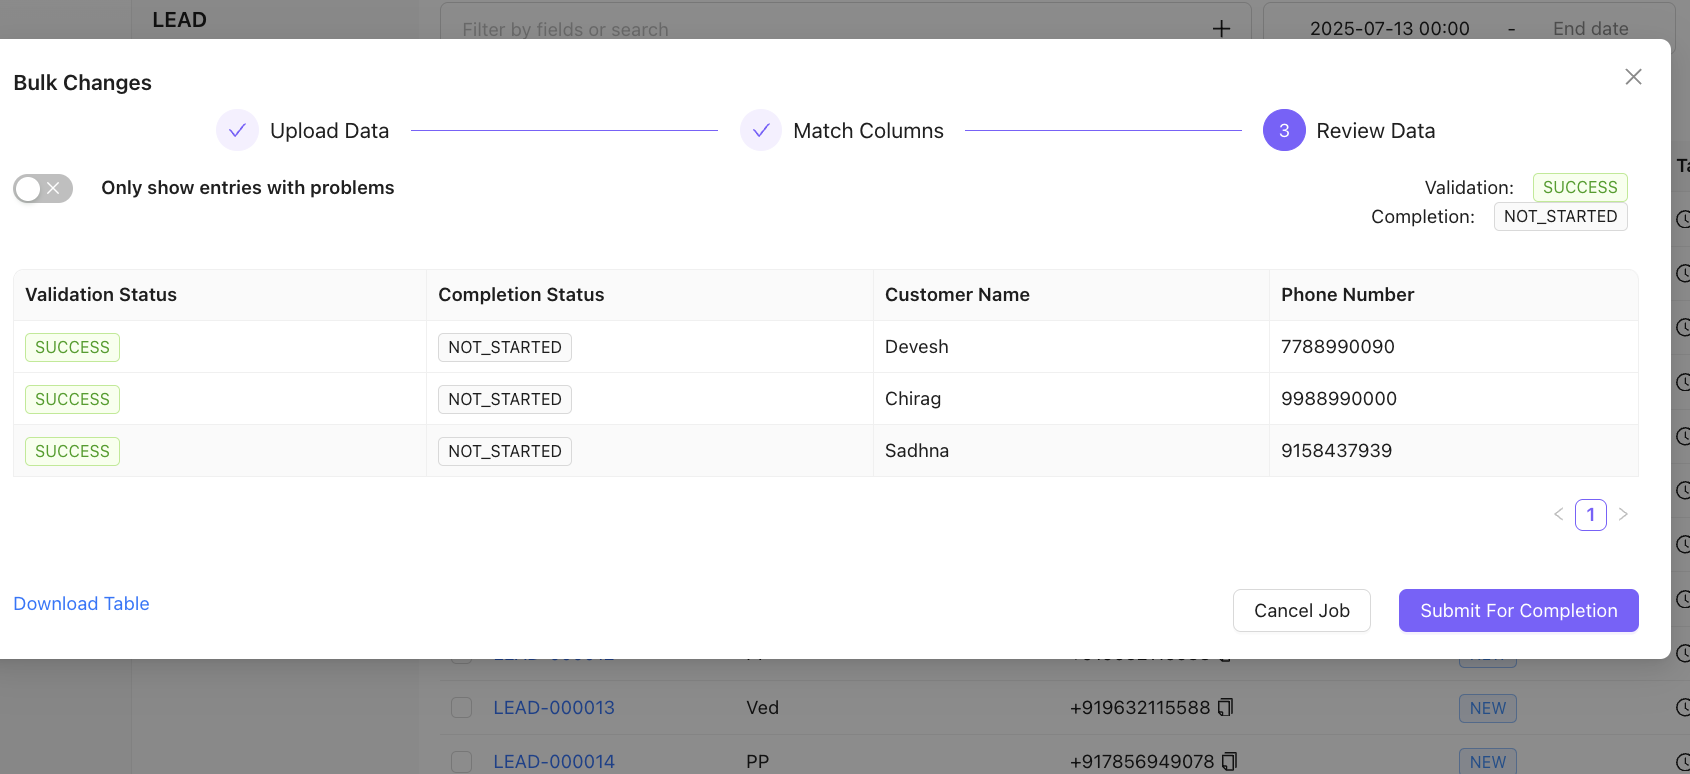
Review and click Submit for Completion
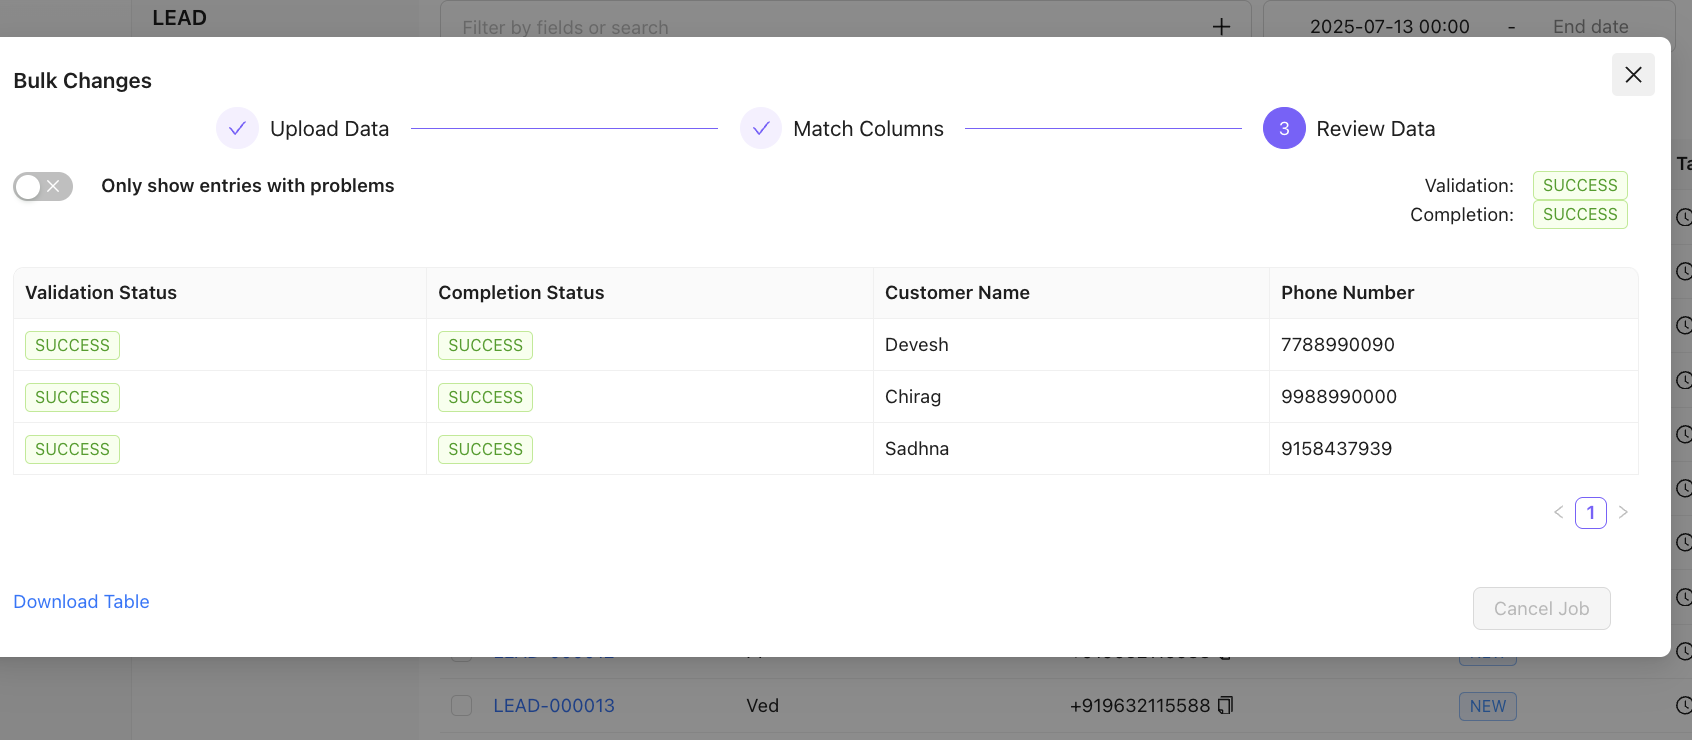
The leads should have been uploaded successfully
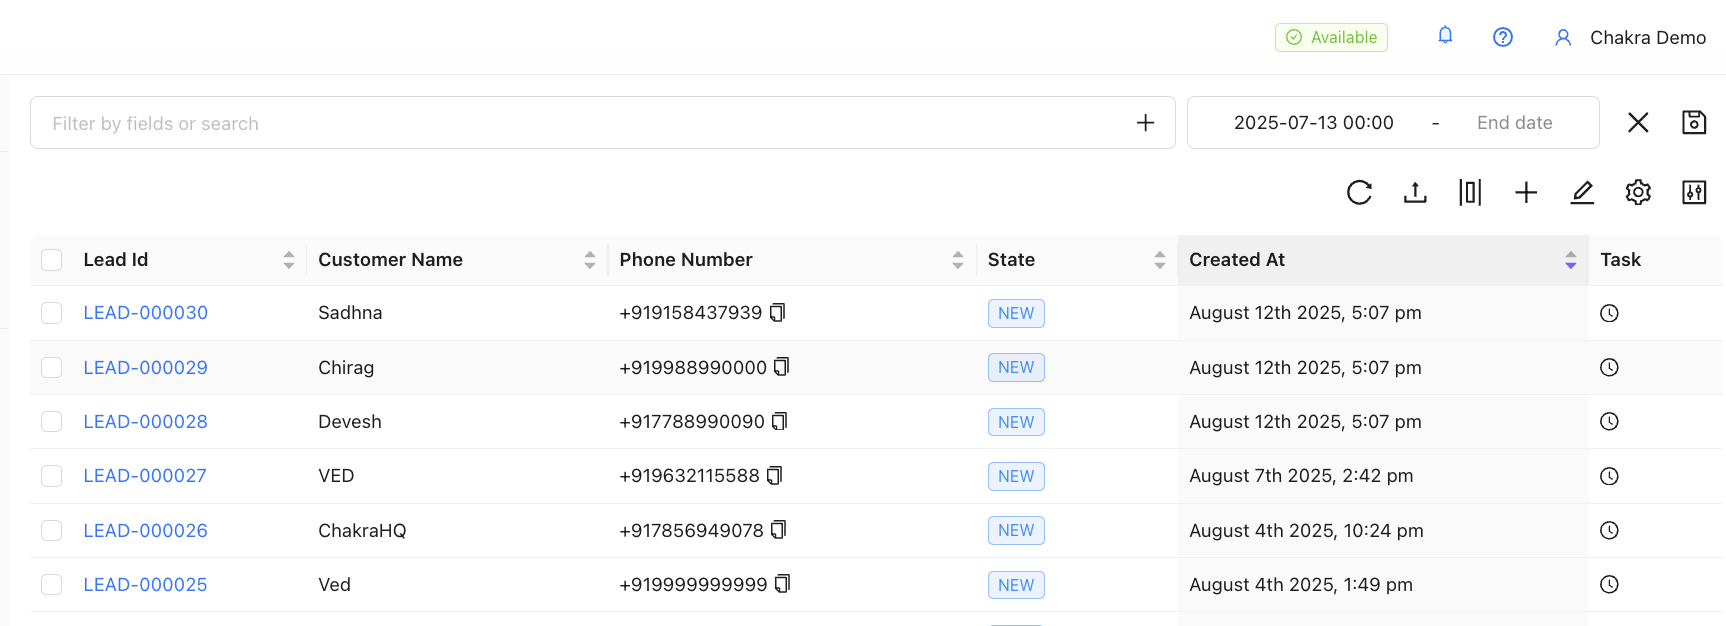
To check the uploaded leads, click refresh
Manually Create a Lead
Go to 👉 Chakra Dashboard Leads tab
Click on the ✚ add icon
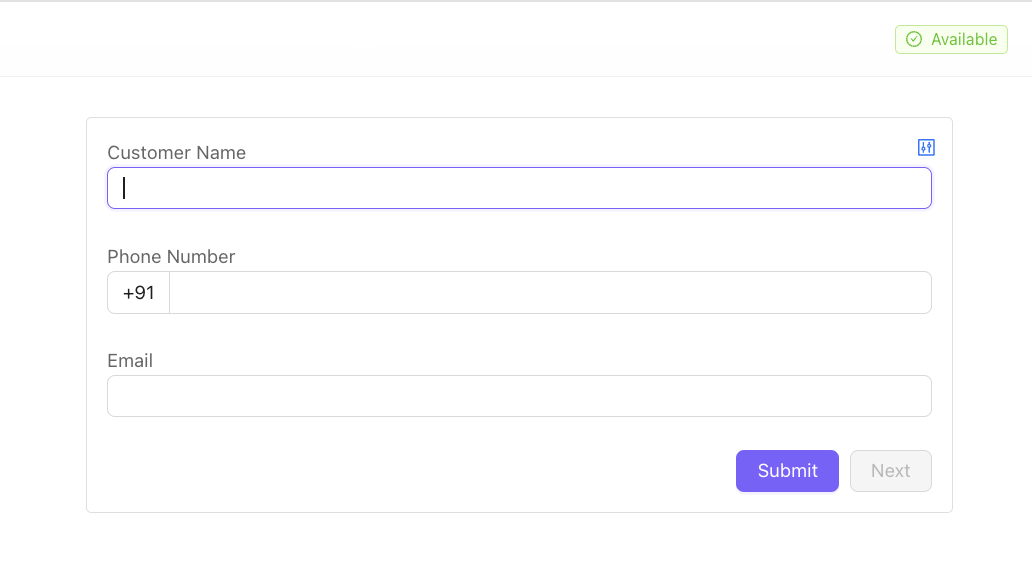
![]()
Add the fields in the Lead and click Submit
The lead is added in Chakra. To check the uploaded lead, click refresh.
Update Leads (Bulk)
You can easily update specific fields of your existing leads in Chakra using a CSV file. This guide walks you through the entire process step by step.
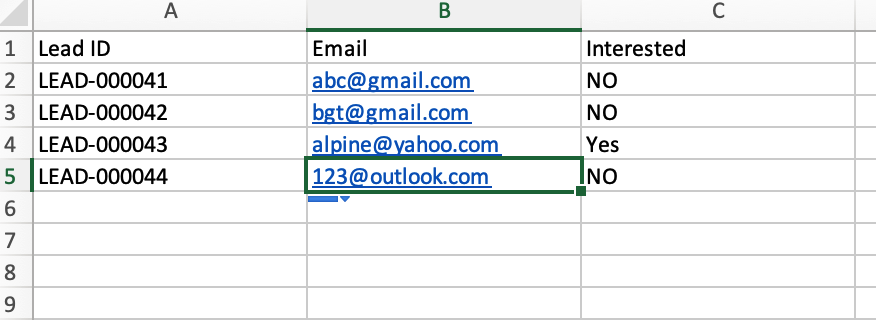
1. Download the leads you want to update
- Go to the Leads section in Chakra and export the leads you wish to modify.
- This ensures you have the correct Lead ID for each record.

2. Keep the Lead ID in the first column
- Lead ID is the unique identifier for every lead in Chakra.
- The very first column of your CSV must be
Lead ID(exactly this spelling and case). - Do not change or remove any Lead IDs.
3. Add the fields you want to update
- In new columns, enter the updated values for the fields you want to change (e.g., Status, Company, Phone, Custom Fields, etc.).
4. Remove irrelevant columns
- Delete all columns that you do not want to update.
- Keeping unnecessary columns may cause errors or unintended updates.
⚠️ Important: Only include the columns (fields) you actually want to update.

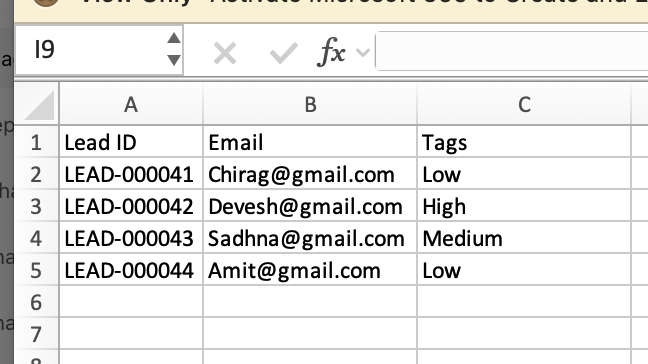
5. Rename columns to match Chakra field names
- Column headers must exactly match the field names used in Chakra (case-sensitive).
- This enables automatic mapping during upload.
- Example: If the field in Chakra is called “Lead Status”, rename the column header to
Lead Status.
6. Handle empty cells correctly
- Cells with a value → will be updated in Chakra.
- Empty/blank cells → will not overwrite existing data (the current value remains unchanged).
7. Save the file
- Save your file as a CSV (UTF-8) format.
- Give it a clear name, e.g.,
leads_update_2025-12-03.csv.
8. Upload the update file
- Follow the standard bulk lead upload process: Bulk Upload Leads →
- When prompted, choose “Update existing leads” (instead of creating new ones).
- Map the
Lead IDcolumn when asked (it should auto-detect if named correctly).
9. Leads Updated!
- After successful upload, all specified fields for the matching Lead IDs will be refreshed with the new values.
- You’ll receive a confirmation and can check the updated leads in Chakra.
Checklist for Update Leads
Rule | Details |
|---|---|
First column | Must be |
Only include fields to update | Remove everything else |
Column names | Must exactly match Chakra field names |
Non-empty cells | Will overwrite existing data |
Empty cells | Will leave existing data unchanged |
File format | CSV (UTF-8 recommended) |
That’s it! You’re now ready to bulk-update your leads safely and efficiently in Chakra.
If you encounter any issues, feel free to reach out to support using a Ticket.
Add Lead : Webhook Integration
You can automatically create or update leads in Chakra from external sources such as website forms, landing pages, your CRM, or any other system by using the Landing Page Form plugin. This plugin receives data via a webhook and converts it into Chakra leads.
Follow the steps below to set it up:
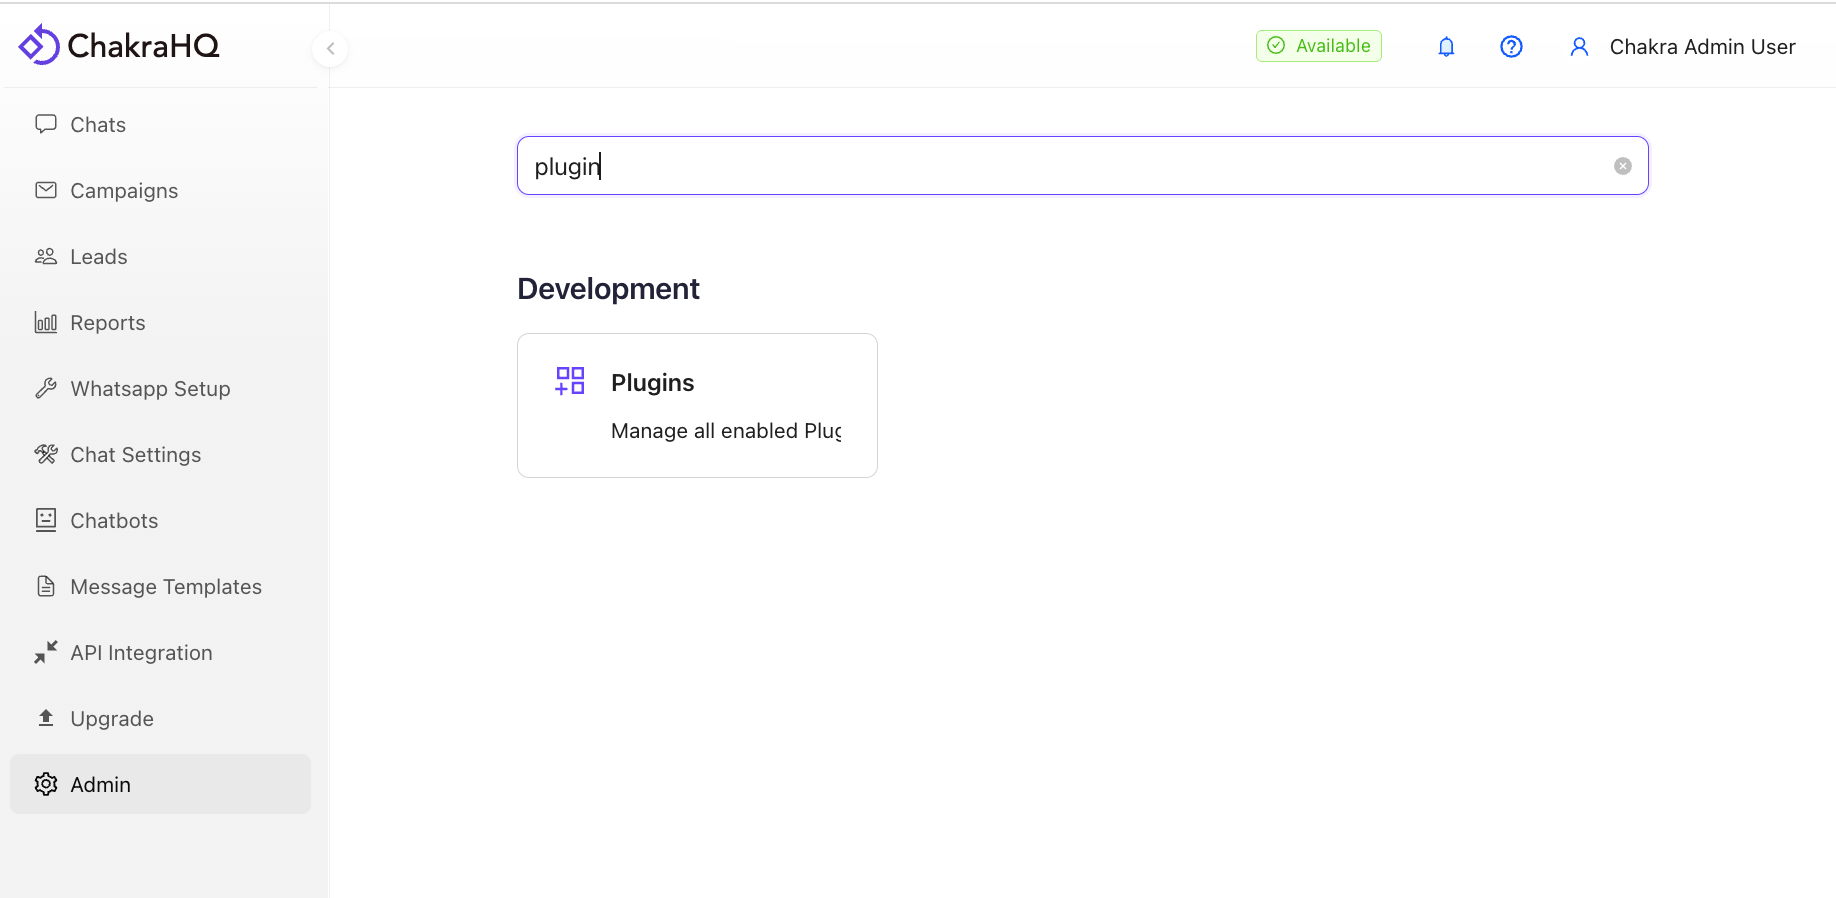
Step 1: Access the Plugins Section
- Log in to Chakra as an Admin.
- Navigate to Admin Settings → **Plugins**.
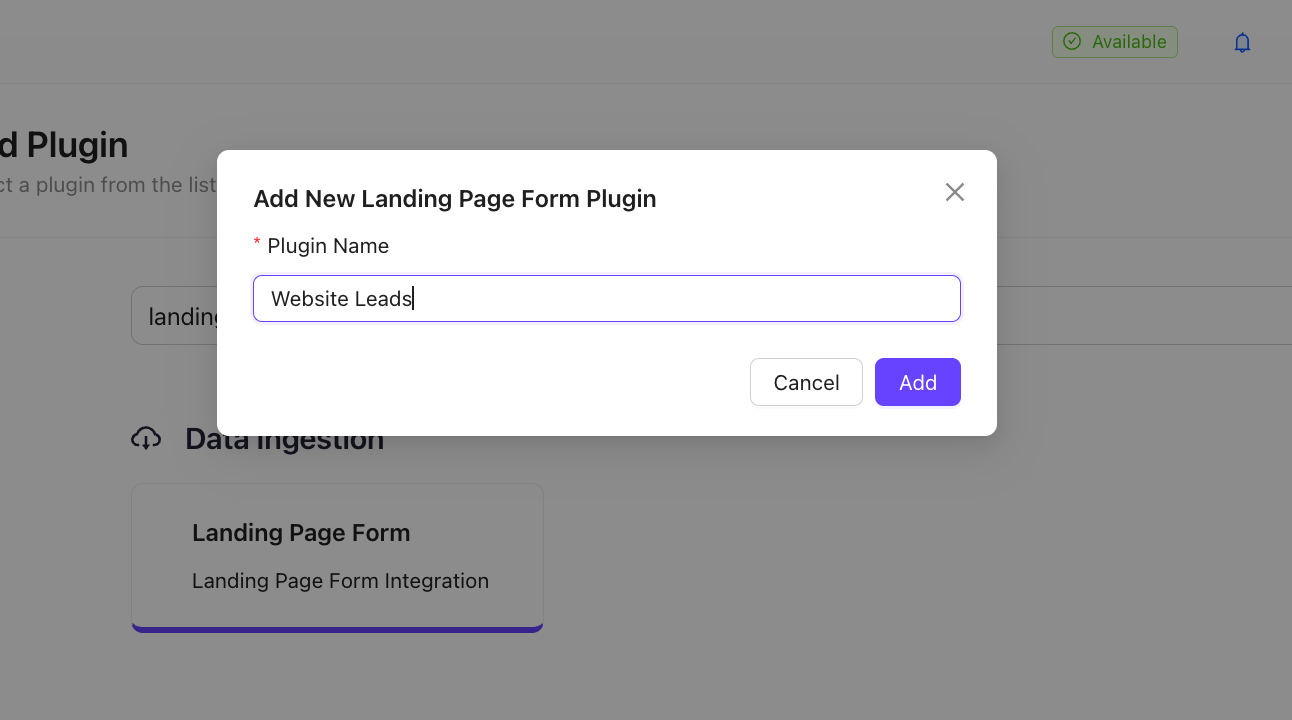
Step 2: Add the Landing Page Form Plugin
- Click Add Plugin.
- Search for
Landing Page Form. - Click on the Landing Page Form Integration plugin card.
- Give it a relevant name, e.g.,
Website LeadsorLanding Page Leads.

####
Step 3: Copy the Webhook URL
After creating the plugin instance, you will see a unique Webhook URL.\ Copy this URL and configure it in your external form/CRM/tool as the endpoint to which lead data should be POSTed.

Step 4: Configure the Plugin
Use the table below to complete the configuration:
Section | Action | Notes |
|---|---|---|
Where should the new entry be created? | Select | This ensures incoming data creates a Chakra Lead. |
Are you using the same form to update the entries as well? | Toggle Yes if the same webhook will also update existing leads. Toggle No if only creating new leads | Recommended to turn Yes for most use-cases (deduplication & updates). |
Form Field Mapping | Map your external form fields to Chakra Lead attributes | • Use either the exact label or field name from your form • Select the corresponding Chakra attribute • To create new custom attributes, follow this guide |
Combine all remaining Form fields into this internal attribute | (Optional) Choose an attribute (e.g., a JSON or Notes field) to store unmapped data | Skip if you have mapped every field you need. |
How to find the existing entry which should be updated? |
| Only visible when update toggle is Yes |
• Match the attribute to identify an existing lead | Choose the field that uniquely identifies the lead (usually Email or Phone) | Most common: Email |
• Add days to check this identification | Define look-back period (e.g., 365 days) – Chakra will only search leads created/updated in this window | Keeps search fast; default is usually 365 |
• Sort by | Select Lead created at or Lead updated at |
|
• Sort order | Choose Descending (newest first) or Ascending | Descending is recommended for faster matching |
Step 5: Activate the Plugin
Once all settings are saved, switch the plugin status to Active.
Step 6: Test the Integration
- Submit a test form on your website or send a test POST request to the webhook URL with sample lead data.
- Check Chakra → Leads module to confirm:
- A new lead is created (first submission), or
- An existing lead is updated (subsequent submissions with the same email/phone).
That's it! Your external forms or systems can now push leads directly into Chakra in real time.
Need further help? Contact support or refer to the Chakra Help Center.